Overview
I am going to install VMware Horizon Connection Server 2303 (current at the time of writing) on Windows Server 2022. The only modification to the hardware is to increase the Memory to 12 GB. This will provide the connection server with ample memory for the operating system as well as the VMware Horizon Connection Server application.
Install a Transport Layer Security (TLS) Certificate
This can be done before or after the installation, but I prefer to do it first so that it is one less thing to configure, later. Be sure the installed certificate has the friendly name, vdm, in all lowercase.

Federal Information Processing Standard (FIPS) 140-2 Considerations
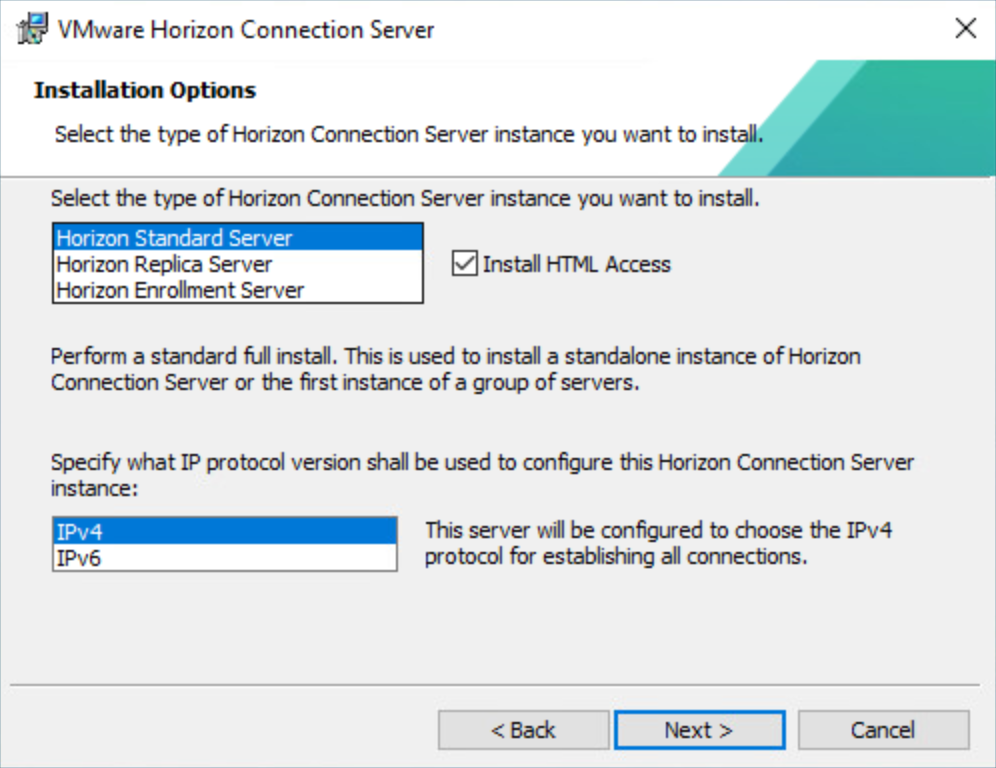
I am not going to install with FIPS enabled in my lab, but wanted to include this for future reference. If using FIPS, every component will need to be enabled for FIPS. If you are installing the VMware Horizon Connection Server and do not have the FIPS option, check to ensure that FIPS is enabled on the Windows Server, the server is rebooted, and then try the installation again.
The below image shows an installation with FIPS disabled.
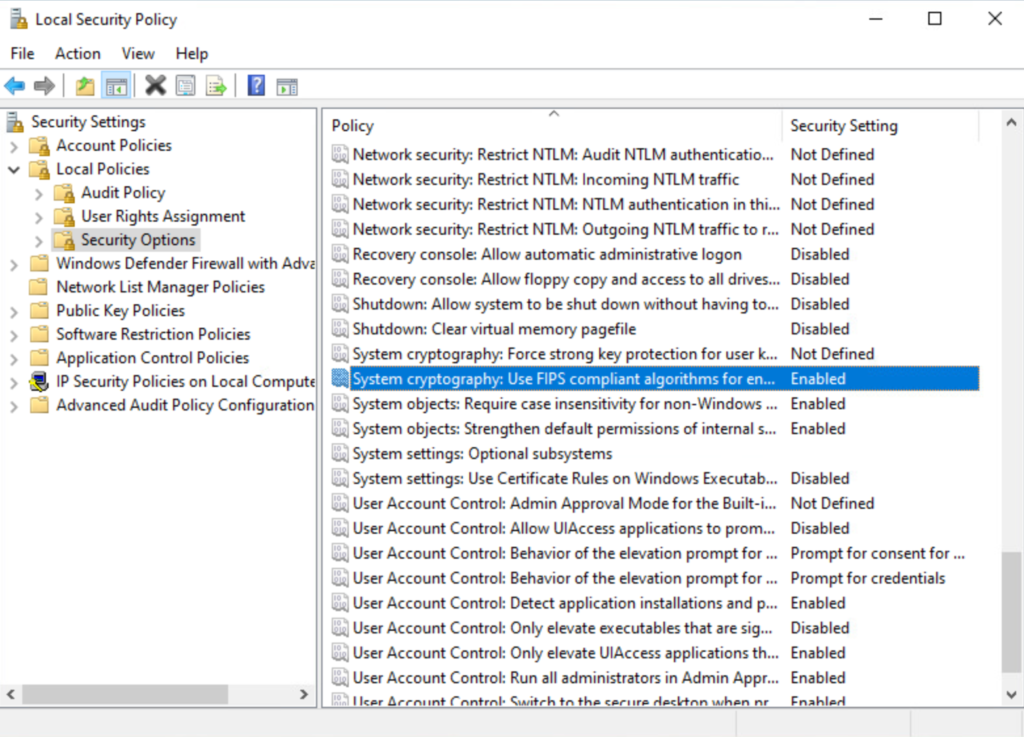
To enable FIPS, open the Local Security Policy (secpol.msc) and enable the policy called System cryptography: Use FIPS compliant algorithms for encryption, hashing, and signing under Local Policies > Security Options.
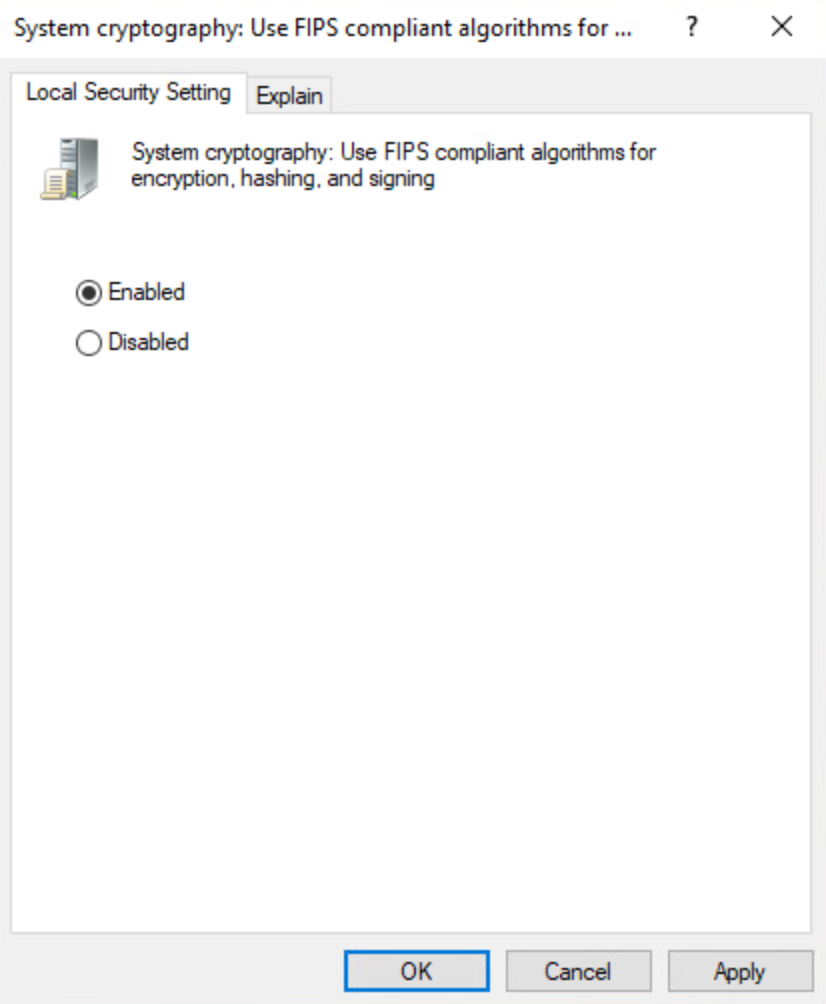
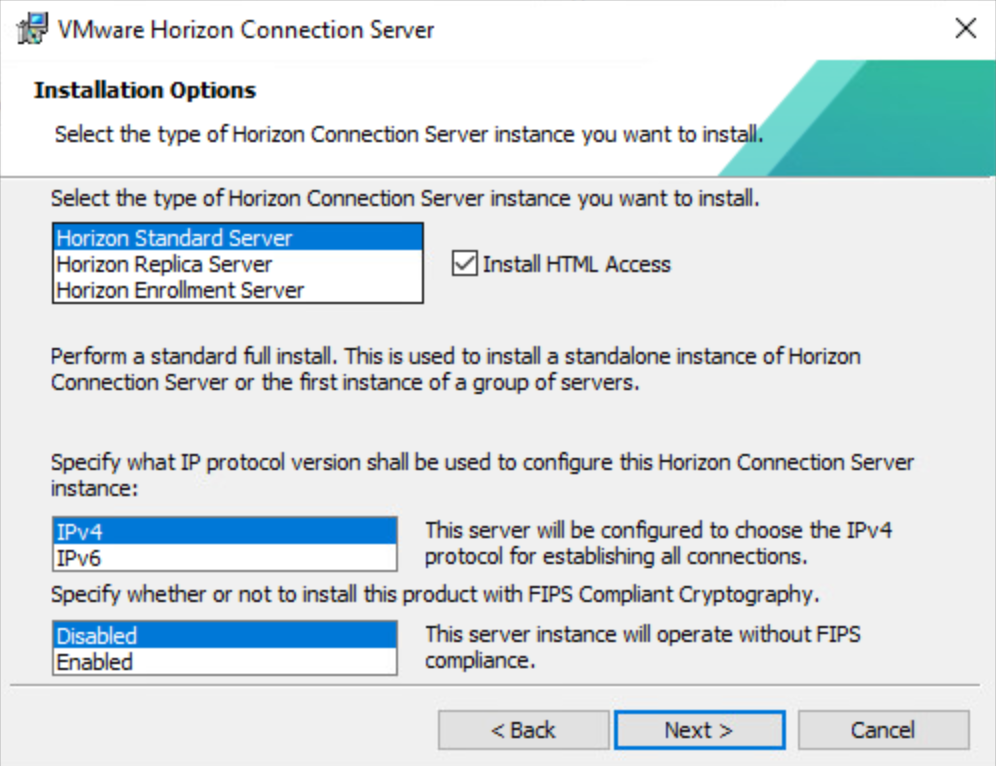
Restart the server to have the policy take effect and try the installation again. This time, the installer will display a section for FIPS.
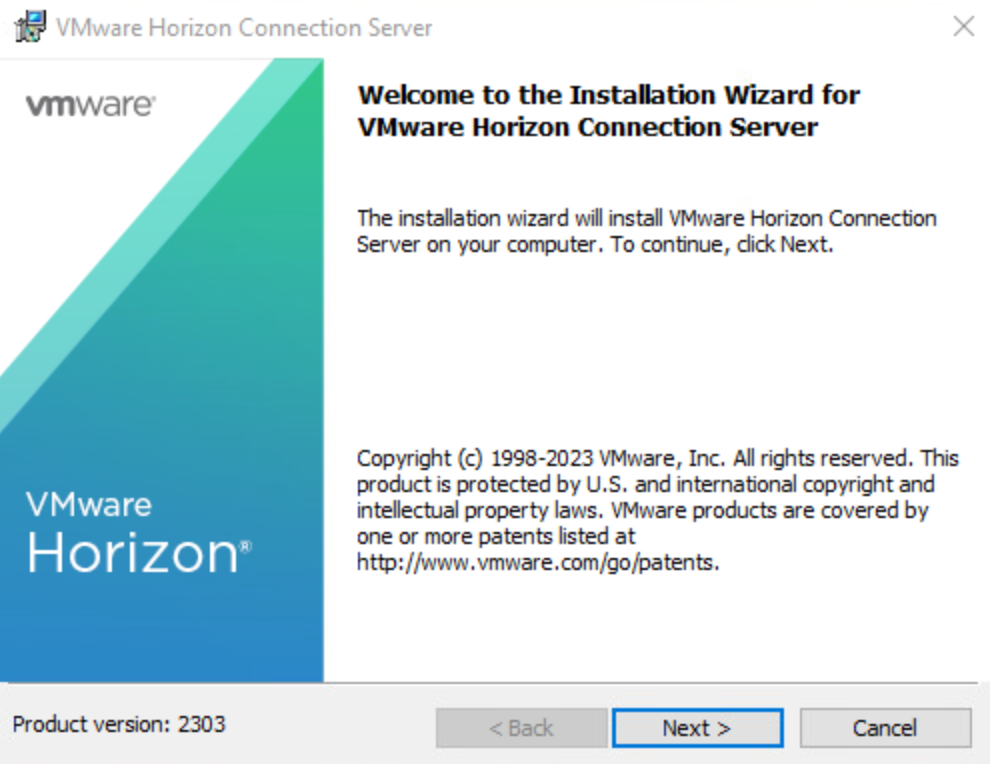
Install VMware Horizon Connection Server
Double-click the installer file.
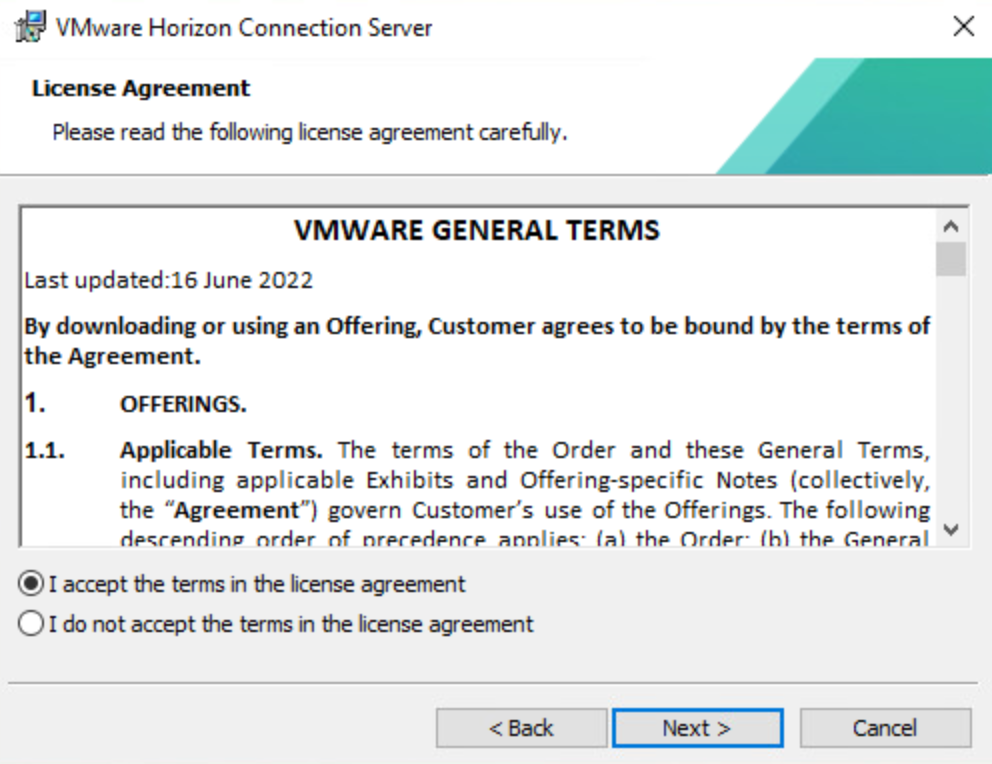
Accept the license agreement.
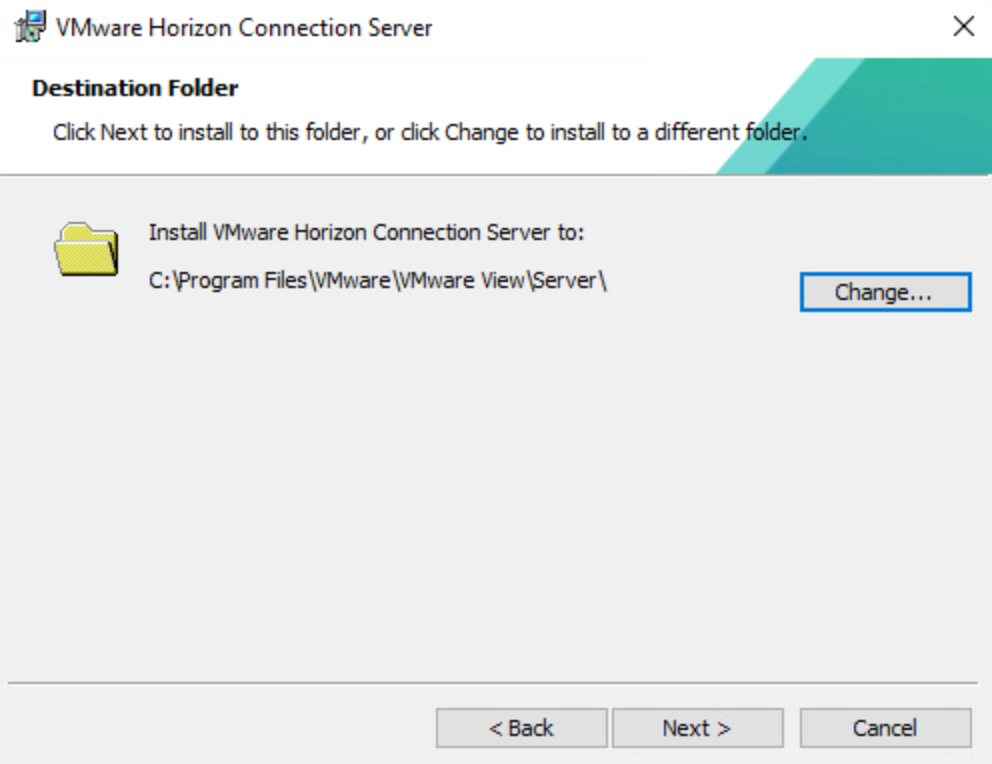
Leave the default installation location.
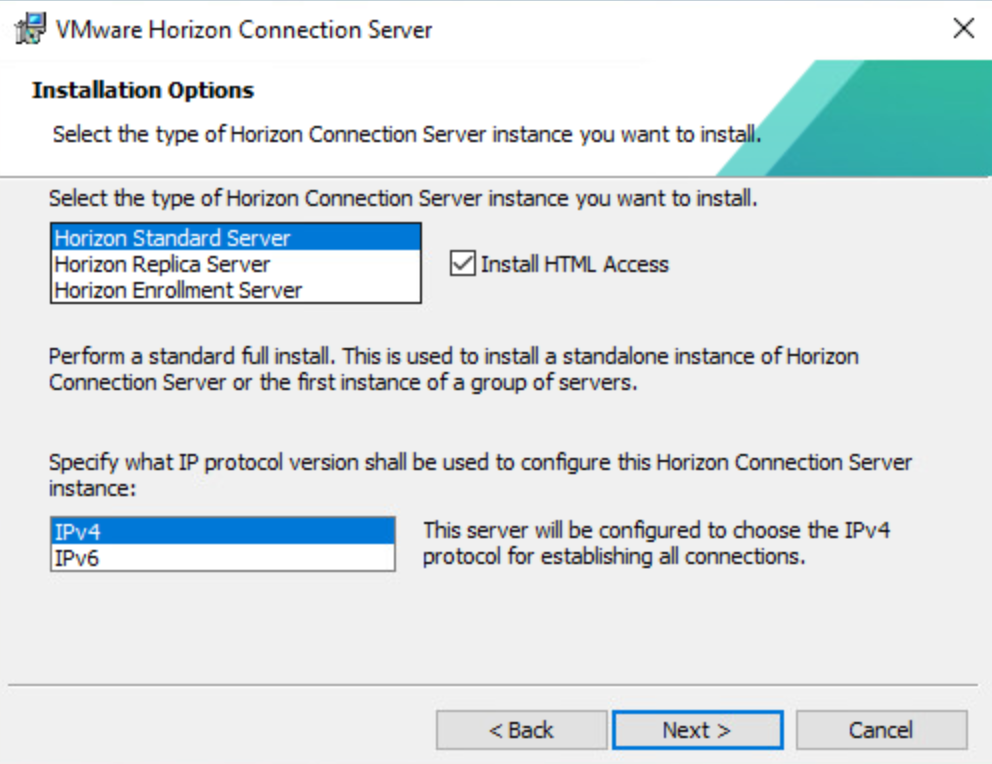
I am leaving the defaults configured, here. I do plan on configuring Smart Card log on in my domain, so HTML Access will be useless at that time, but for testing, I will leave it.
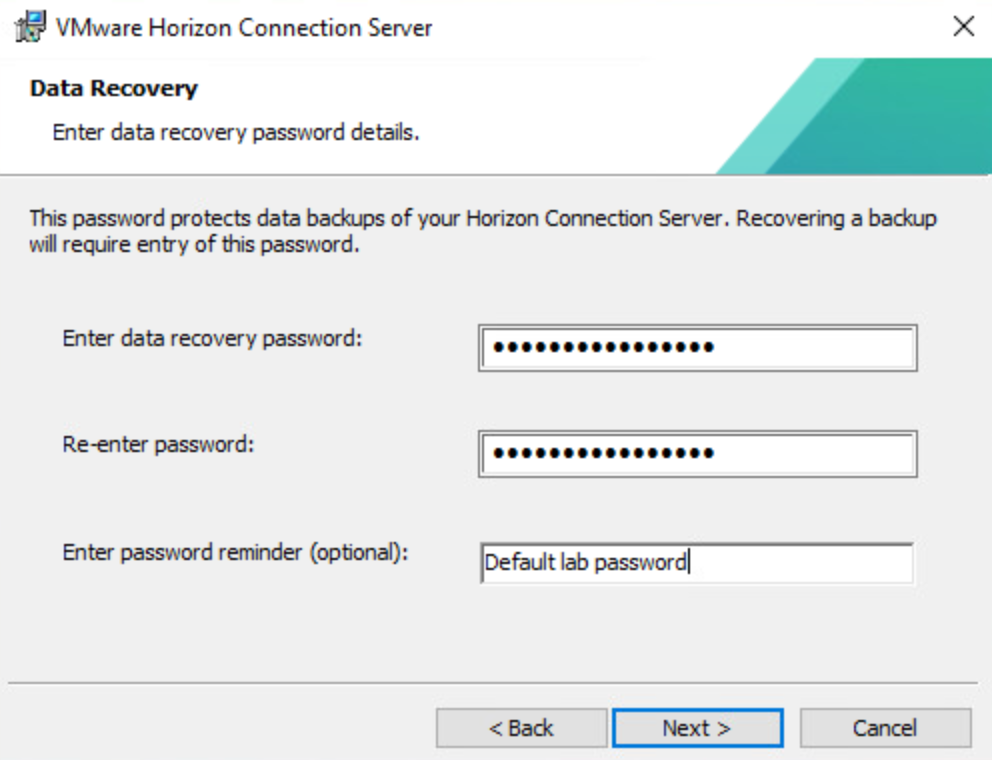
By default, the configuration will be backed up periodically. Set a password that will be used to recover the data should that be required in the future.
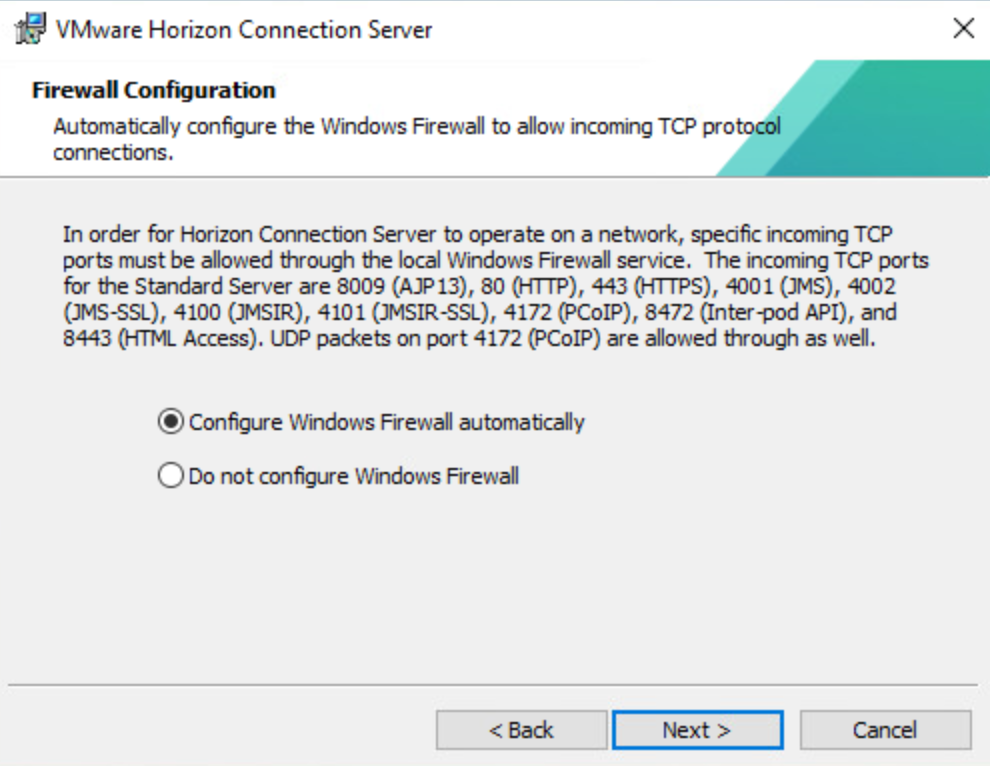
Leave the defaults for the firewall configuration.
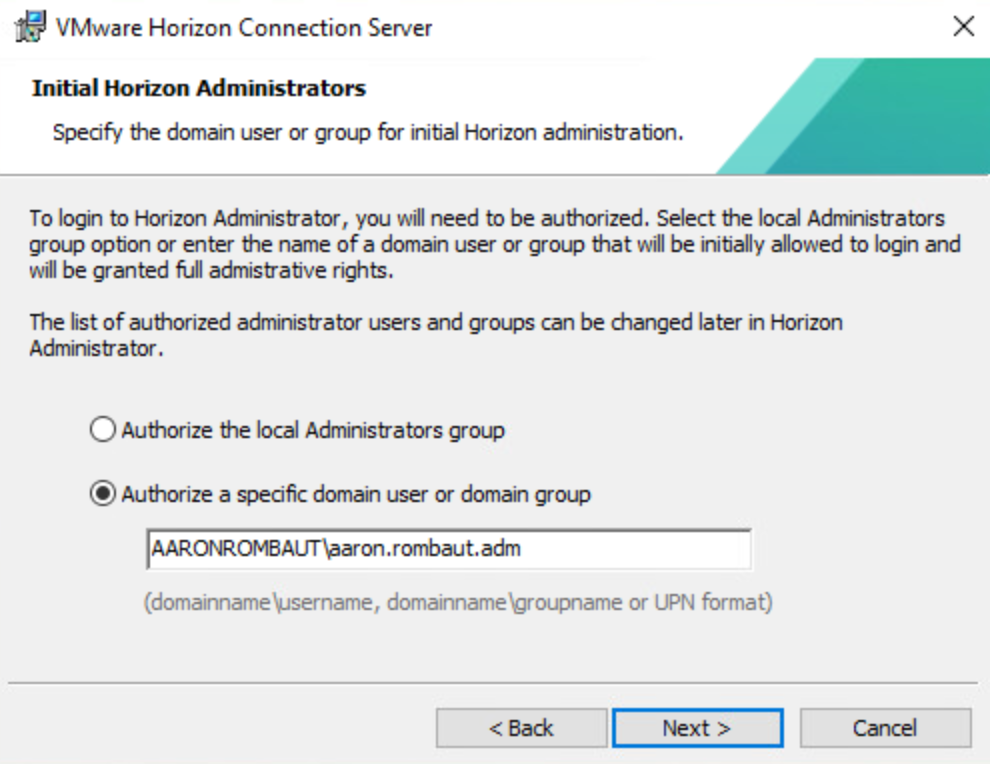
I will leave the default here and configure a Security Group after the Connection Server is installed.
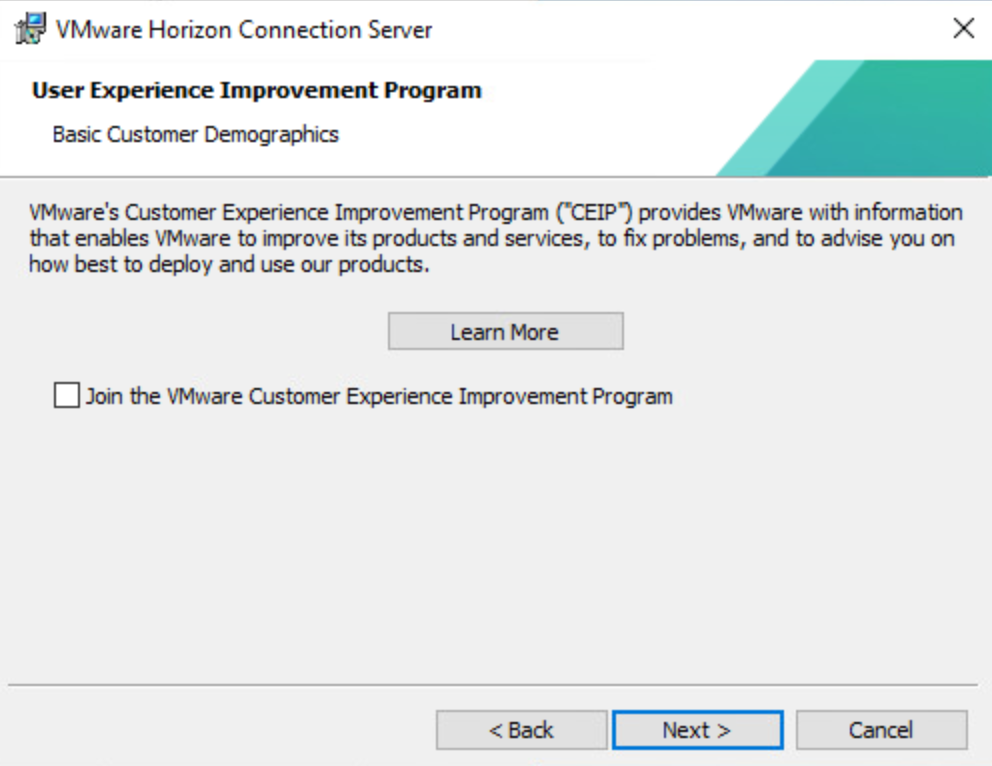
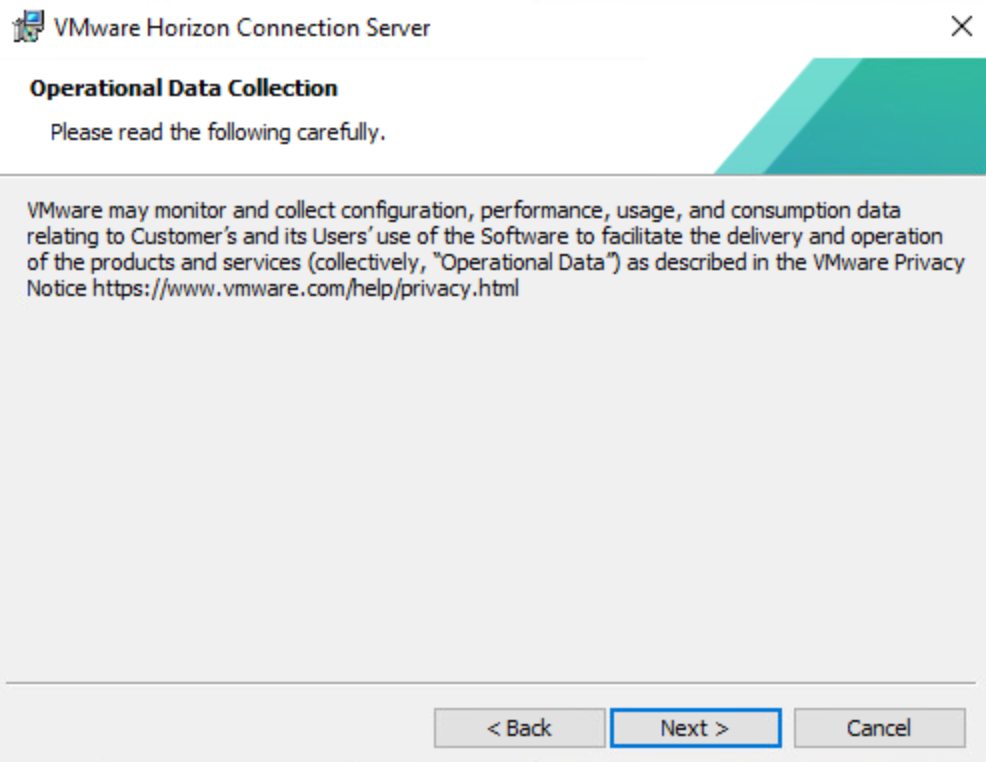
For my lab, I do not want to send any information to VMware, so I uncheck the box.
Click Next.
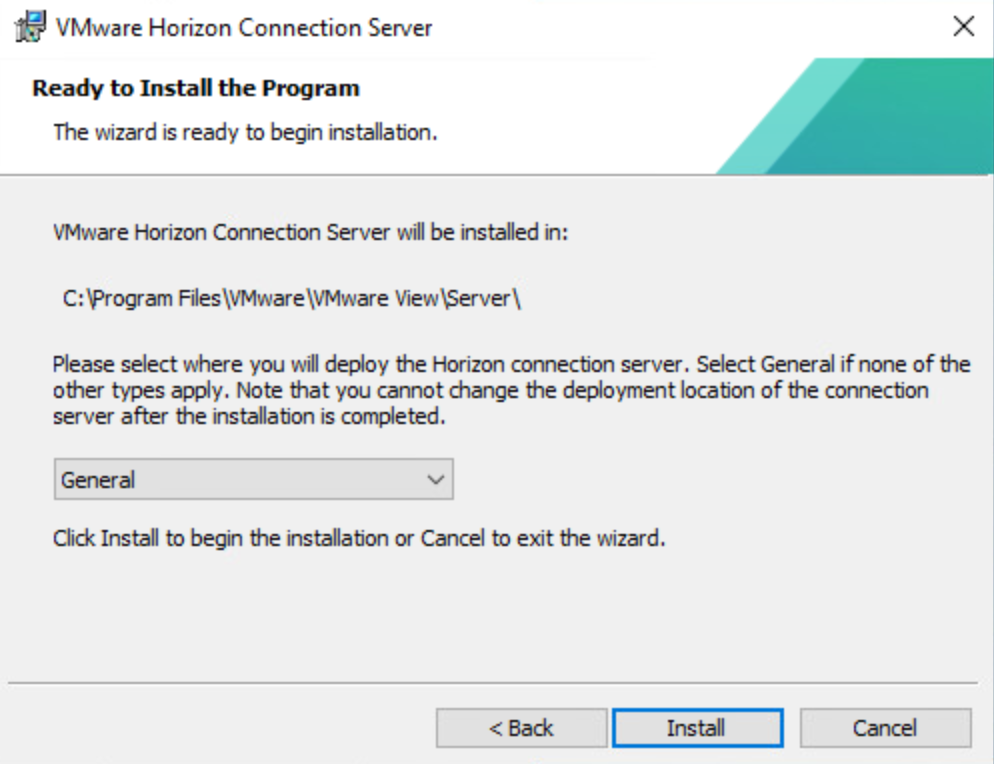
I leave the default of General selected as I am installing in an on-premises lab and not using any cloud providers. Click Install to begin the installation.
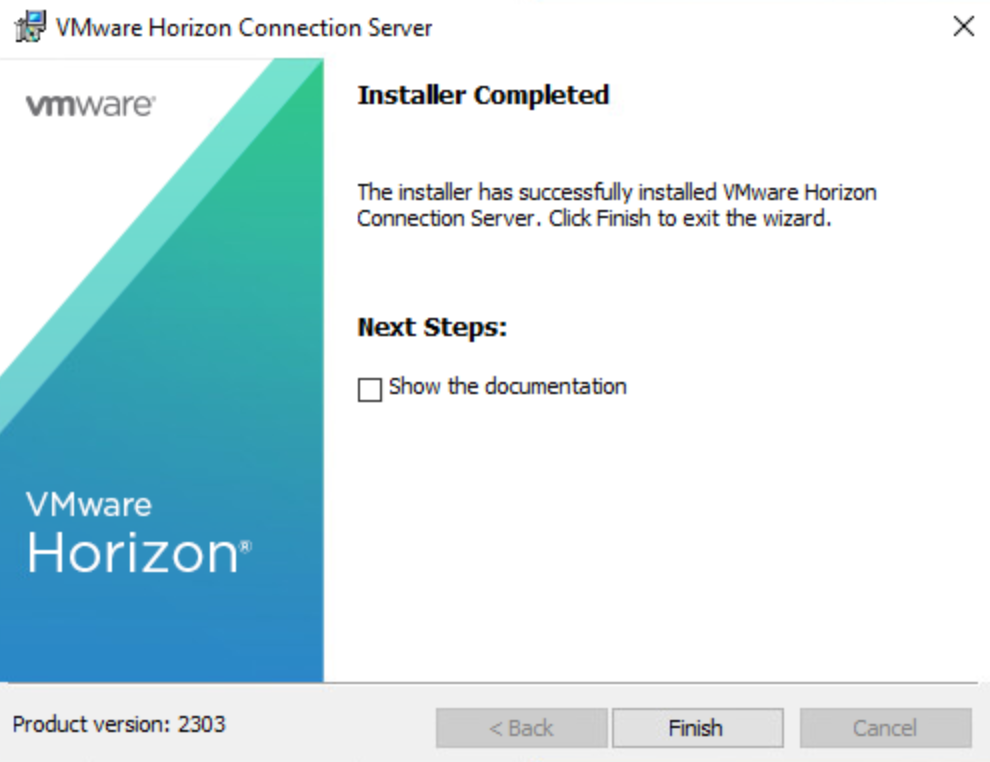
When the installer completes, uncheck the Show the documentation checkbox and click Finish.
The web interface for users to connect with HTML Access will be the fully qualified domain name. The web interface for administrators will be the same with /admin appended.
Users: https://hcs-92-16.aaronrombaut.com
Administrators: https://hcs-92-16.aaronrombaut.com/admin
Configure VMware Horizon Connection Server for the First Time
Navigate to the admin interface to log on. You will want to use the same account that was designated during the initial install.
Configure the Horizon License
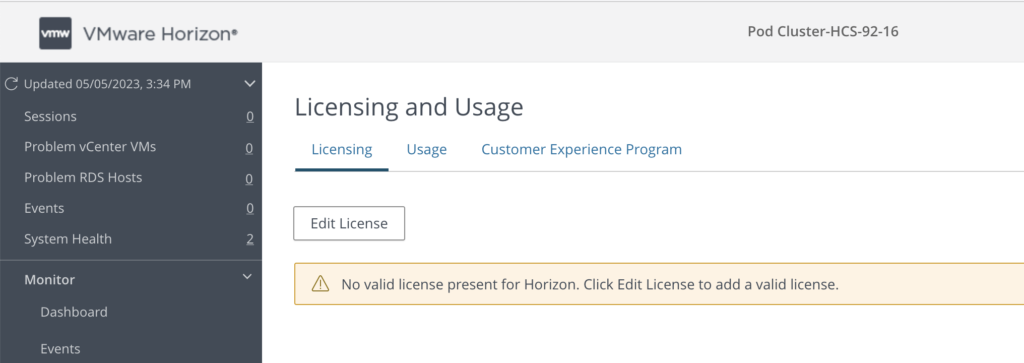
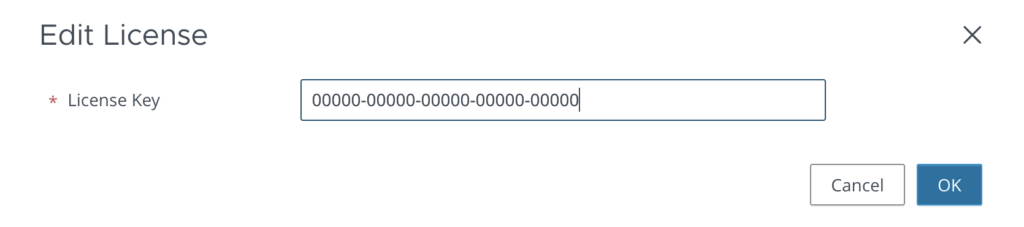
The very first thing that will show up on initial log on will be the license. Click Edit License. If you navigate away, click Settings > Product Licensing and Usage.
Add the appropriate license information and click OK.
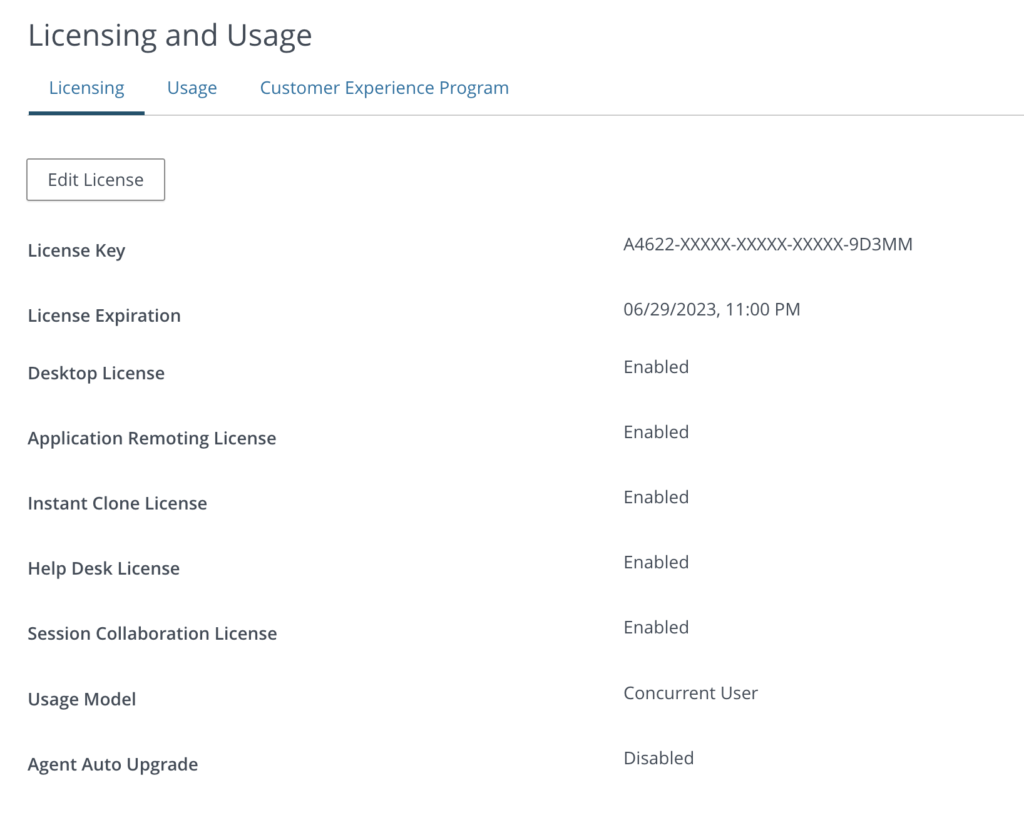
The Licensing and Usage page will now reflect your license details.
Configure Administrators
If you have been following along, there is only one account that can access the Horizon Admin Console right now. Click Settings > Administrators and lets configure this with a Security Group. Be sure the account you are logging in with is a member of this security group.
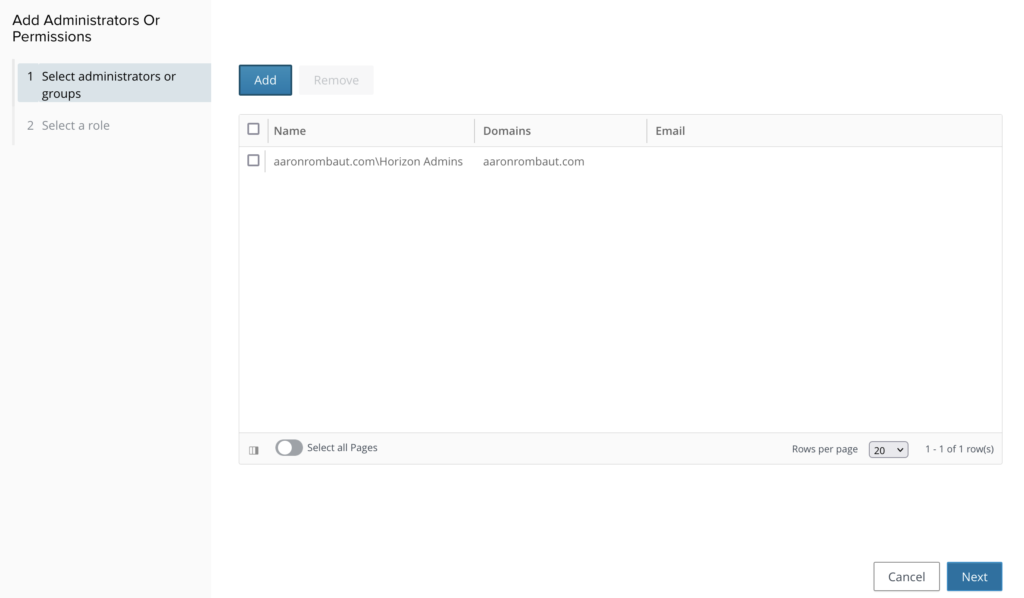
Click Add.
Click Add and type in the name of the security group in the Name/User Name text box. Click Find. Add a check mark next to the group you are setting up. Click OK.

Click Next.
Select the Administrators role and click Next.
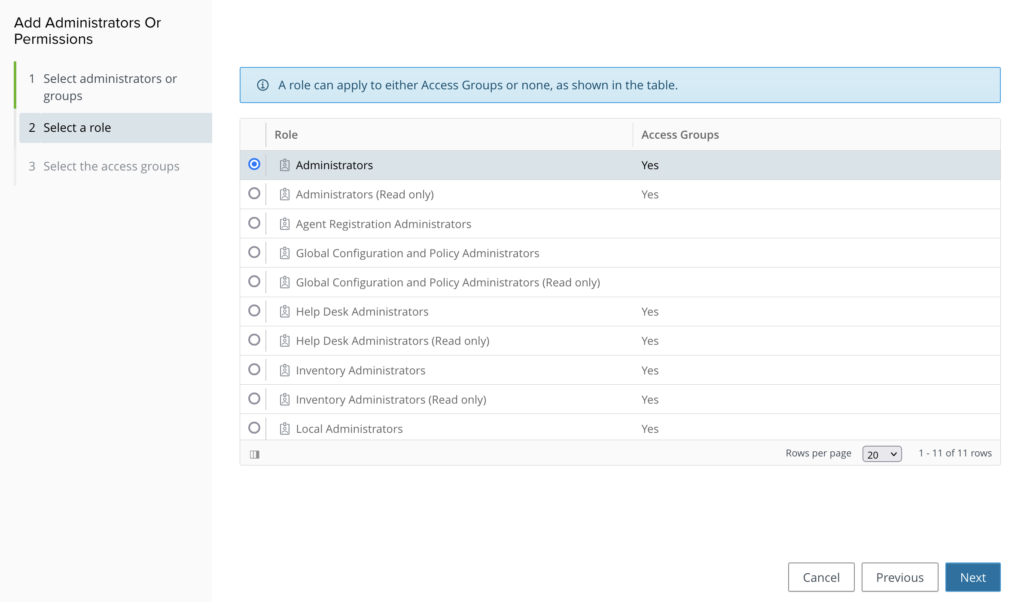
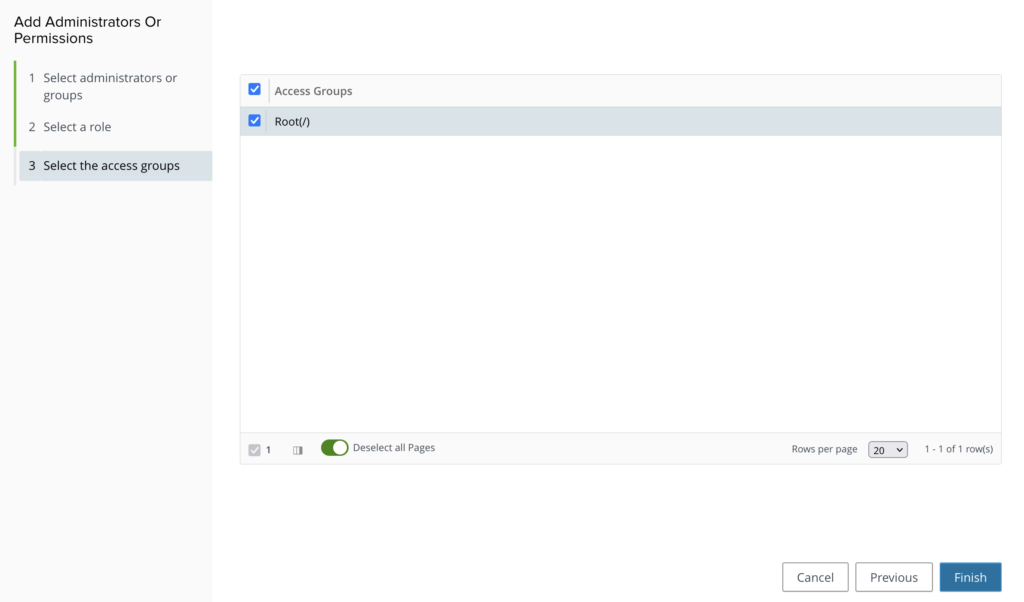
Check the Root(/) access group and click Finish.
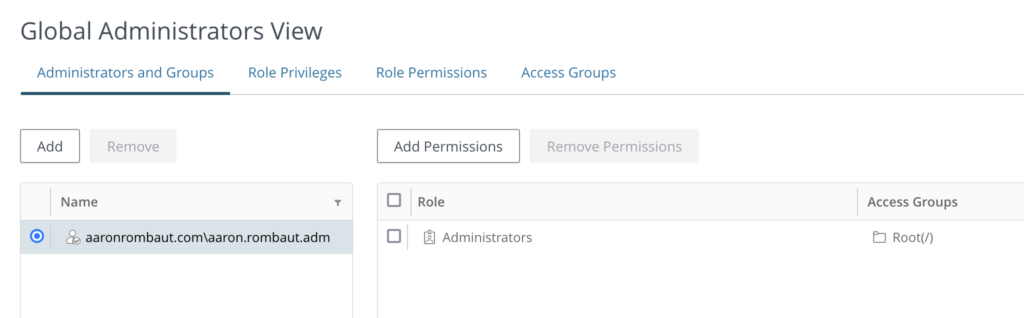
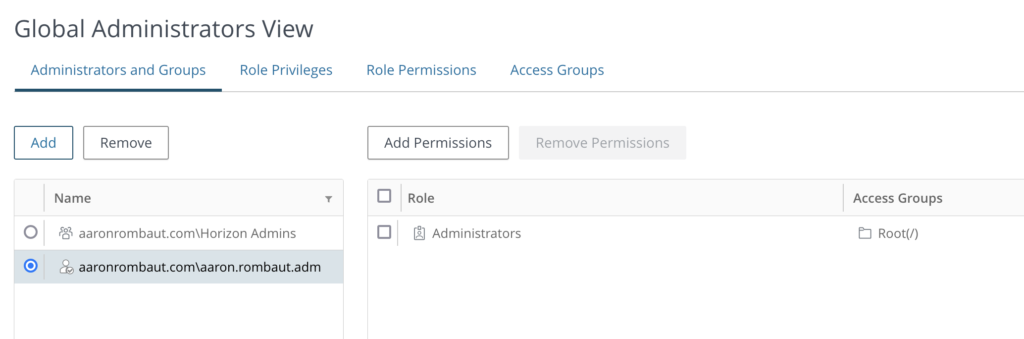
We can verify the security group has been added and see that it is a member of the Administrators Role. I suggest removing the user account and relying on only the security group.
If you remove the user account and you did not yet it to the security group, you will be logged out immediately and when you try to log back in, will receive the Incorrect credentials were entered message as seen below.

Add your account and other necessary admins to the security group and try to log on again.
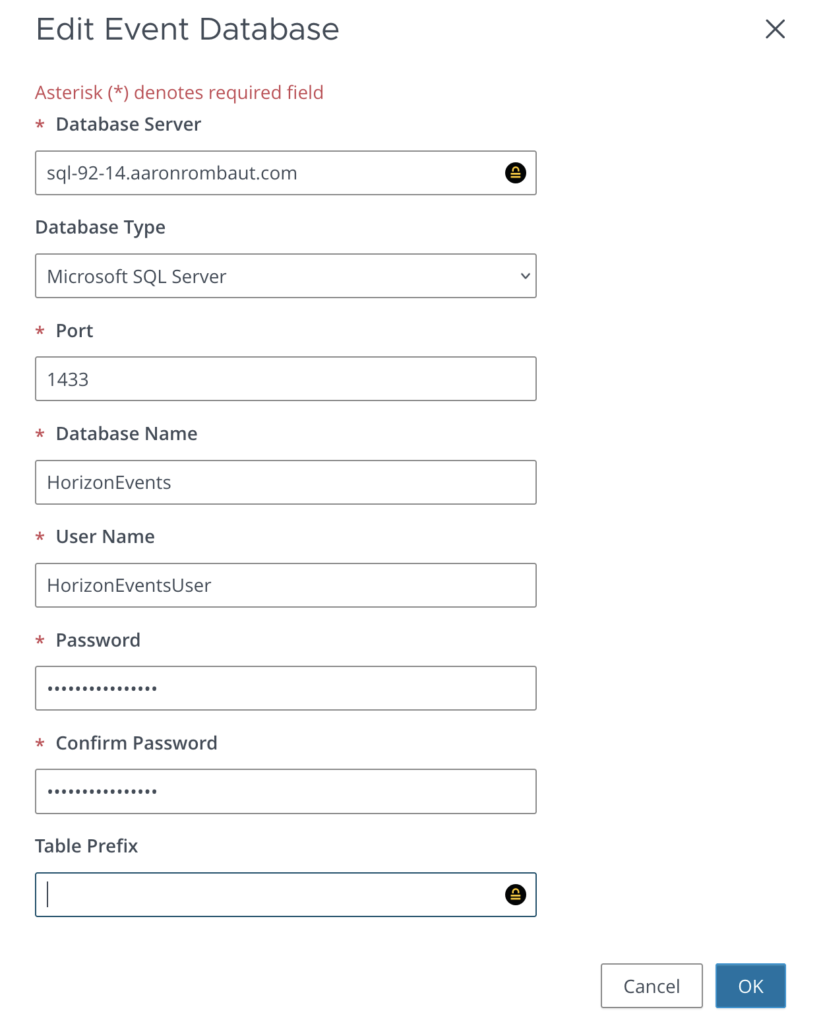
Configure the Event Database
Ensure that you have already configured a database and local SQL user for VMware Horizon Events. VMware Horizon does not use integrated Windows authentication.
Click Settings > Event Configuration.
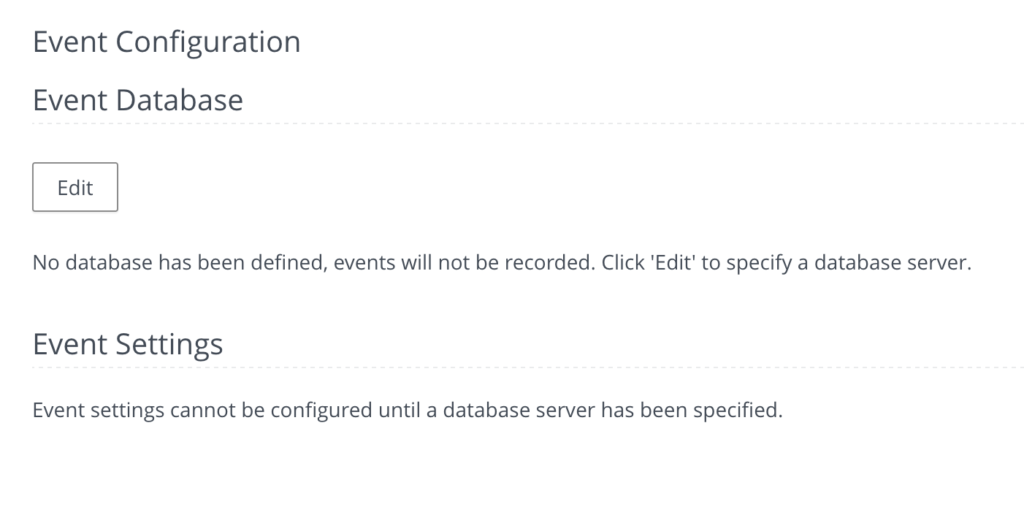
Click Edit and configure the details according to your settings.
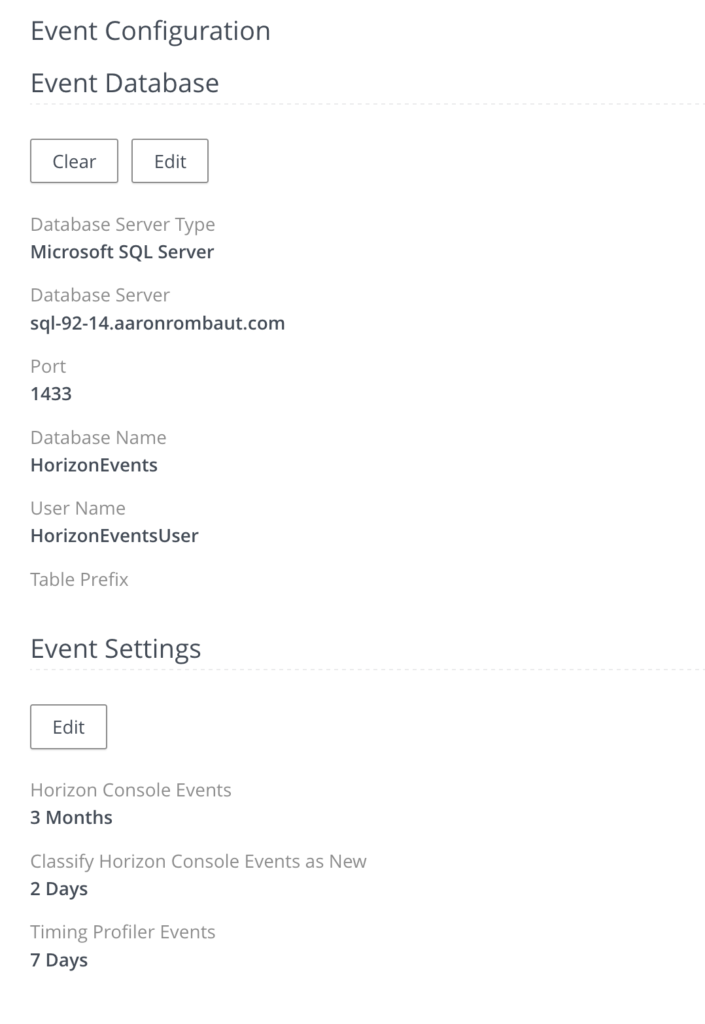
The Event Database configuration will display.
Configure an Active Directory Domain
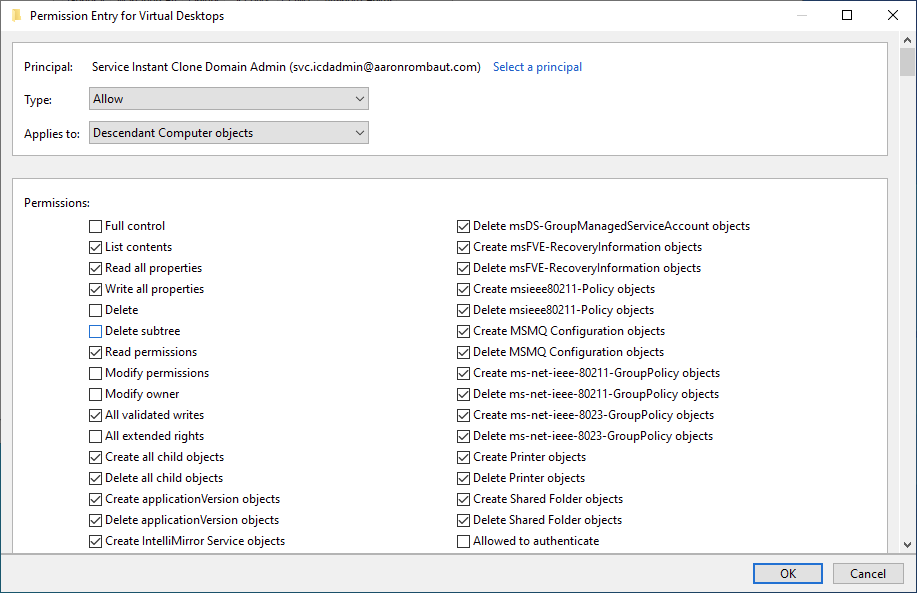
To configure an Active Directory domain, a service account is needed and permissions need to be delegated to a specific Organizational Unit (OU).
- In Active Directory, create a user account in the same domain as the Connection Server or in a trusted domain.
- Add the Create Computer Objects, Delete Computer Objects, and Write All Properties permissions to the account on the container for the instant-clone computer accounts. The following list shows the required permissions for the user account, including permissions that are assigned by default:
- List Contents
- Read All Properties
- Write All Properties
- Read Permissions
- Reset Password
- Create Computer Objects
- Delete Computer Objects
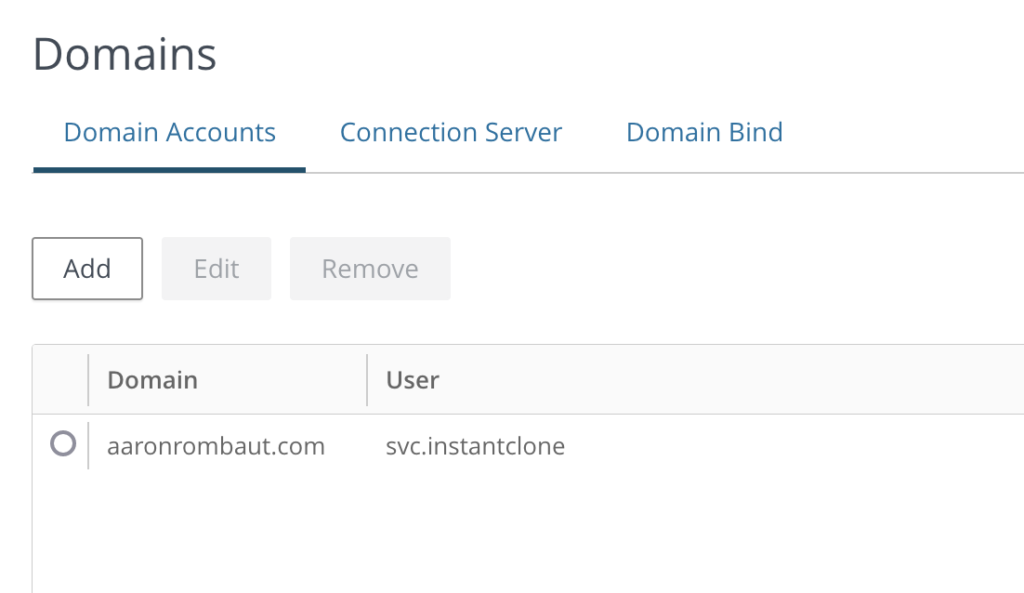
Click Settings > Domains and click Add.

I configured an Instant Clone account as a service account in Active Directory and then added, here.
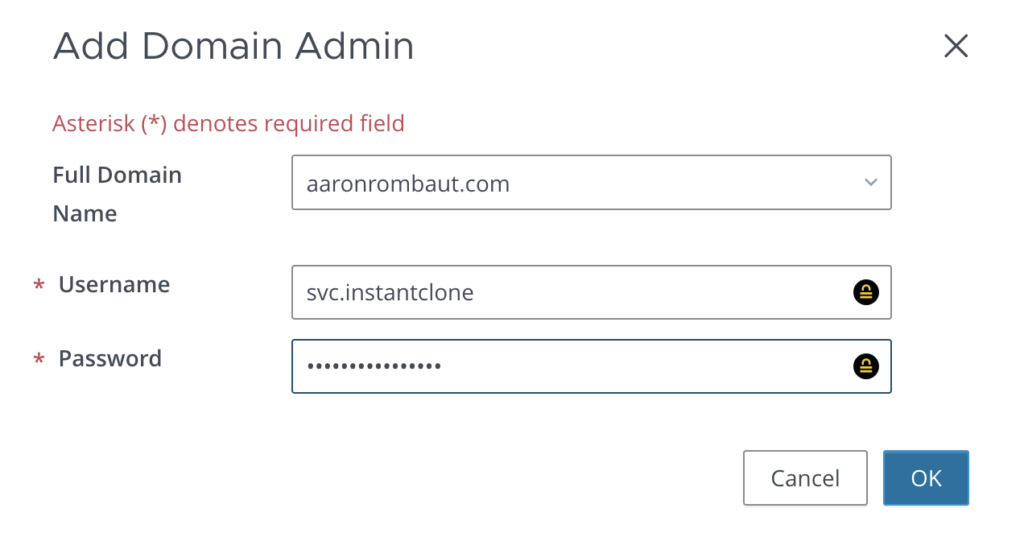
The Domain Accounts table is populated.
Configuring Registered Machines
Click Settings > Registered machines.
If you do not see any Registered Machines listed, be sure the Remote Desktop Session Host (RDSH) was configured and the VMware Horizon Agent was installed. See my post, MyLab: Microsoft Remote Desktop Session Host (RDSH) and look for how to Install the VMware Horizon Agent. Make sure to pay attention to the step where the address for the VMware Horizon Connection Server is specified.
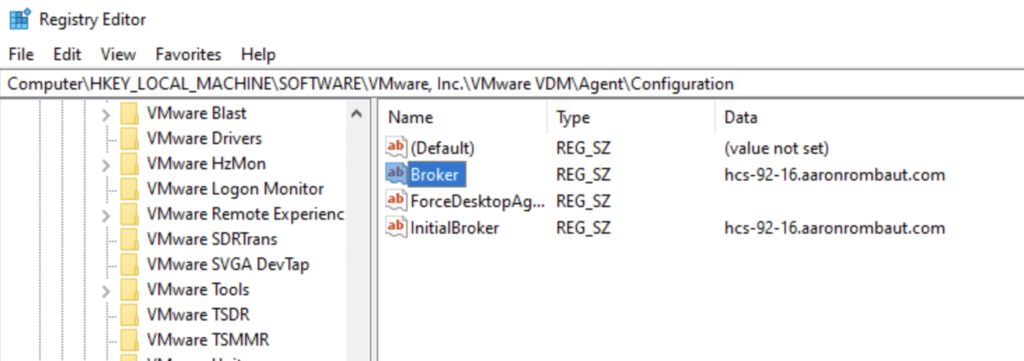
If the VMware Horizon Agent was already installed and you were expecting to see it here, then check the registry on the RDSH for the server address to ensure accuracy.
Computer > HKLM > SOFTWARE > VMware, Inc. > VMware VDM > Agent > Configuration > Broker
Minimum vCenter Server Privileges Required for the Horizon Administrator Role with Instant Clones
| Privilege Group on vCenter Server | Privileges to Enable |
|---|---|
| Alarms | Disable or enable alarm on entity |
| Cryptographic operations | The following privileges are required if you use instant clones VMs with a Trusted Platform Module (vTPM) device. Clone Decrypt Direct Access Encrypt Manage KMS Migrate Register Host |
| Datastore | Allocate space Browse datastore |
| Folder | Create folder Delete folder |
| Global | Act as vCenter Server Disable methods Enable methods Manage custom attributes Set custom attribute |
| Host | In Configuration Advanced Settings In Inventory Modify Cluster |
| Network | Assign network |
| Profile Driven Storage | (all–If you are using vSAN datastores or Virtual Volumes) |
| Resource | Assign virtual machine to resource pool |
| Storage views | Not required |
| Virtual machine | In Change Configuration: (all) Acquire disk lease Add existing disk Add new disk Add or remove device Advanced configuration Change CPU count Change memory Change resource Change settings Change swapfile placement Configure Host USB device Configure managedBy Configure Raw device Display connection settings Extend virtual disk Modify device settings Query Fault Tolerance compatibility Query unowned files Reload from path Remove disk Rename Reset guest information Set annotation Toggle disk change tracking Toggle fork parent Upgrade virtual machine compatibility In Edit Inventory: Create from existing Create new Move Register Remove Unregister In Interaction: Connect devices Perform wipe or shrink operations Power off Power on Reset Suspend In Provisioning: Allow disk access Clone template Clone Virtual Machine Customize Deploy template Read customization specifications In Snapshot management: Create snapshot Remove snapshot Rename snapshot Revert snapshot |
Leave a Reply