Overview
I am choosing to install VMware Dynamic Environment Manager (DEM) to quickly perform tasks on user profiles and save profile data. Using DEM is easier to administer user-based Group Policies than Active Directory and (I think) more predictable.
Setting up the Shared Folders
At a minimum, Dynamic Environment Manager (DEM) requires two folders. One is used for configuration data and the other is used for user profile data. If you are unsure how to do this or have not done it yet, I created a post titled, MyLab: The Files, that goes over installing the Windows Role and setting up the shares. The rest of this post will go over the share permissions, NTFS permissions, installing the DEM Management Console, and lastly, the DEM agent on the Golden Image.
Dynamic Environment Manager Configuration Folder
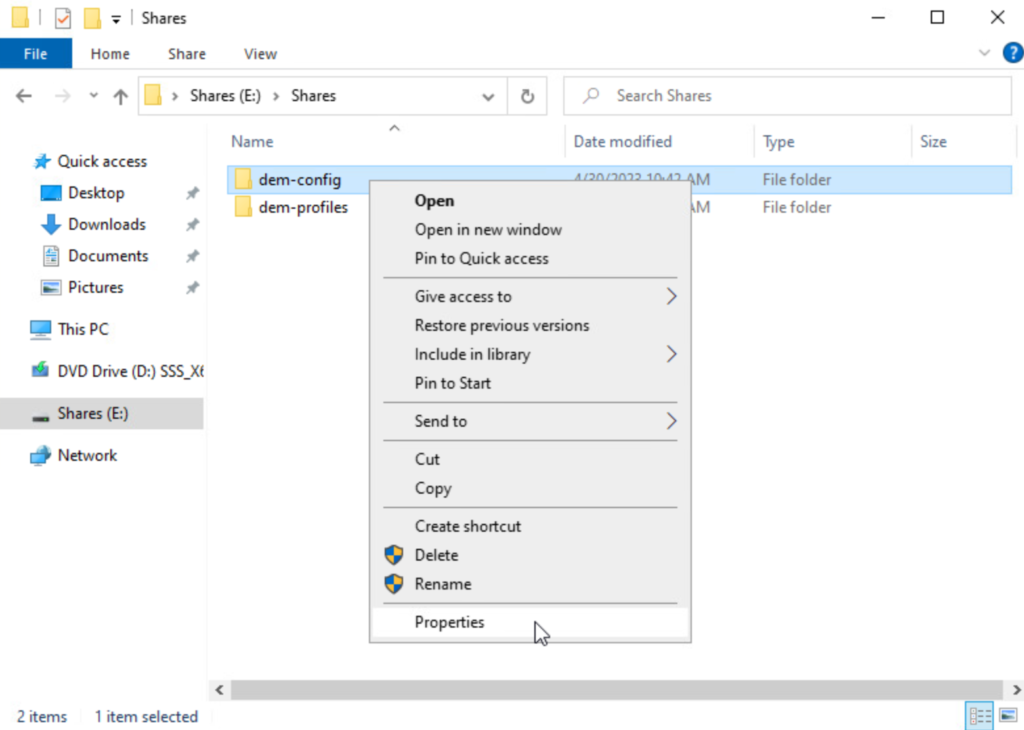
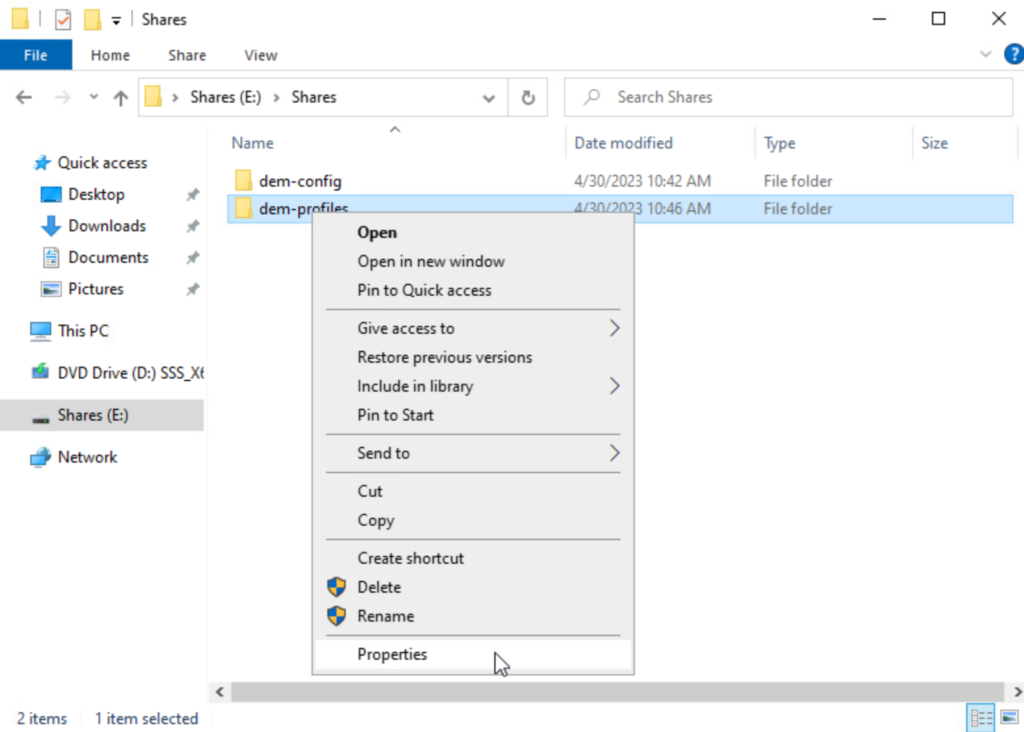
Log into the Windows File Server and navigate to the share set up for storing the configuration files. Right-click and select Properties.
Set the Share Permission for Everyone to Allow Change.
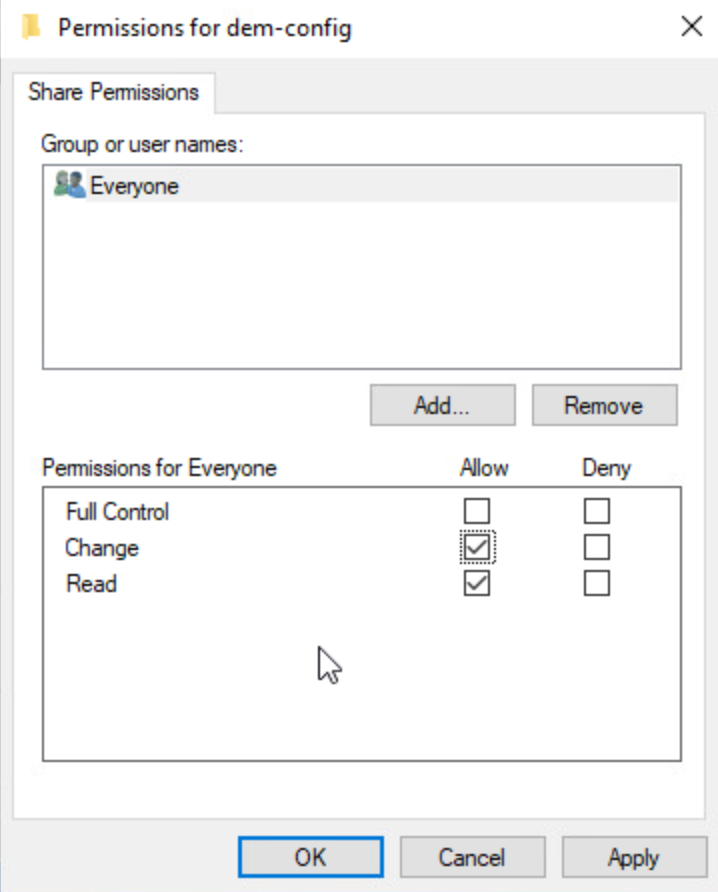
Add the DEM Admins security group and give them Full Control on This folder, subfolders and files.
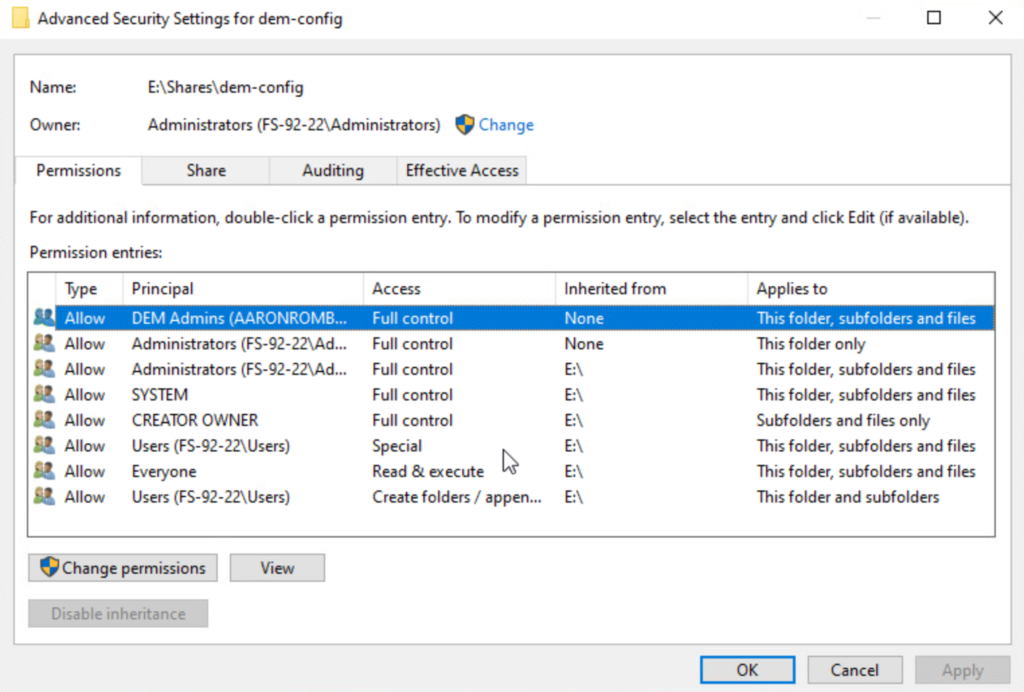
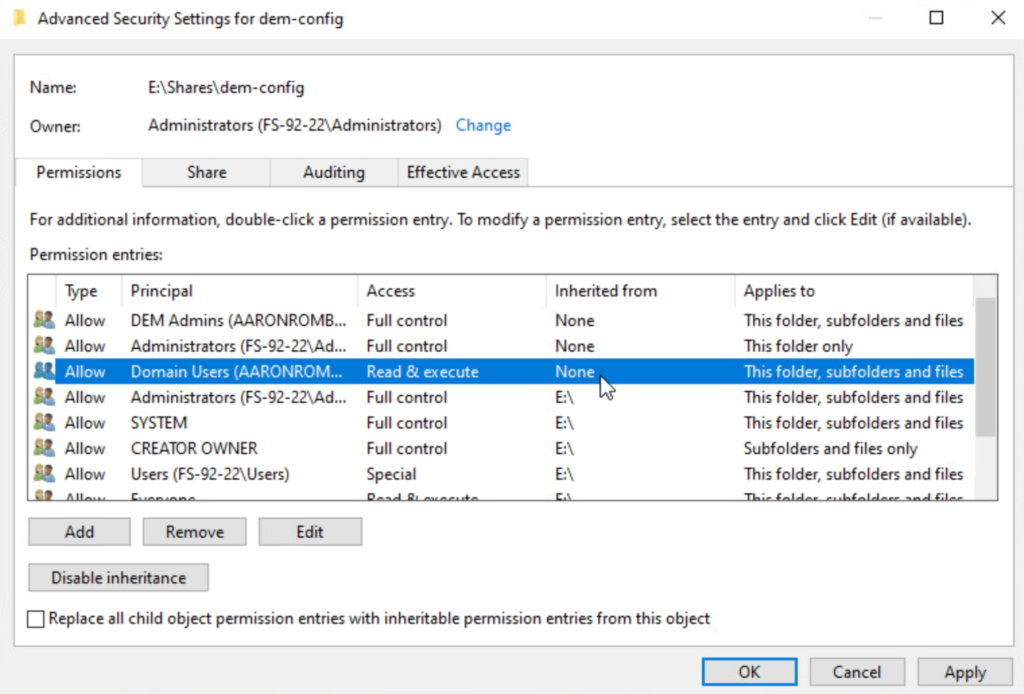
Add the Domain Users security group and give them Read & execute on This folder, subfolders and files.
Dynamic Environment Manager Profile Archive Folder
Log into the Windows File Server and navigate to the share set up for storing the profile archive files. Right-click and select Properties.
Set the Share Permission for Everyone to Allow Change.
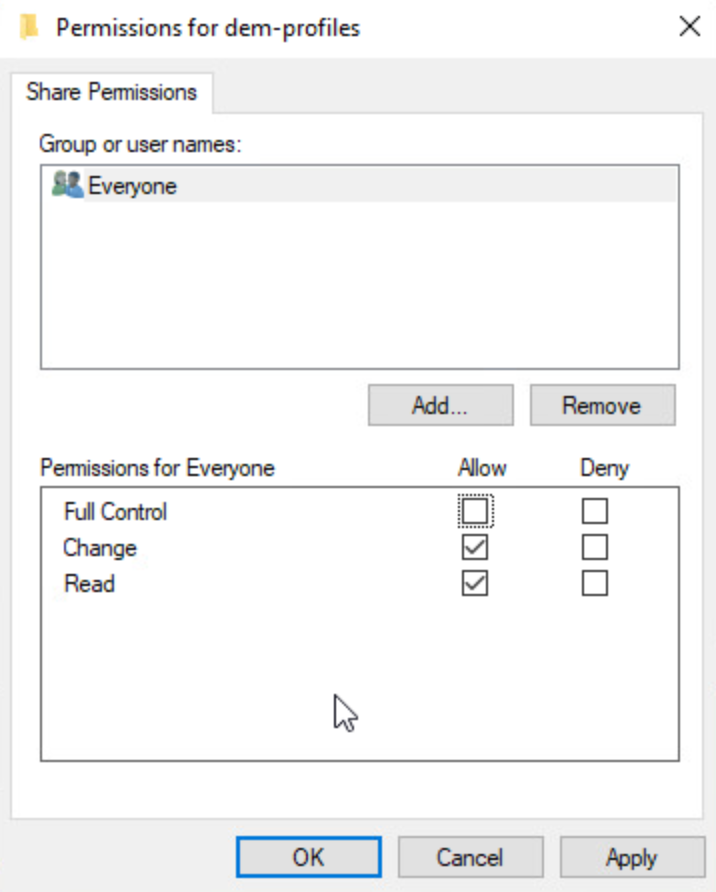
Add the DEM Admins security group and give them Full Control on This folder, subfolders and files.
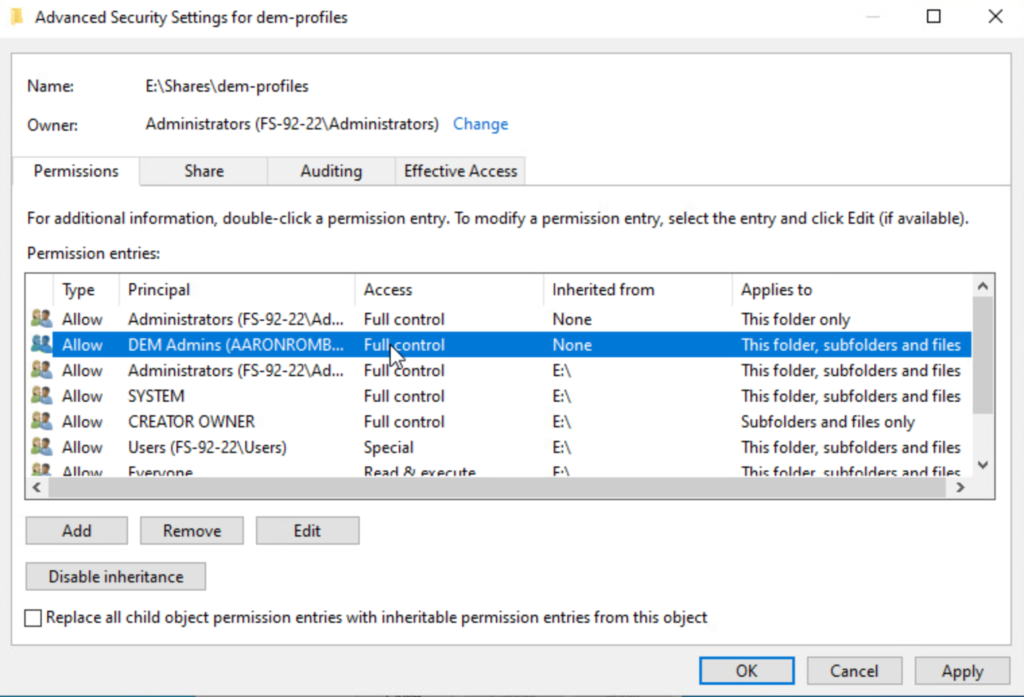
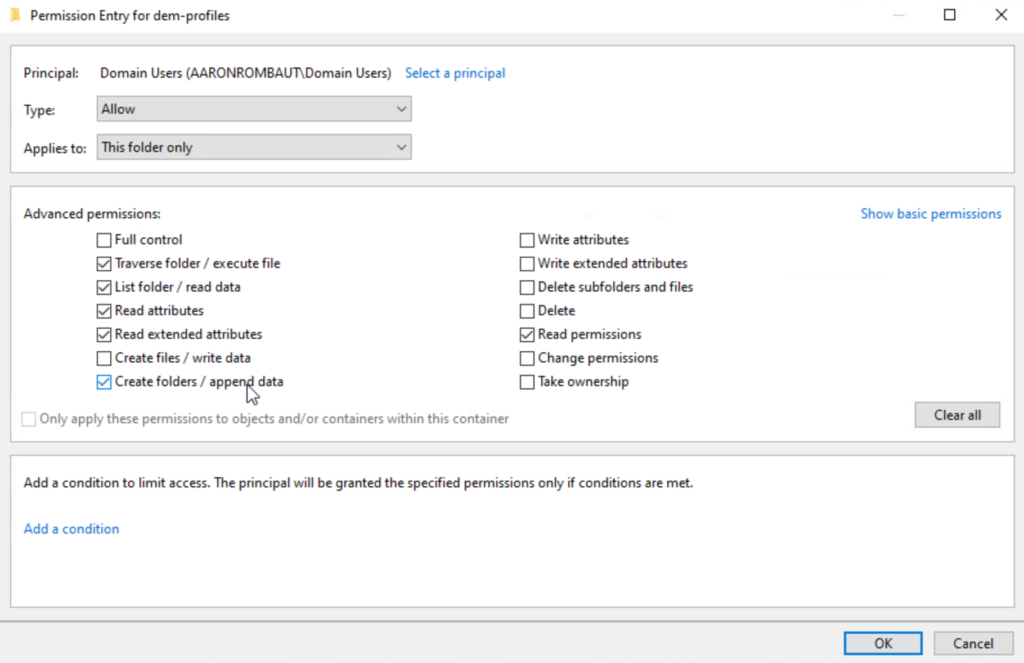
Add the Domain Users security group and give them Create folders / append data on This folder only.
Installing the Dynamic Environment Manager Management Console
You can install the Management Console on administrator computers, but I like to also install it on the file server itself.
Make sure you download the installer file.
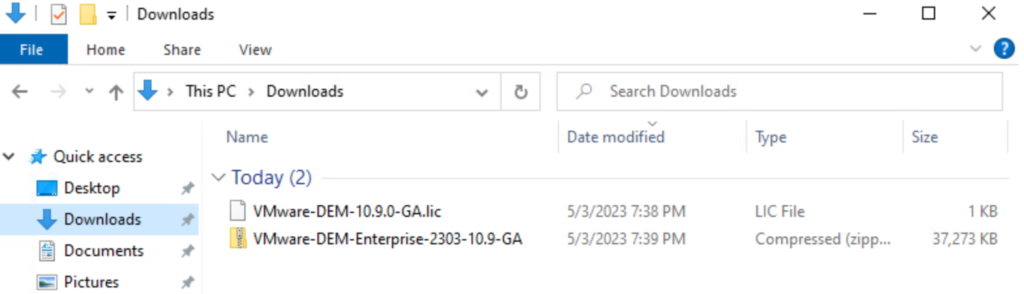
Extract the folder.
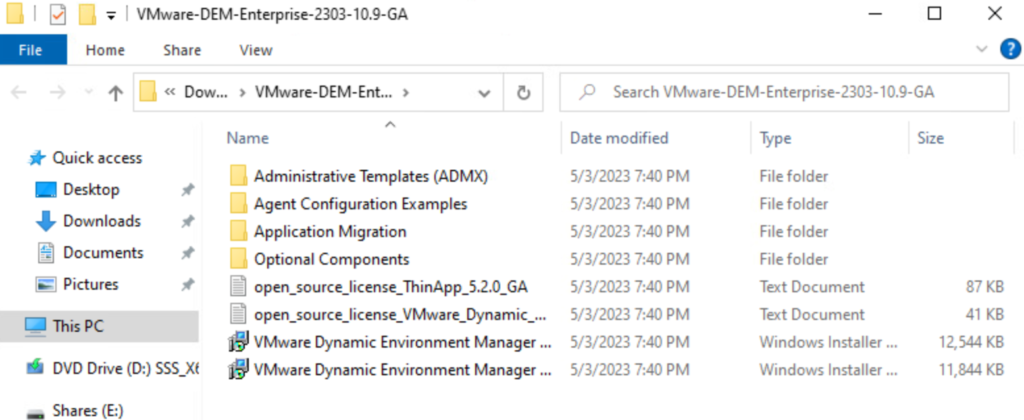
Double-click the VMware Dynamic Environment Manager installer package for your architecture.
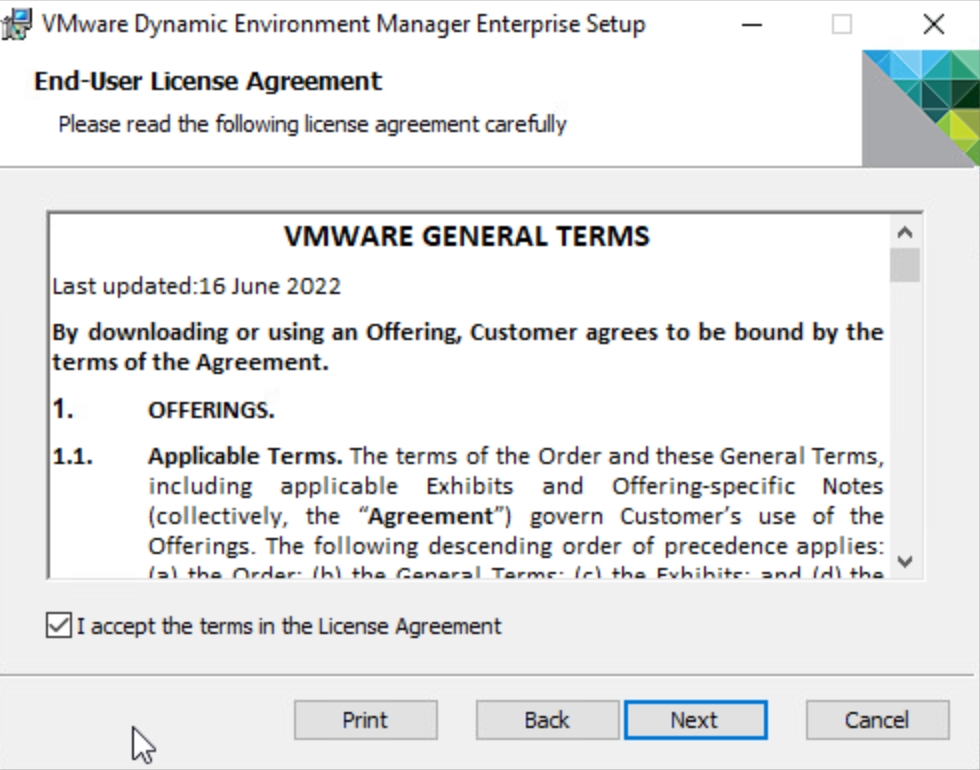
Check the I accept the terms in the License Agreement checkbox.
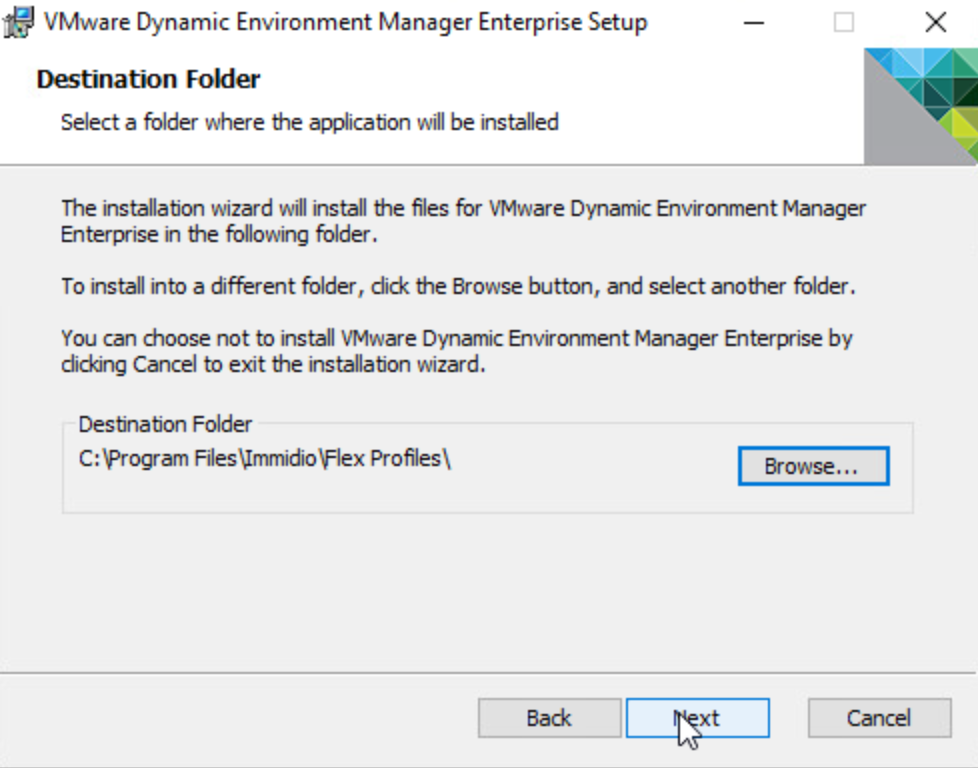
Accept the default installation location and click Next.
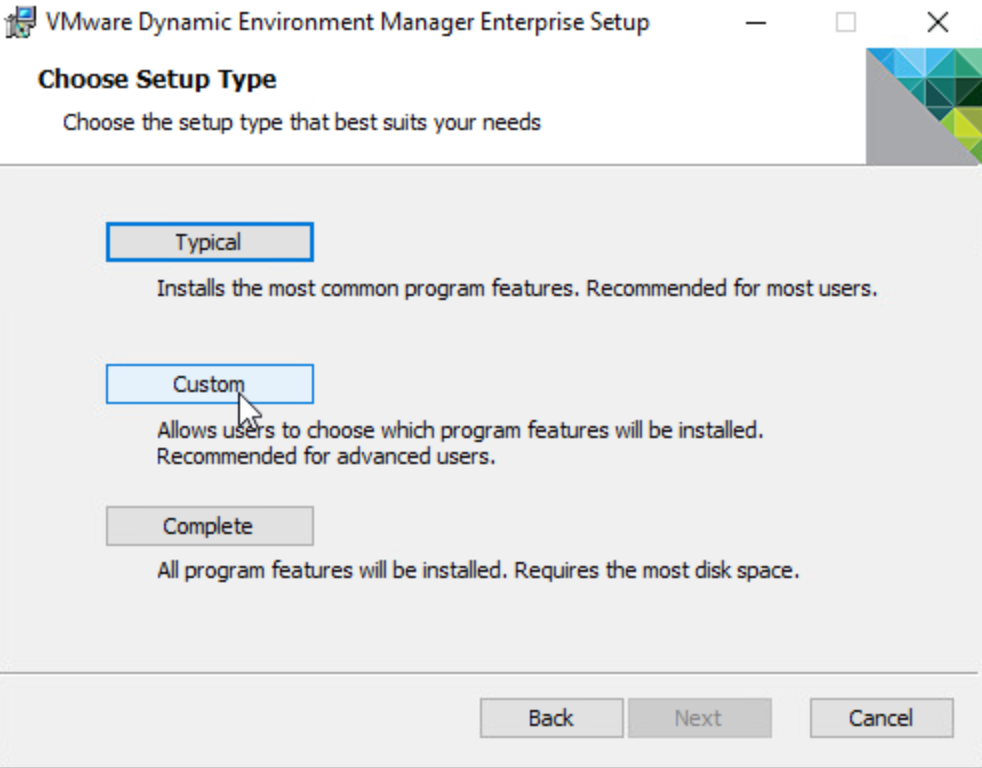
Click Custom here.
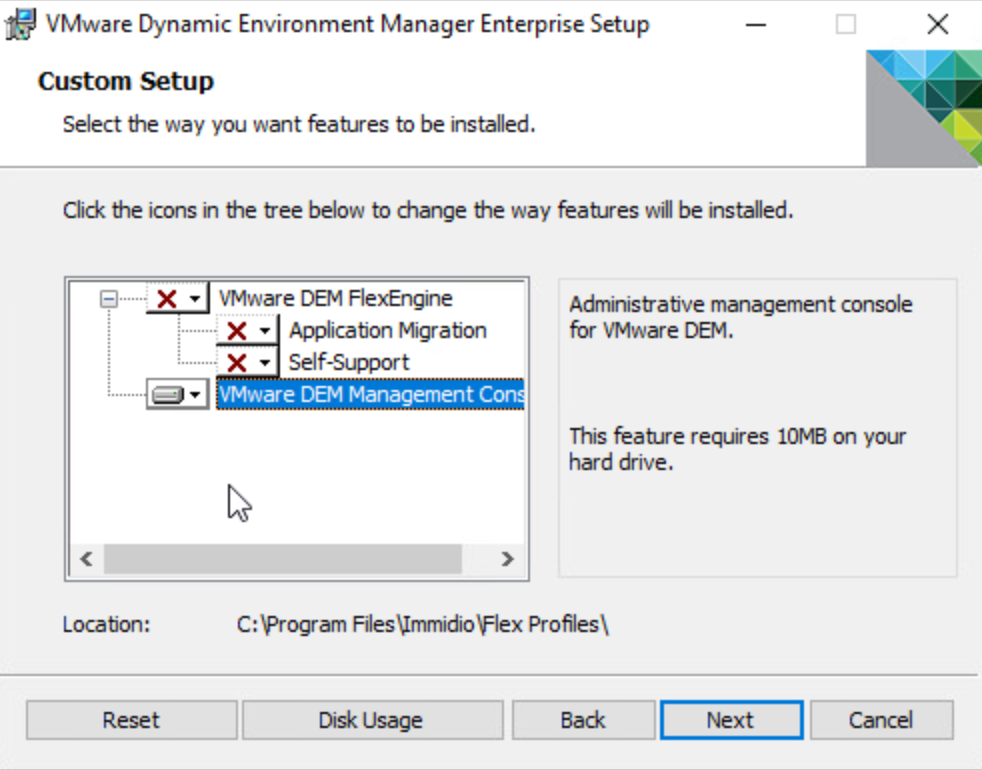
Disable VMware DEM FlexEngine installation and enable VMware DEM Management Console.
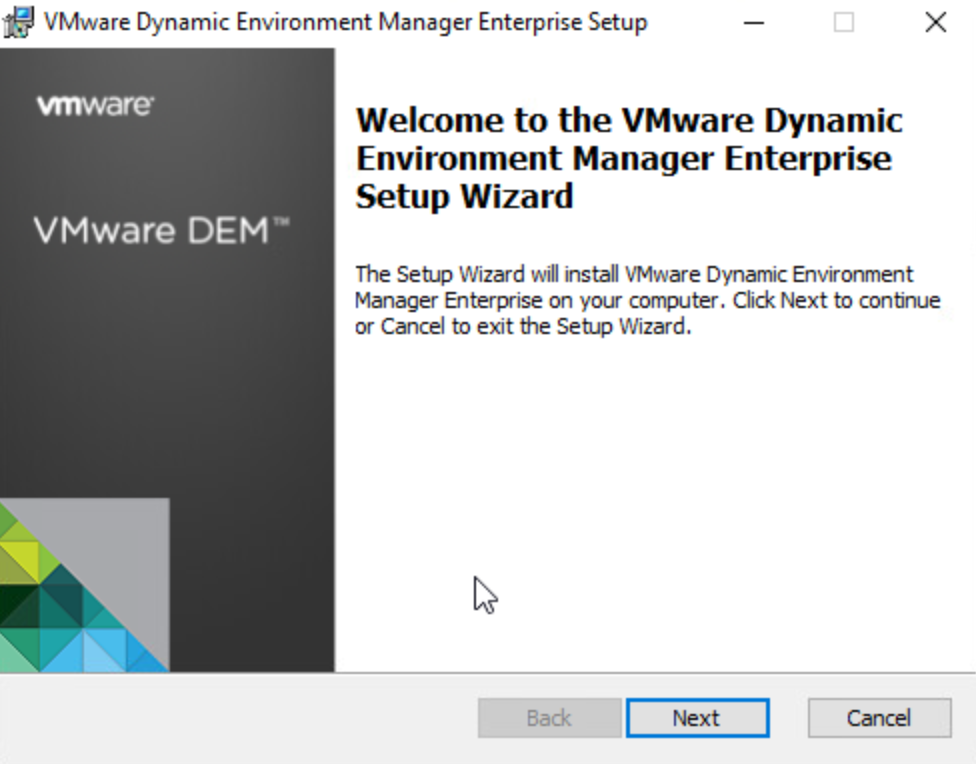
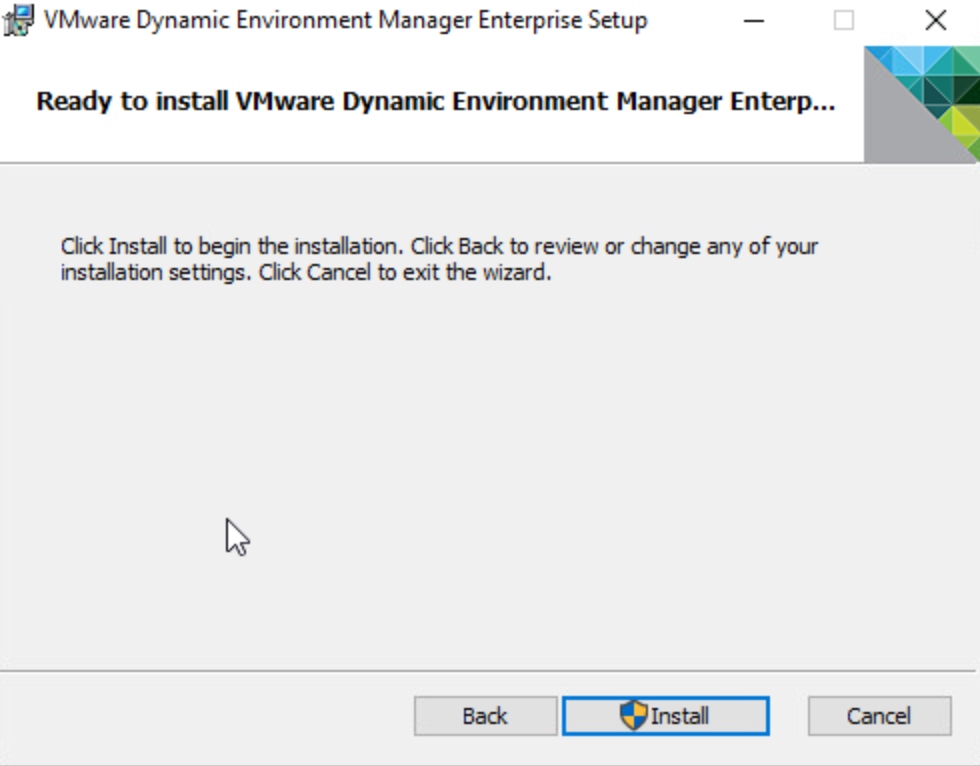
Click Install to begin the installation.
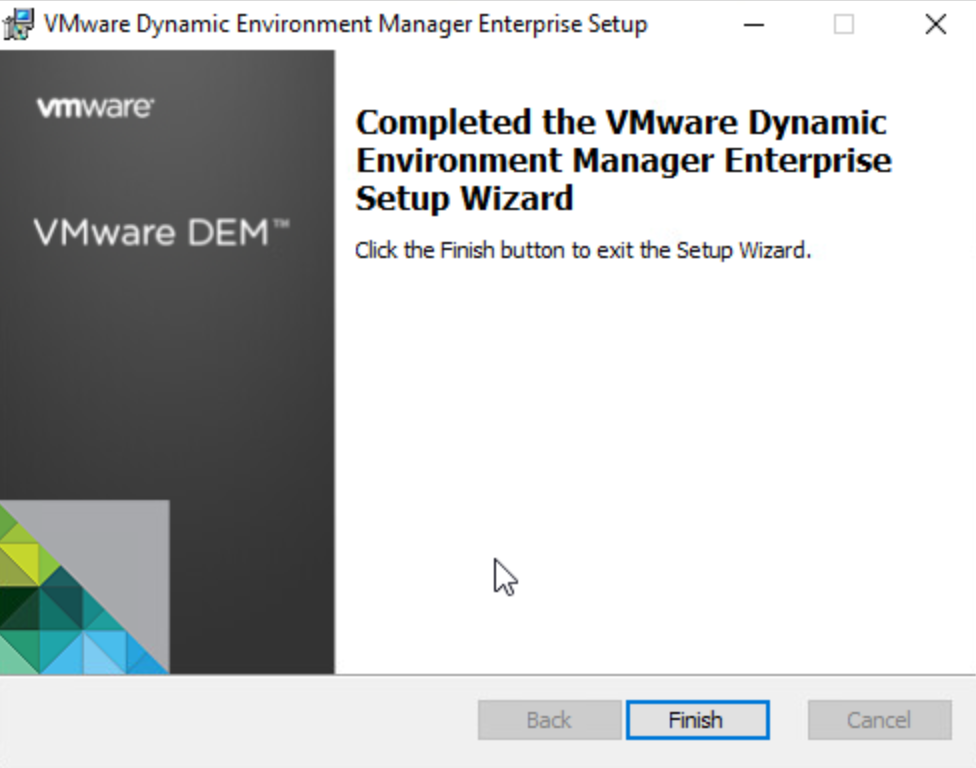
Click Finish after the installer completes.
Initial Configuration of the Management Console
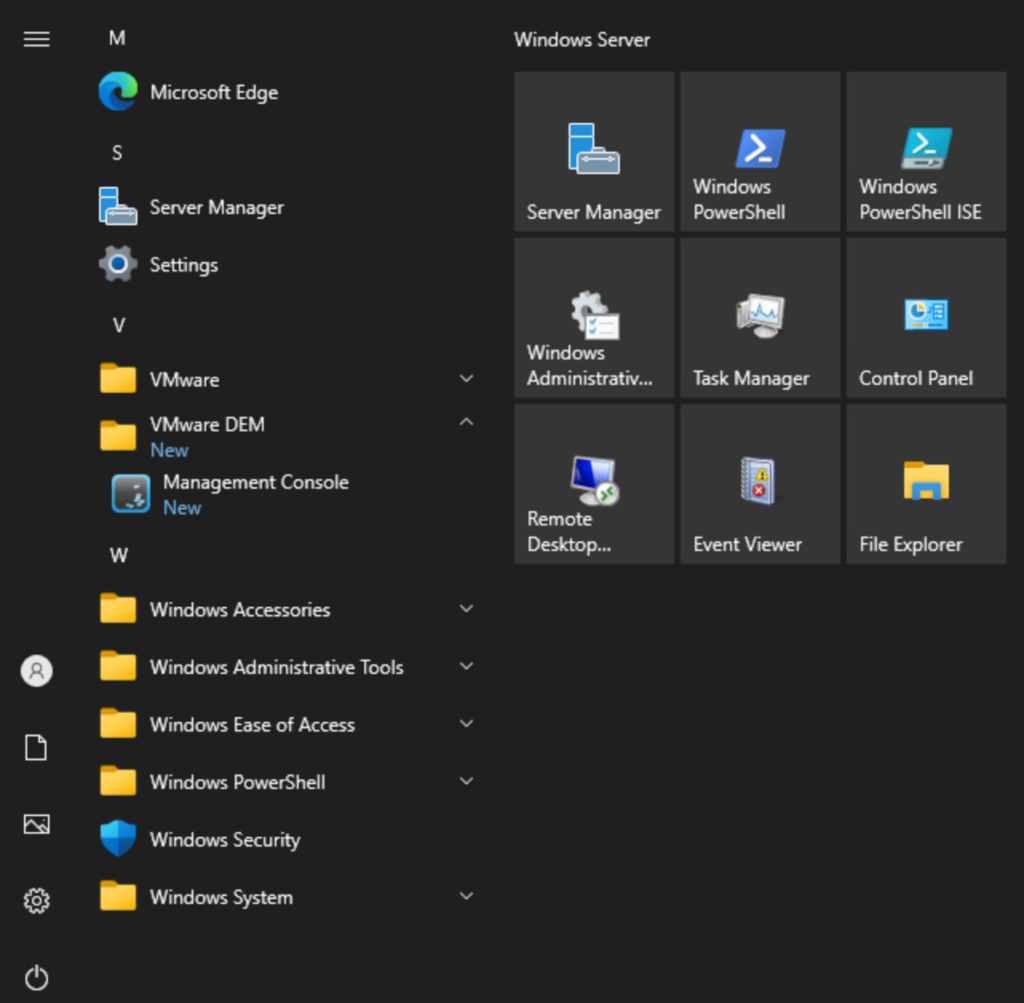
Open the Start Menu and find the Management Console.
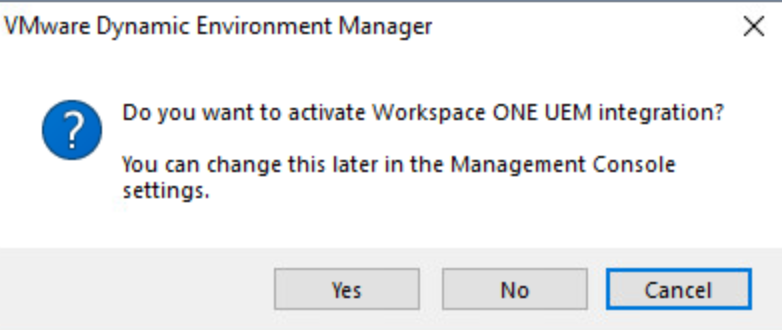
I am not using Workspace ONE UEM, so I click No here as I do not need the integration.
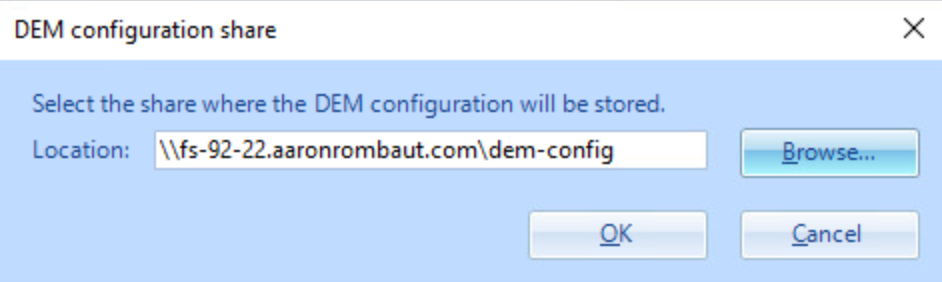
Provide the fully qualified domain name server name and the name of the share that is intended for the configuration files.
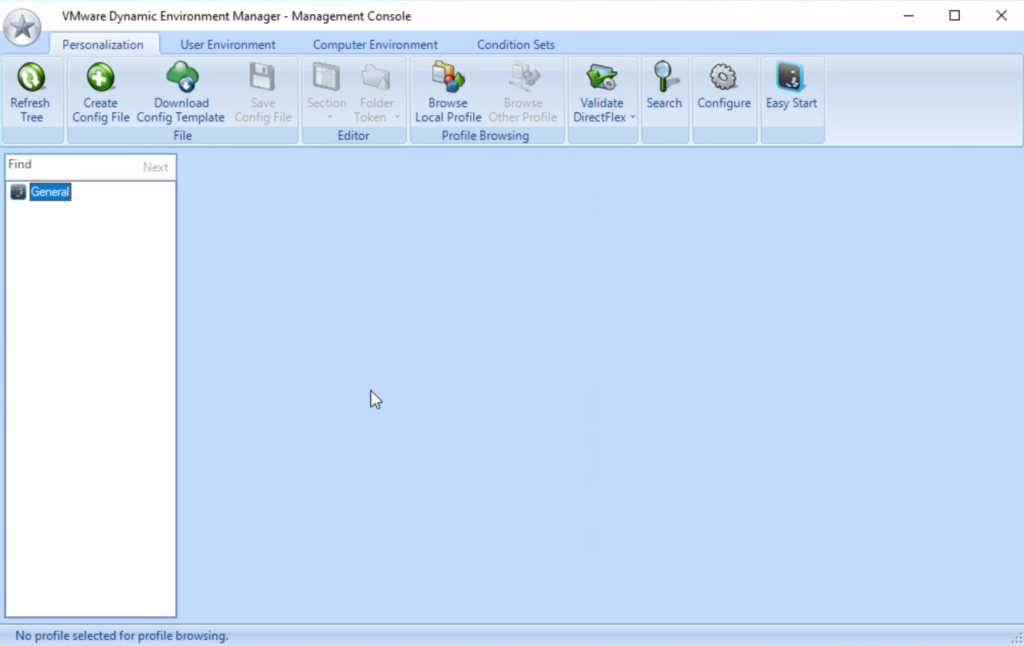
Verify that the Management Console open. This indicates the Share and NTFS permissions were set correct.
Customizations I Like
Alter the Logoff Experience – Remove and Prevent Access to the Shutdown Button
Note: This is a Group Policy Setting, so the ADMX templates for the applicable Windows desktop will need to be added, first.
I like this setting as it requires uses to log off their session and therefore releases the Instant Clone so that others can be built and more sessions will be available. When these buttons go away, the users will have to rely on the Horizon Client power options instead of the Operation System.
<?xml version="1.0" encoding="utf-8"?><userEnvironmentSettings><setting type="Gpo" label="Remove and prevent access to the Shutdown, Restart, Sleep, and Hibernate commands" p="CzDUgxZCi8UGNibbzmWCKD5pDSF0GUDEbMZgYmzVbaTkydWa/rExz/J8z/pyeEAlk6TLfSVdfa9ZzB2sKINKB46d+y8x/ShMR0L8/6ya/VjbrBzYjBqbbOBwoaD4iiIKzcL5nMc3k4/Cm/n5M1qeQqiVrQYOVtCVhKjW9LFj0yp05oQaDcLwWbi313zlL6TrKonY9PYMGcS1GBKCjbfELN1YPiURK/gYfzDq7JLtNJeSjcyKg5Hj7uNIawiBul+AdrwxYBWJUXlDr99UHIHKOEurtNaTvw4nRcjDQF4cwKCbar3JtiwYQ73eCq3BjM+ew9rysMbvlXQaIzcvS/pIIk1t+i3nM5Xbzj2xhd8ACfSDHfp1v+vKfg1JPCuFzOJ9rUjKxcOyvfpj5/KMpKPKdaURzK8VvSEqf0LAMxJHnXBJFGn/+eRgOe7n/XuK5uGyUQwmdIYkkdazmwv8QbHPwz/kmFr0Xa8dcC/fiWaAZn9w6BaSaxvNICmtB4Br+BoFAt7q+xSrXtCup5m9QH2AmtNshMgNe1QTSU5QQy37HNQsRSaa59M3IGIUvaM="></setting></userEnvironmentSettings>
Toggle the NumLock On for Windows
[HKEY_CURRENT_USER\Control Panel\Keyboard]
"InitialKeyboardIndicators"="2"
Customize the Windows Desktop Background Image
Note: This is a Group Policy Setting, so the ADMX templates for the applicable Windows desktop will need to be added, first.
<stub>
Configure Folder Redirection
<stub>
Import TLS Certificates
This can be done at the Computer level with a Group Policy Object (GPO) or here as a DEM policy.
<?xml version="1.0" encoding="utf-8"?><userEnvironmentSettings><setting type="importTask" command="certutil.exe -addstore -user "My" "\\fully-qualified-domain-name\file-share\TLS Certificates\chain.pem"" label="Application X is using a self-signed certificate" async="1" /></userEnvironmentSettings>
Toggle Windows Auto Tray
This is the tray near the clock on Windows 10 desktops. I prefer it to be always expanded.
[HKEY_CURRENT_USER\Software\Microsoft\Windows\CurrentVersion\Explorer]
"EnableAutoTray"=dword:00000000
Configure the Startup Delay in MSec
[HKEY_CURRENT_USER\SOFTWARE\Microsoft\Windows\CurrentVersion\Explorer\Serialize]
"StartupDelayInMSec"=dword:00000000
Configure Firefox Policies
https://support.mozilla.org/en-US/kb/customizing-firefox-using-group-policy-windows
Configuring Google Chrome Policies
https://support.google.com/chrome/a/answer/187202?hl=en#zippy=%2Cwindows
Leave a Reply