Overview
I am a strong proponent to securing an infrastructure with customer-signed Transport Layer Security (TLS) certificates internally and only using third party certificates where absolutely necessary for external services.
For this service, I am going to build a two-tier Microsoft certificate authority (CA) using Windows Server 2022. One virtual machine will be a root authority and the other will be an intermediate CA where the certificates will actually be provisioned from. It is recommended to shut down and remove the Root CA, but I am only going to shut down (and not remove) the Root CA virtual machine in my lab.
Add the Servers to Active Directory
Be sure to add the servers to Active Directory so that the services are Active Directory integrated.
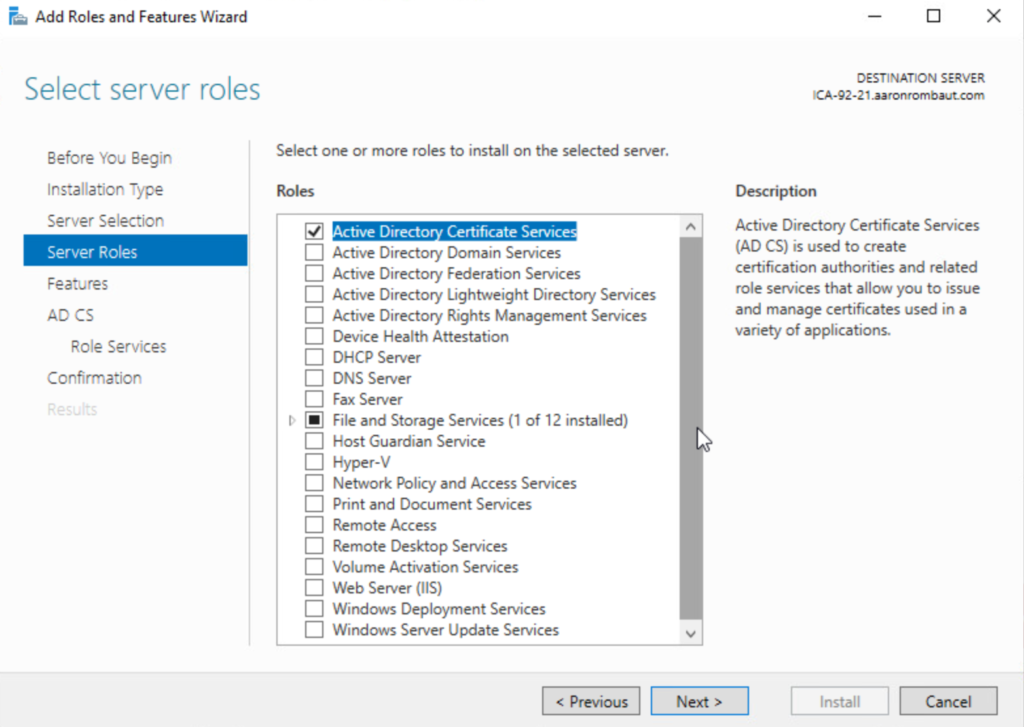
Install the Active Directory Certificate Services Role
Both servers should have the Active Directory Services role installed. The configuration will be different for both, but the role is installed the same.
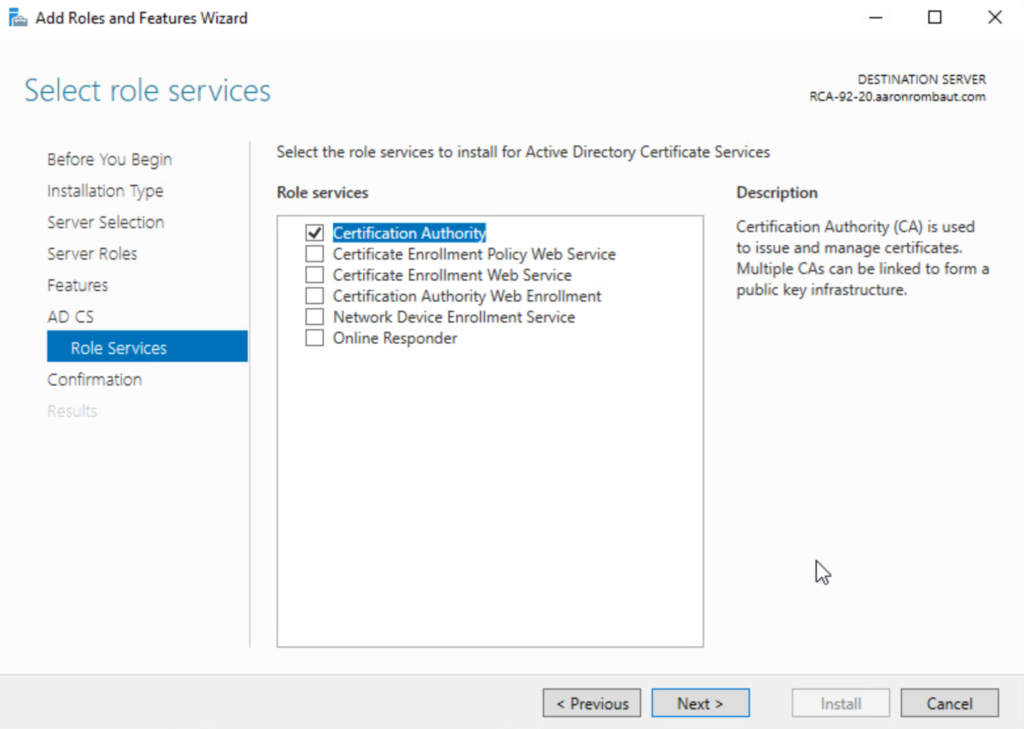
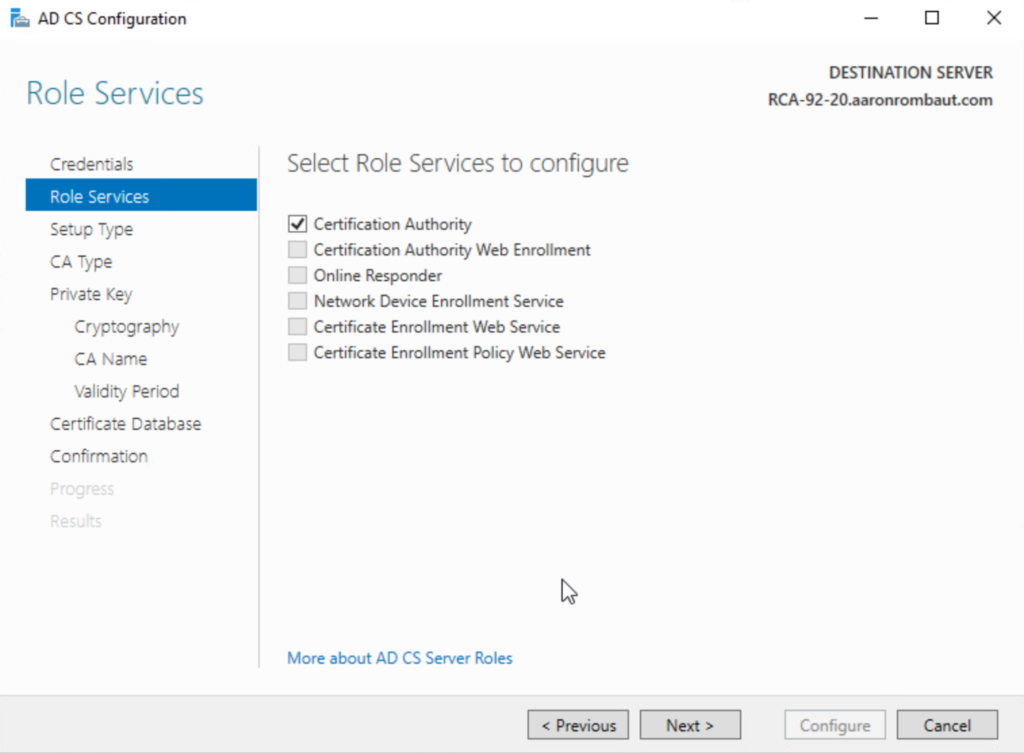
Choose the Certificate Authority role on both servers. This is a minimal configuration and will not use the Web Enrollment at this time.
Configure the Root Certificate Authority (CA)
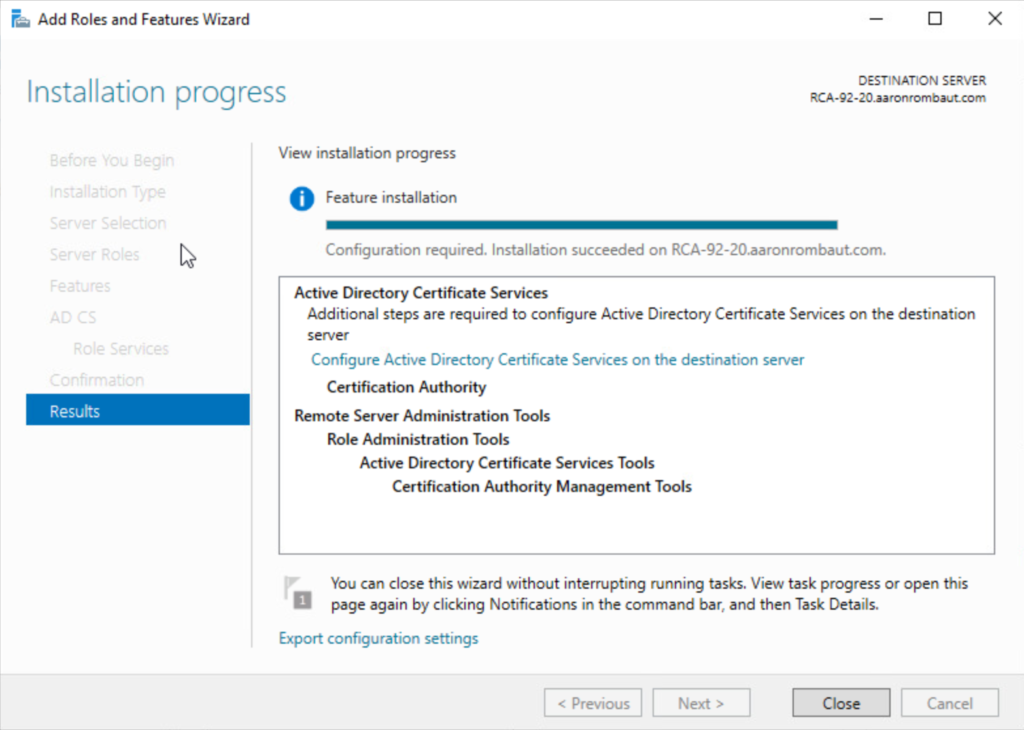
After the role is installed, click on Configure Active Directory Certificate Services on the destination server.
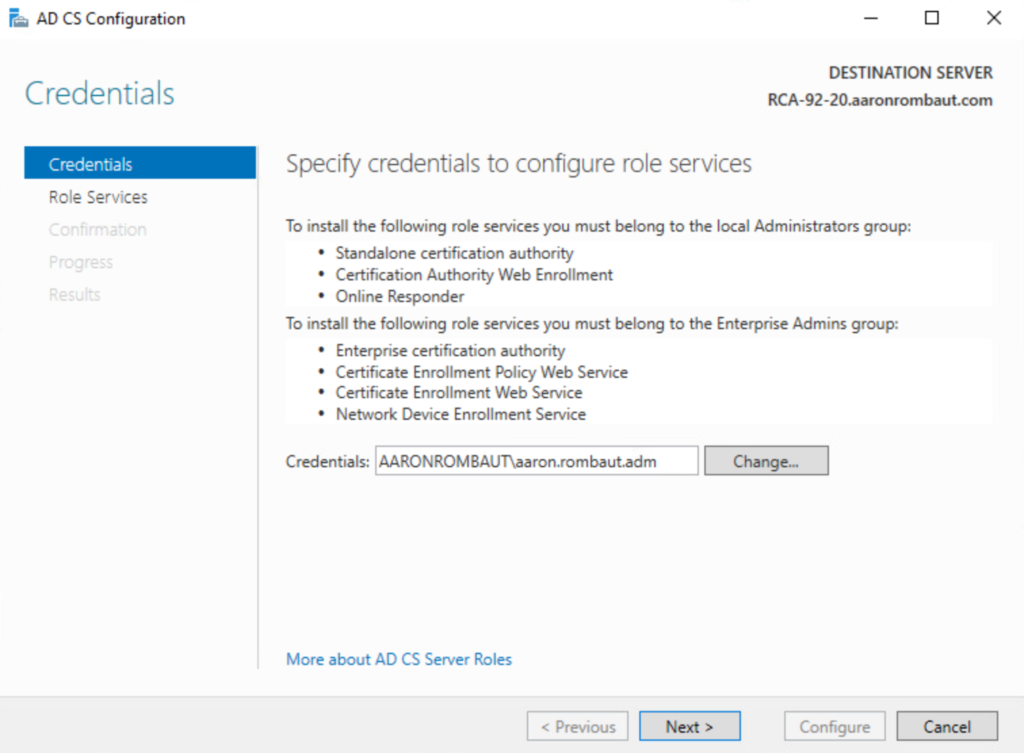
Use an account that is a member of the Enterprise Admins group.
Choose Certification Authority to start configuring.
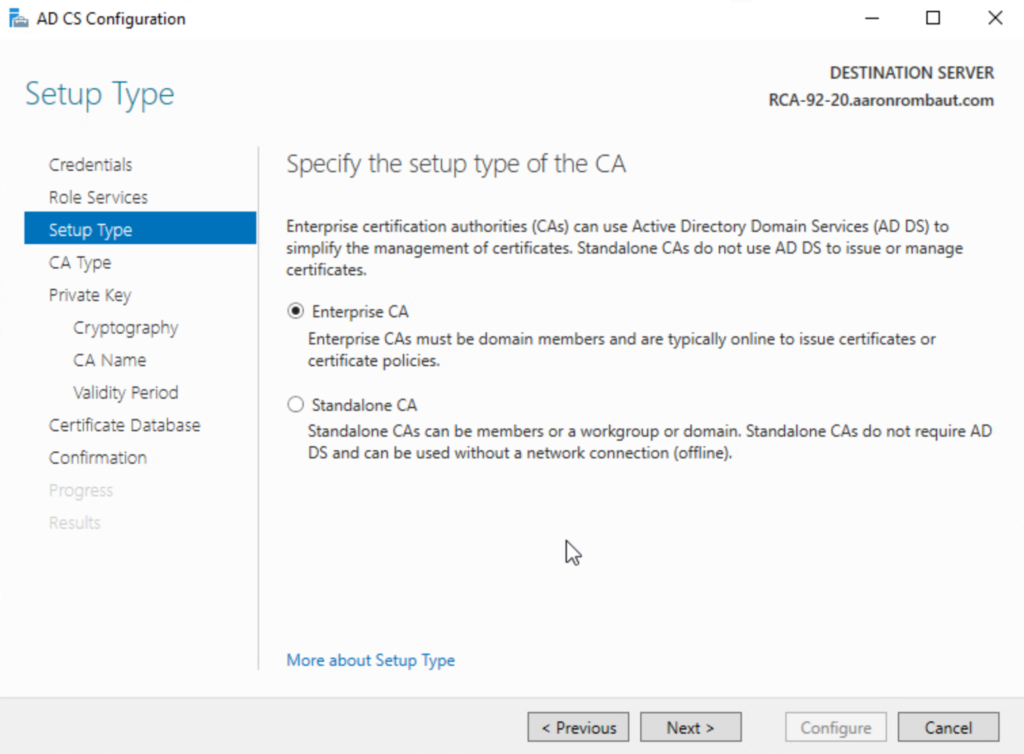
Leave the default Enterprise CA option selected.
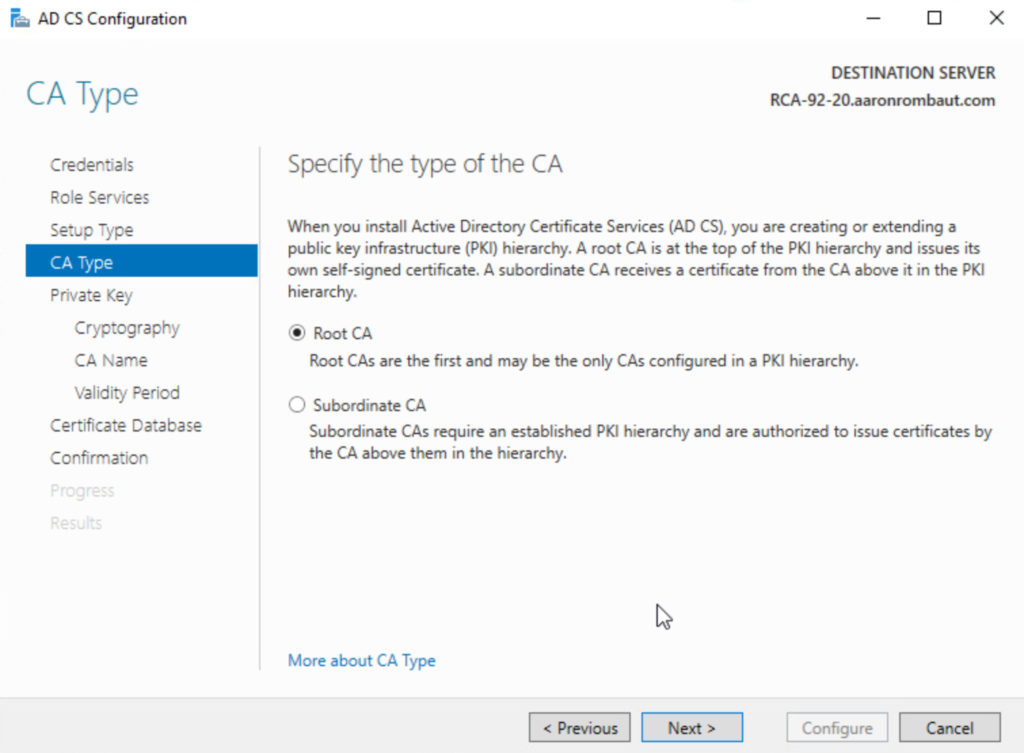
Leave the Root CA option selected.
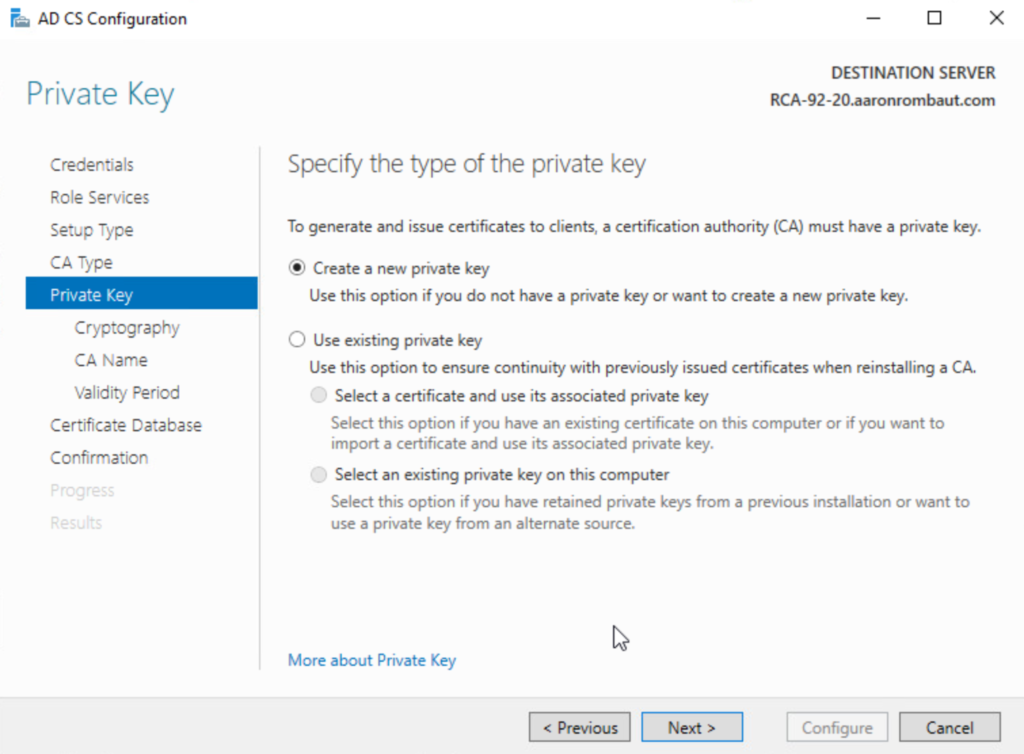
Leave the option to Create a new private key selected.
Leave the default cryptographic options as default.
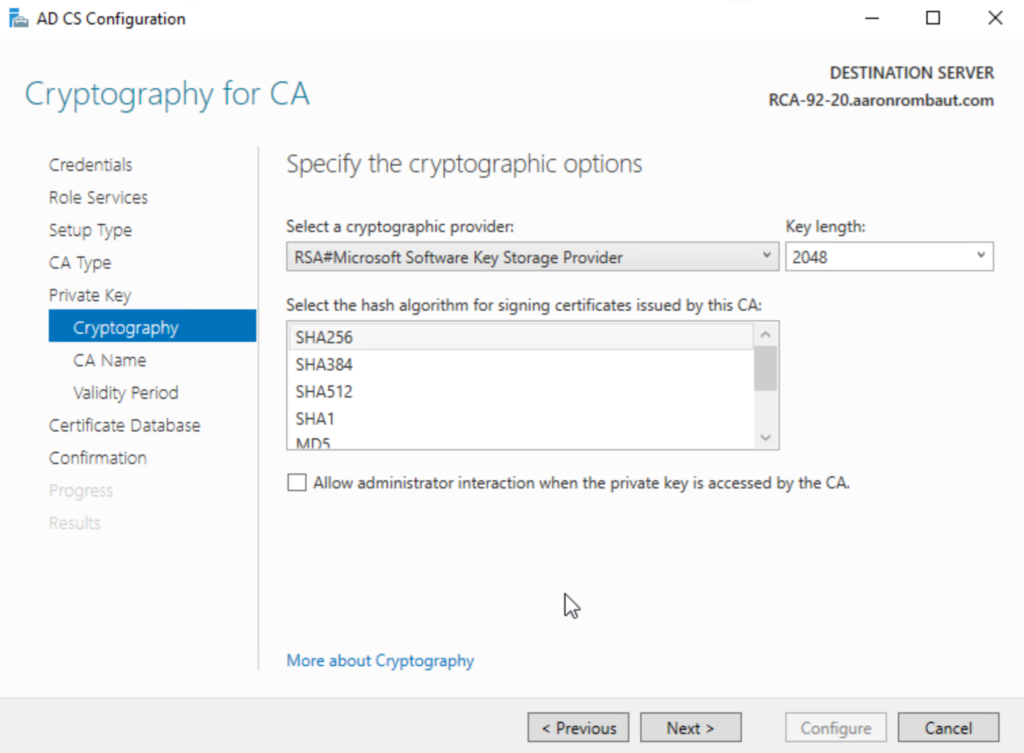
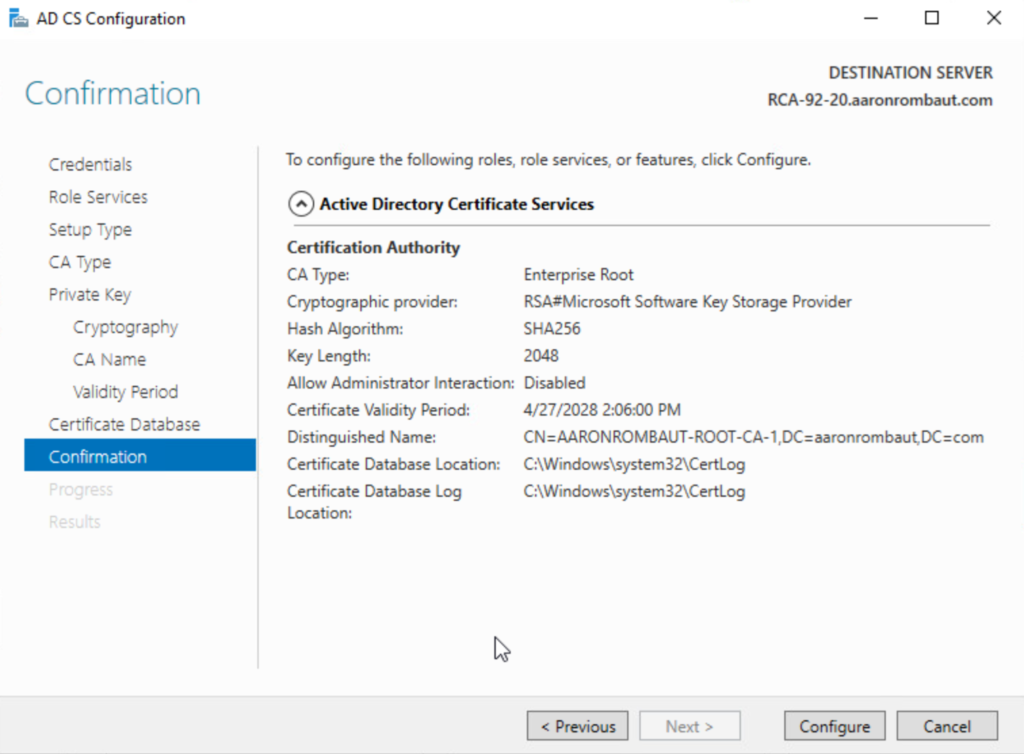
An image of the default settings. I will change this in the next step.

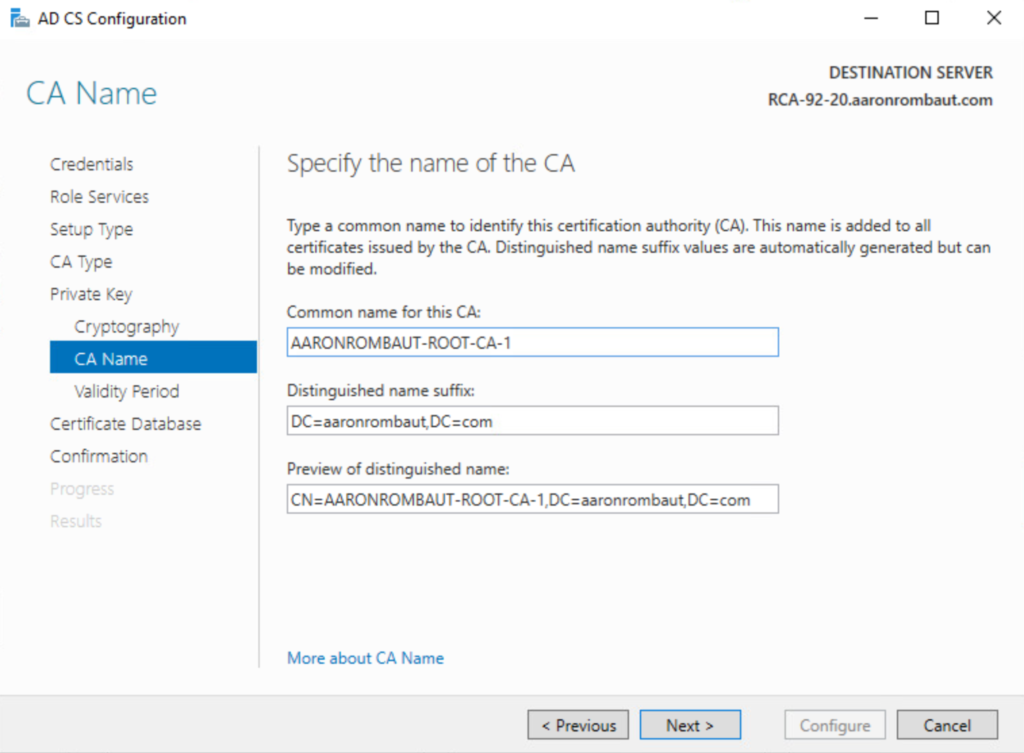
I change the Common name to AARONROMBAUT-ROOT-CA-1.
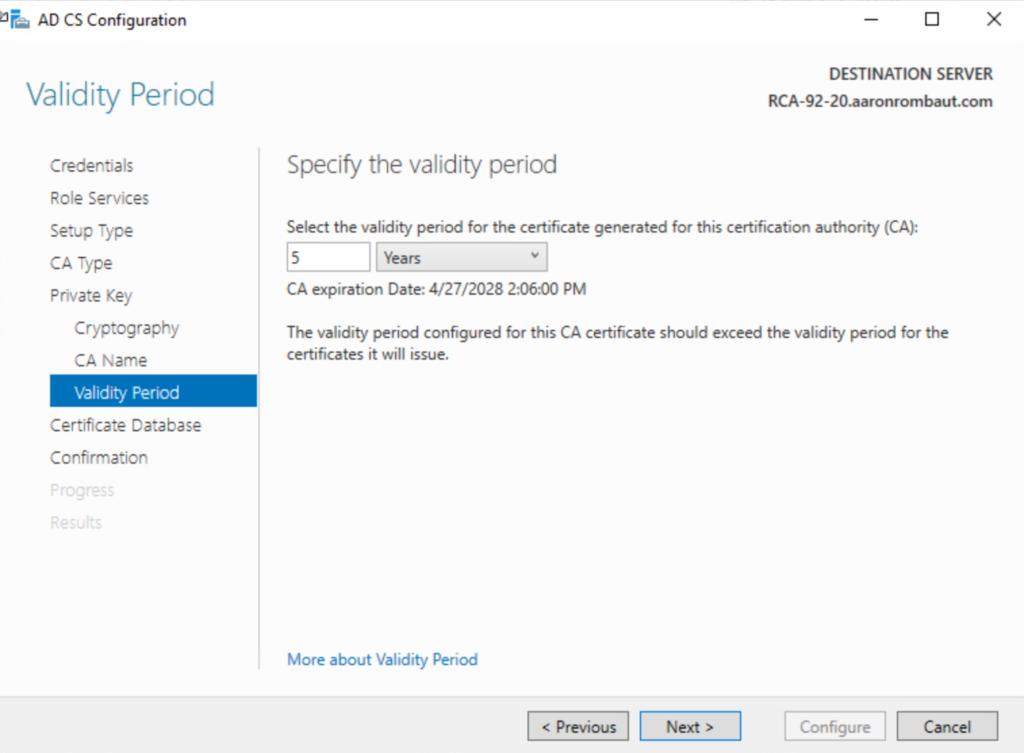
My labs rarely stay up long, so the default of five years works.
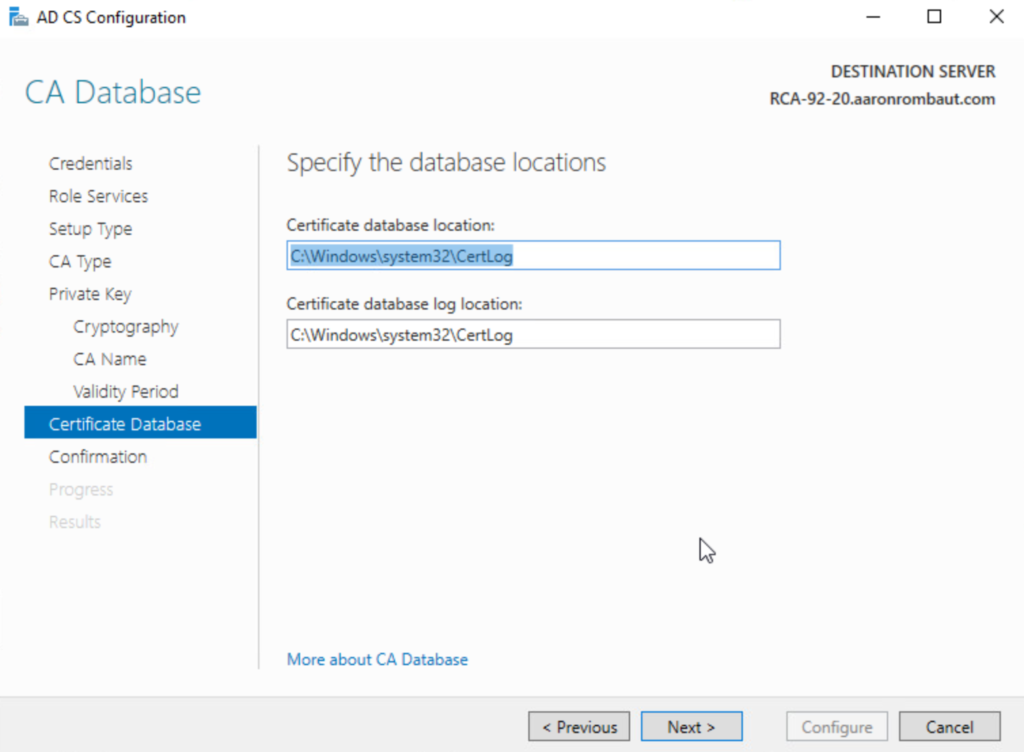
I leave the Paths at the default.
Confirm the settings.
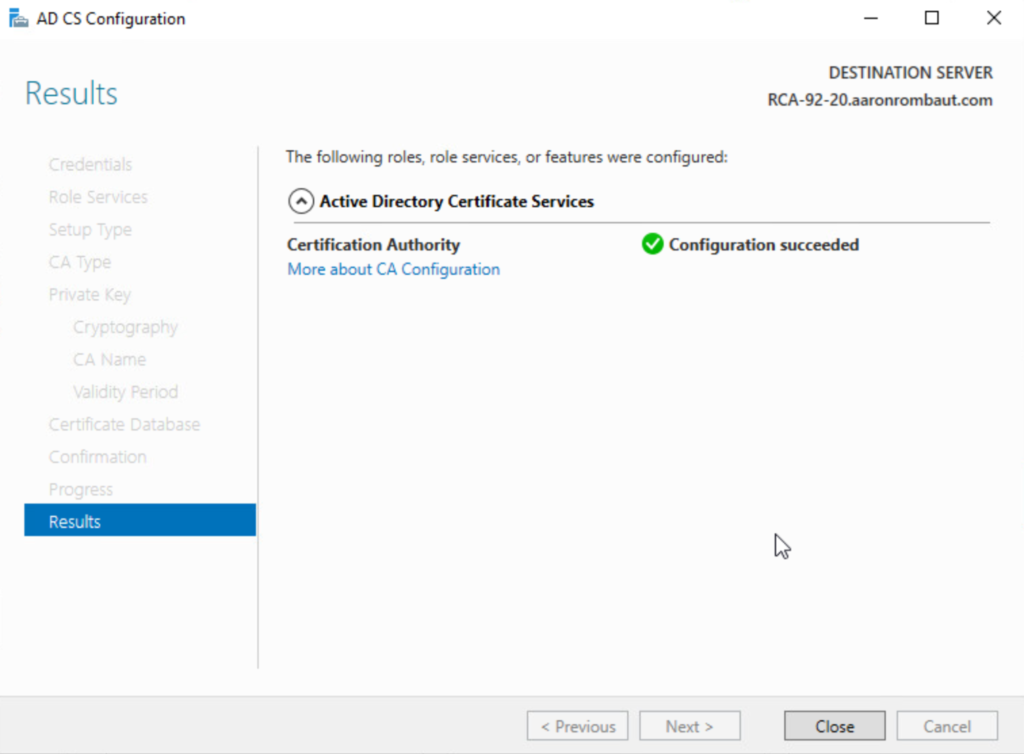
The Results window displays. This window can be closed and the intermediate certificate authority can be configured.
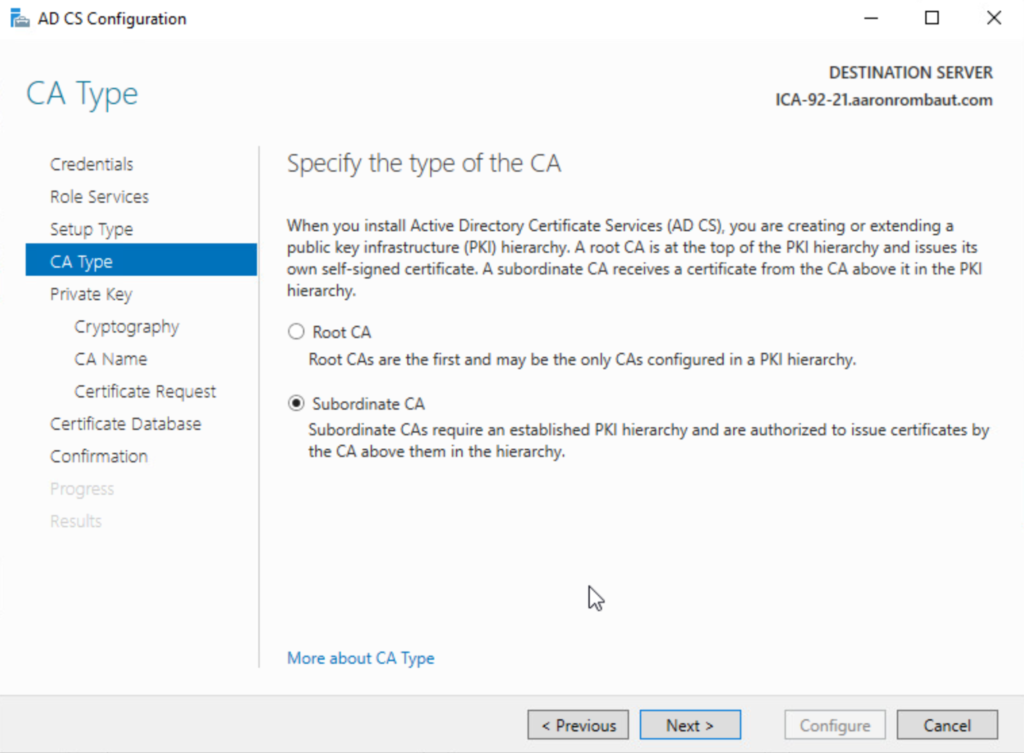
Configure Intermediate Certificate Authority
Most of the same as configuring the Root Certificate Authority will apply. This time we will choose Subordinate CA when asked for the CA Type.
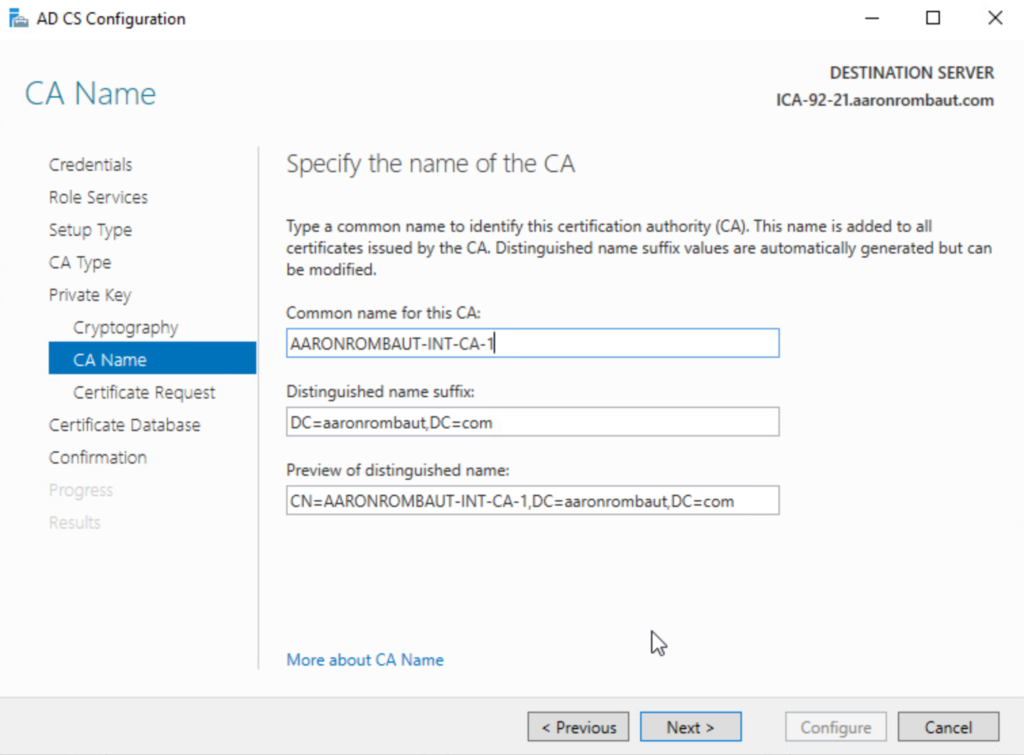
Here is the default name, I will change it in the next step.
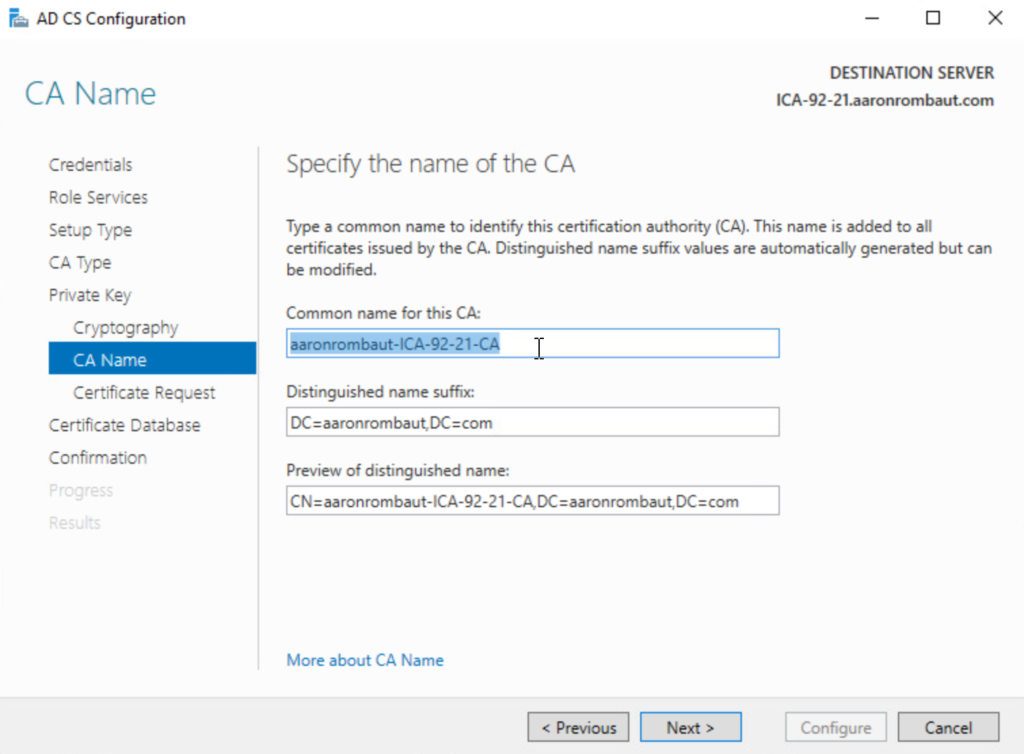
I change the Common Name to AARONROMBAUT-INT-CA-1.
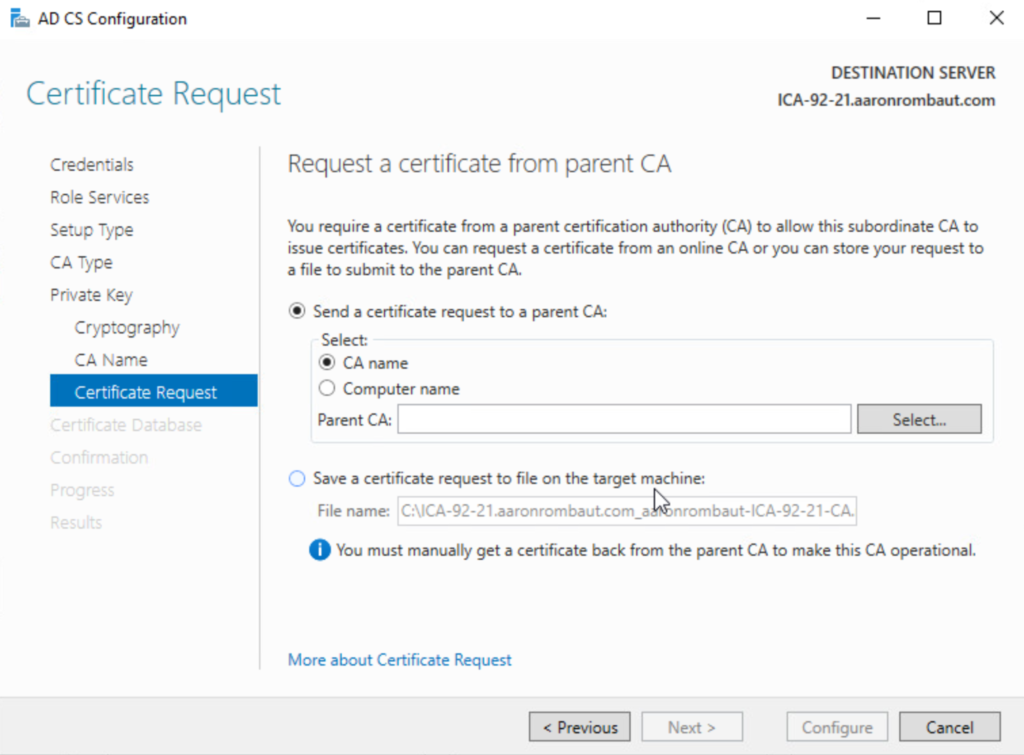
The Intermediate CA still needs to be trusted (signed) by the Root CA. For this to happen, choose Send a certificate request to a parent CA:, choose CA name, and click Select.
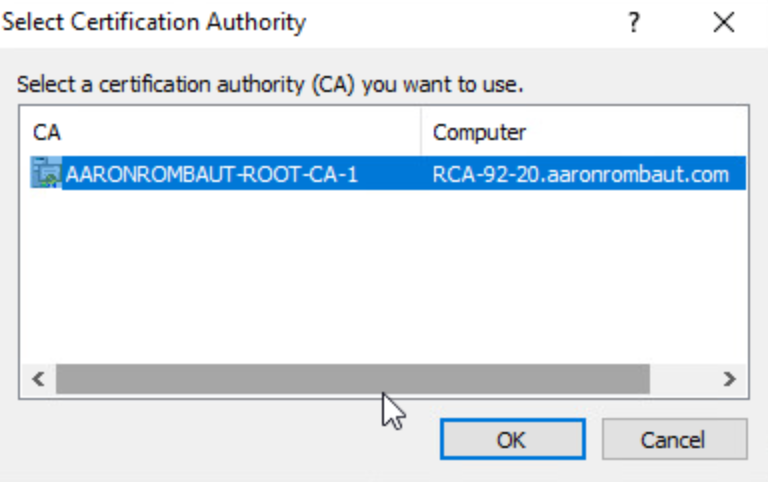
If you are following along, there should only be one Root CA in the list. This is apparent with the ROOT in the name.
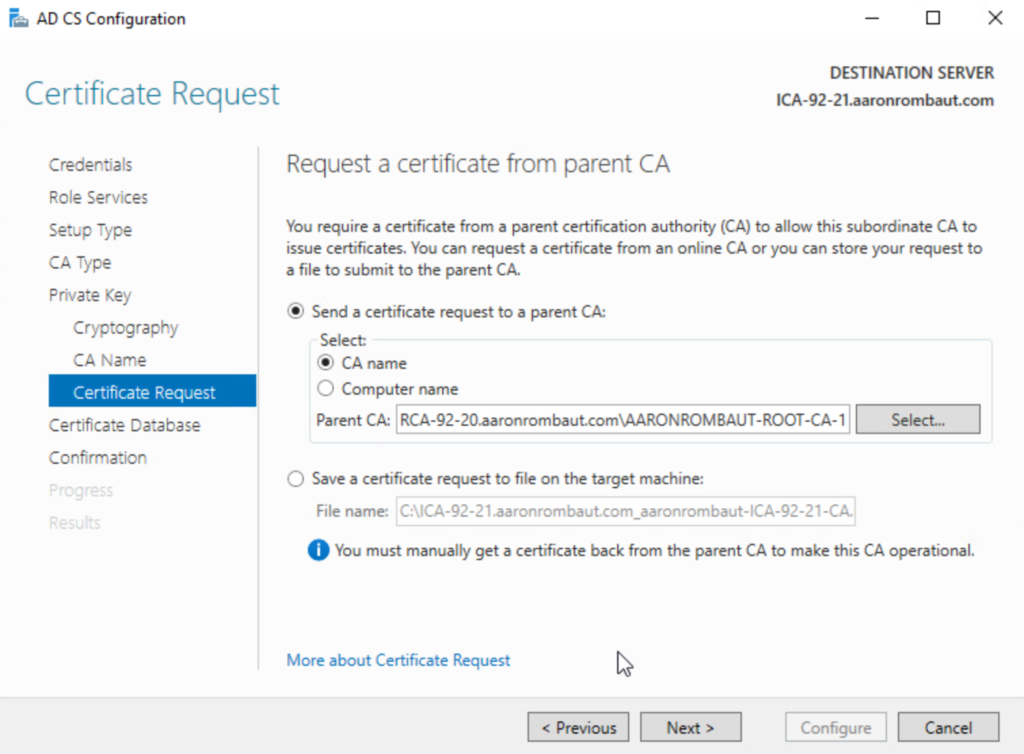
Now the Parent CA field is populated.
Continue through the configuration. The rest will follow along like configuring the Root CA.
Configure a Certificate Template for VMware
link: https://kb.vmware.com/s/article/2112009
Although this template is primarily used for VMware products, I generally use it for other services like Dell iDRAC or securing Microsoft SQL Server.
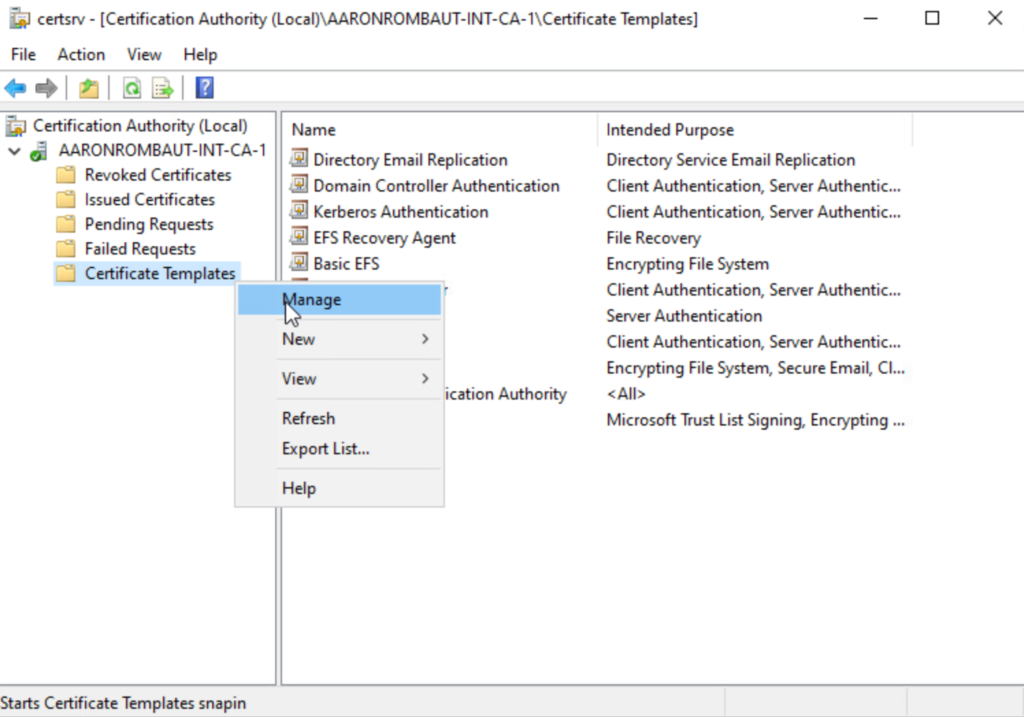
Open up the Local Certification Authority (certsrv.msc) and right-click Certificate Templates to Manage.
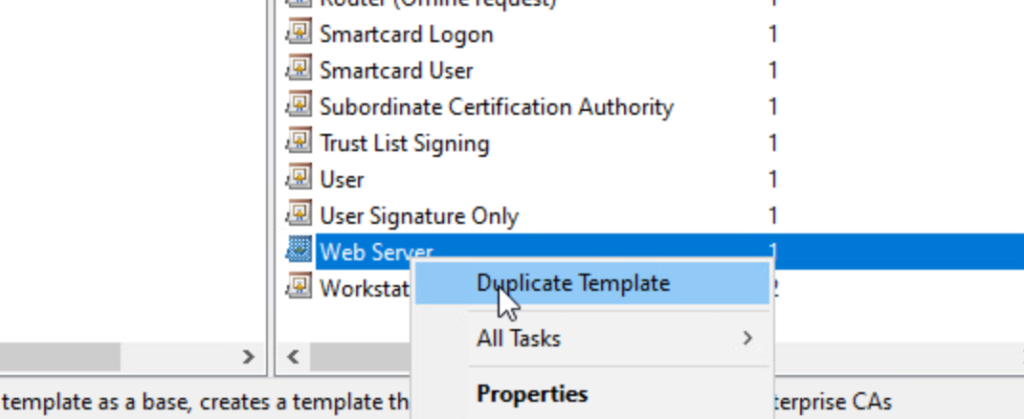
Find the Web Server template and make click Duplicate Template.
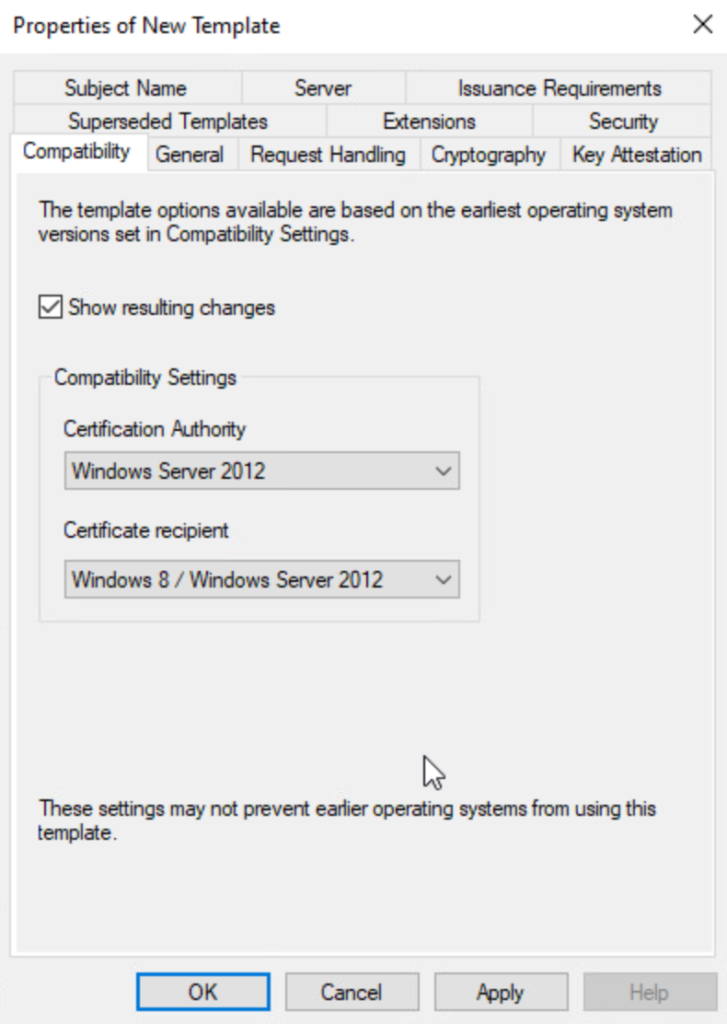
On the Properties of New Template window, on the Compatibility tab, configure the Compatibility Settings:
Certification Authority: Windows Server 2012
Certificate recipient: Windows 8 / Windows Server 2012
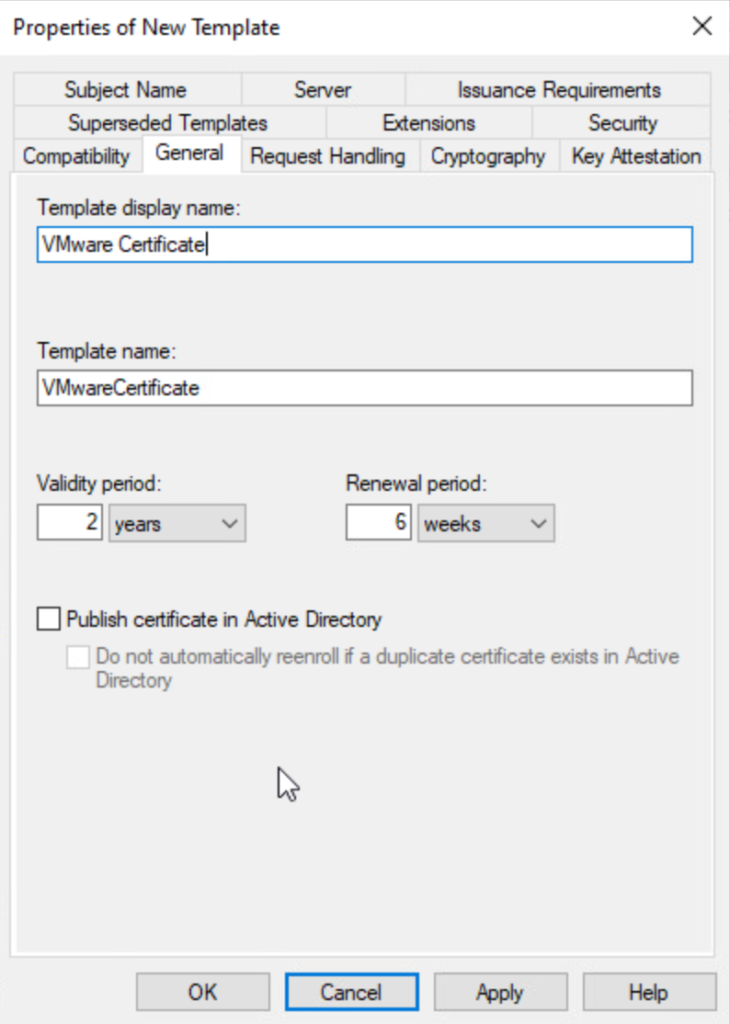
On the General tab, configure a Template display name.
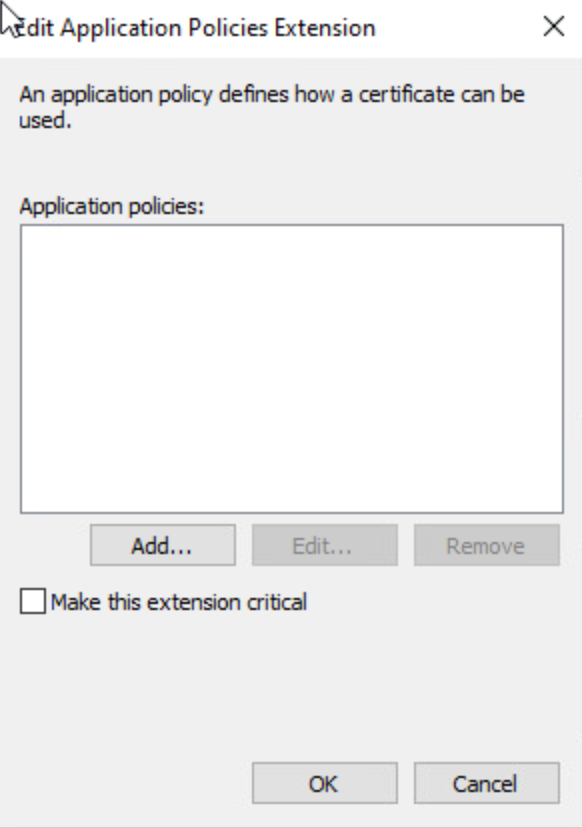
On the Extensions tab, Application Policies, remove the Client Authentication and Server Authentication policies, if they are present.
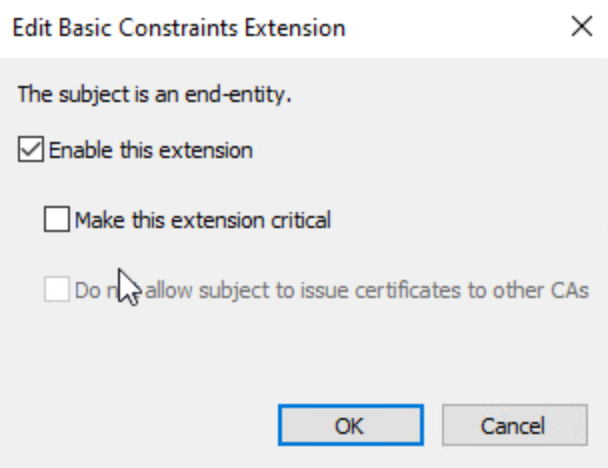
On the Extensions tab, Basic Constraints, edit and check Enable this extension.
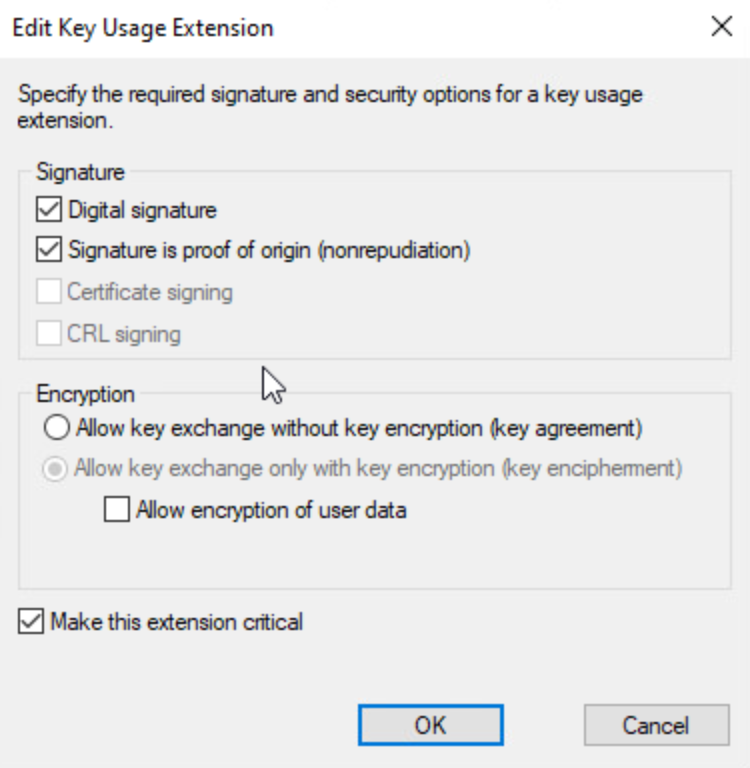
On the Extensions tab, Key Usage, edit and check Signature is proof of origin (nonrepudiation).
On the Subject Name tab, ensure the Supply in the request option is selected.

On the Request Handling tab, check Allow private key to be exported.

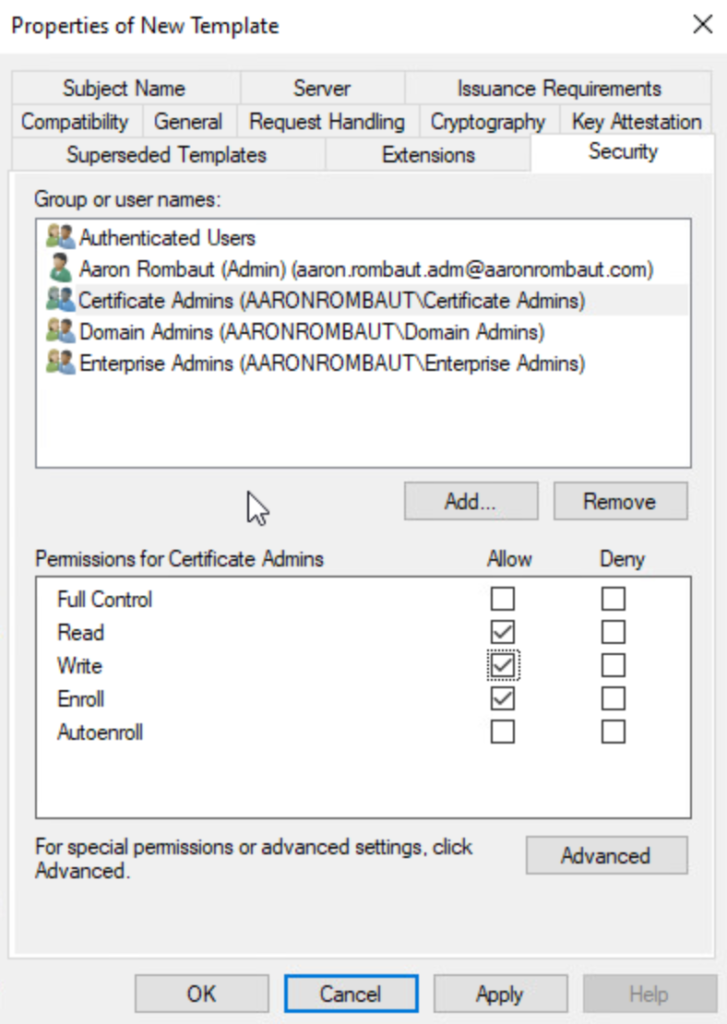
On the Security tab, add the Certificate Admins security group and make sure Read, Write, and Enroll permissions are checked.
Click Apply and OK to close the New Template.
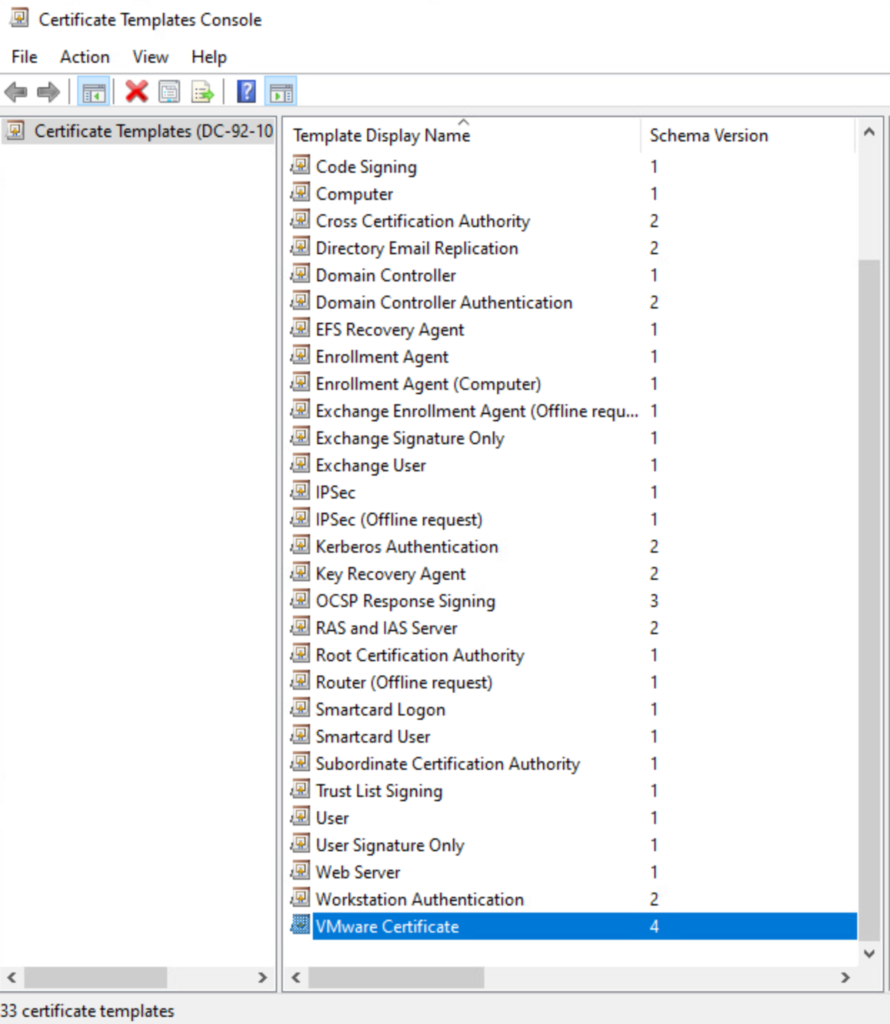
There will now be a new certificate template in the list with the name provided above.
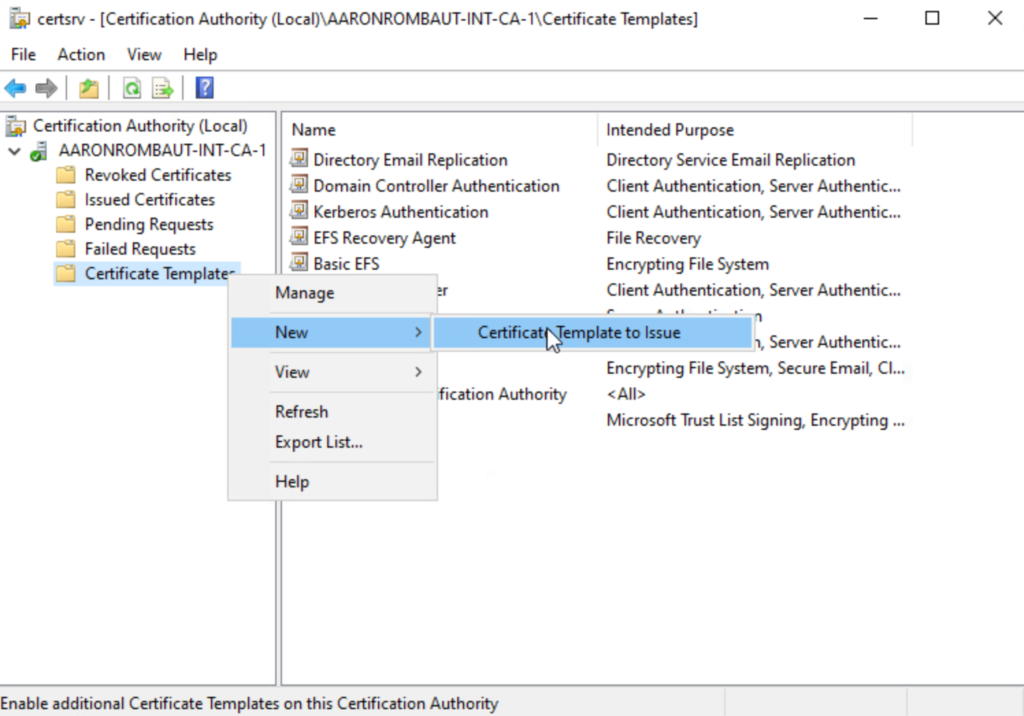
Add a Certificate Template to Issue
Open the Local Certification Authority (certsrv.msc) and right-click Certificate Templates. Click New and select Certificate Template to Issue.
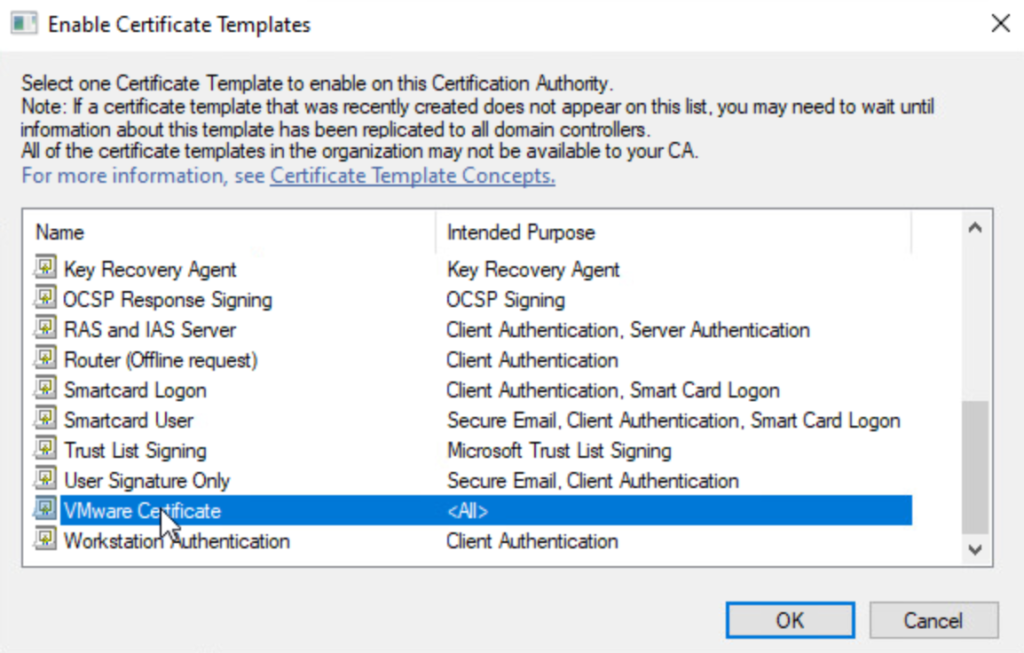
Choose the VMware Certificate (or whatever it was named) created earlier and click OK.
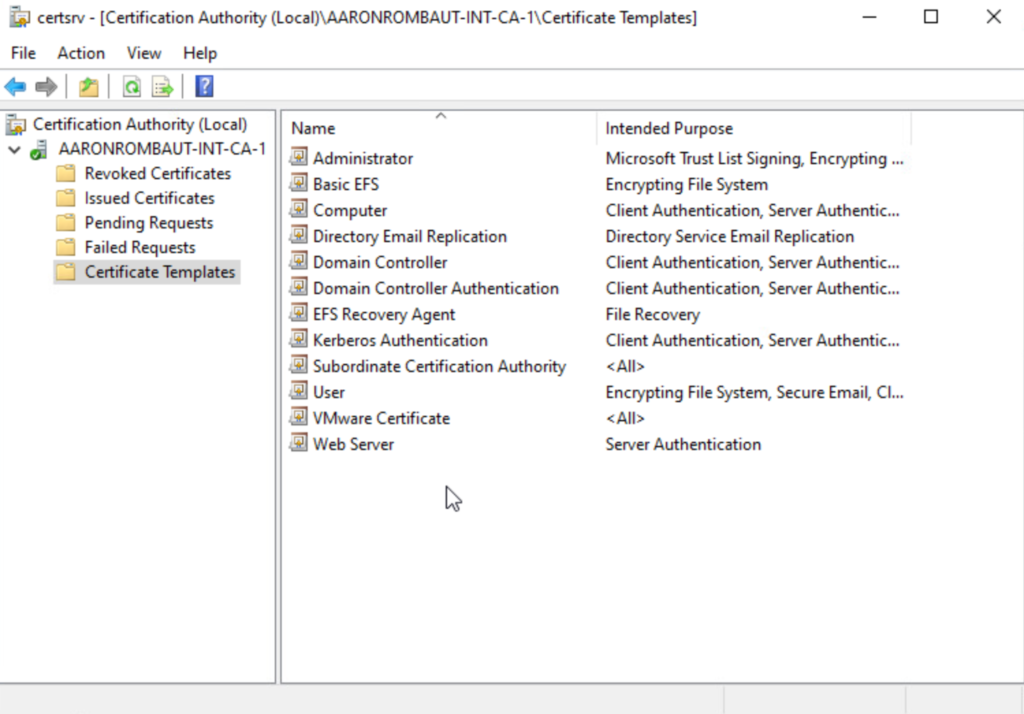
The certificate template is now available to issue certificates from.
Converting Personal Information Exchange (PFX) to Privacy Enhanced Mail (PEM) Format
Extract the Client Certificates
- clcerts: Only output client certificates
- nokeys: Don’t output private keys
- in: Input filename
- out: Output filename
openssl pkcs12 -clcerts -nokeys -in app-92-18.pfx -out app-92-18-clcerts.pem
Extract the Private Key
- nocerts: Don’t output certificates
- nodes: Don’t encrypt private keys
- in: Input filename
- out: Output filename
openssl pkcs12 -nocerts -nodes -in app-92-18.pfx -out app-92-18-key.key
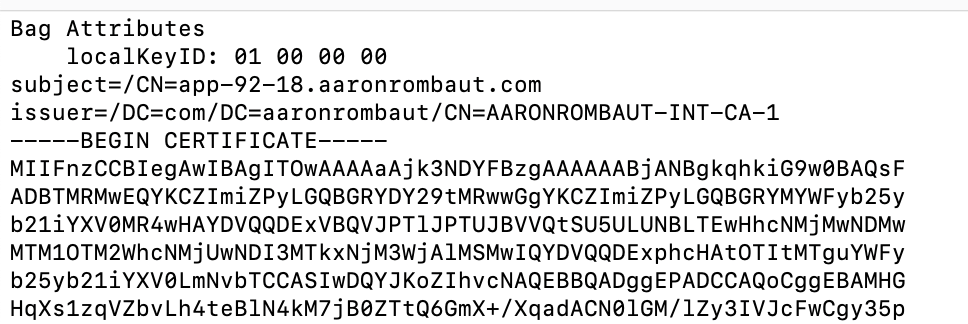
Remove the Bag Attributes
After converting the file, there may be Bag Attributes from OpenSSL. These should not matter, but are safe to remove.
Leave a Reply