Overview
I am going to deploy and configure a Fedora 38 Server for Secure File Transfer Protocol (SFTP). This server will be used to backup VMware vCenter Server.
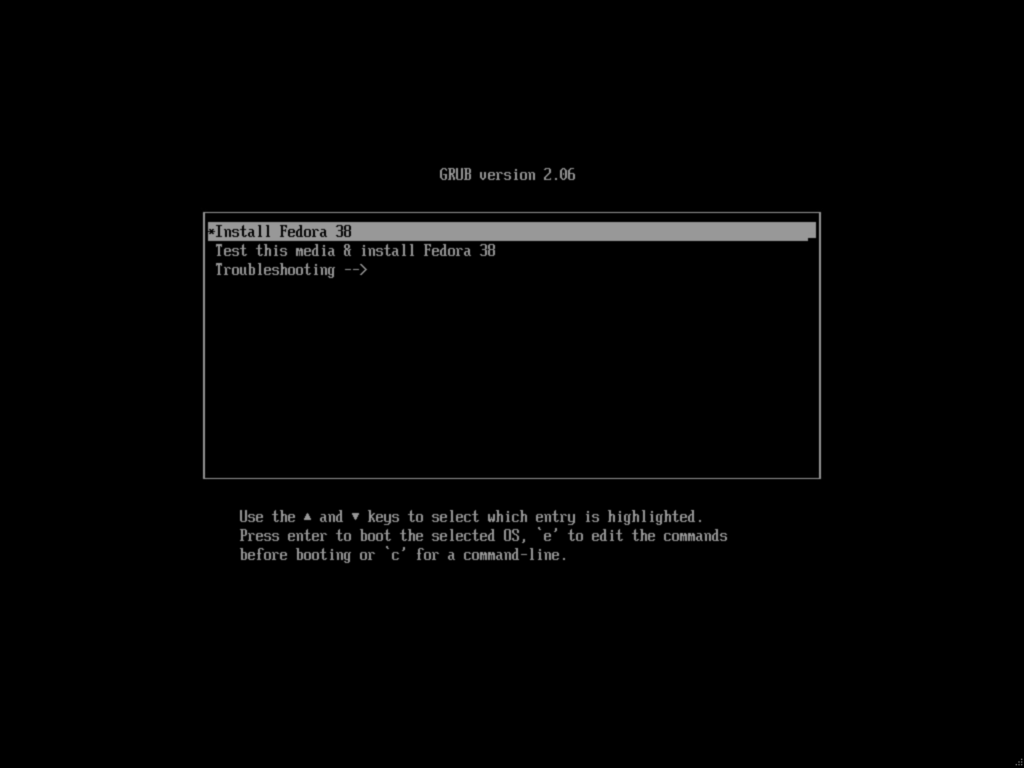
Install Fedora Server 38
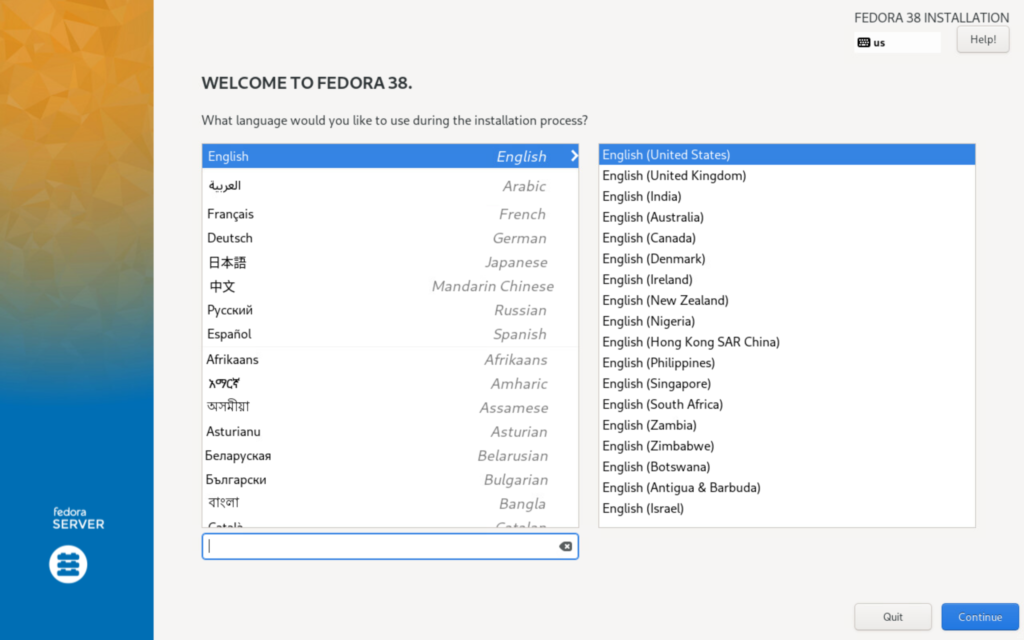
Setting the language.
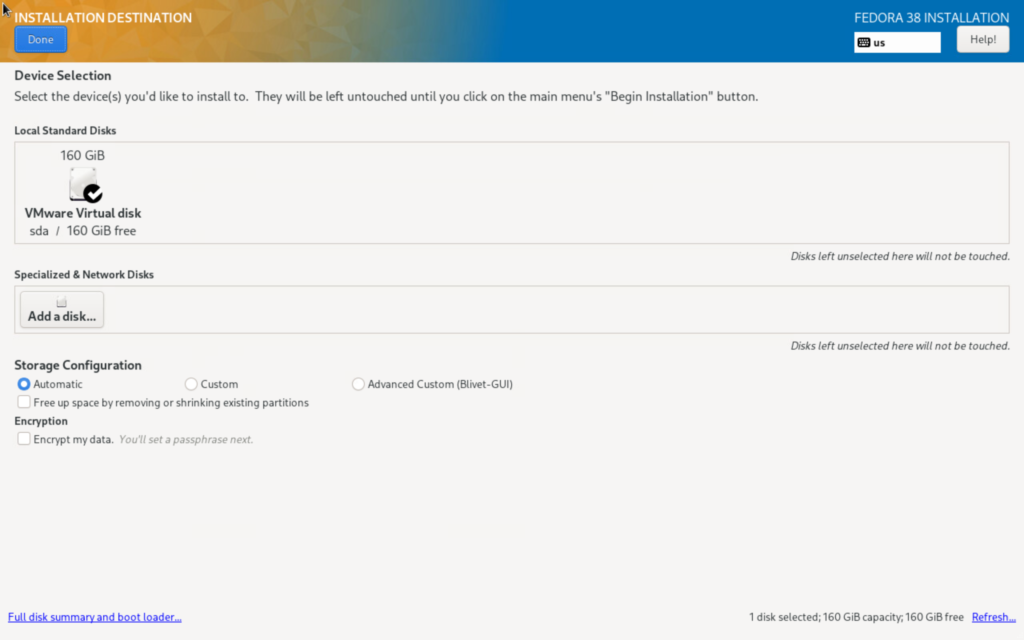
Under System, click Installation Destination.

Click Done.
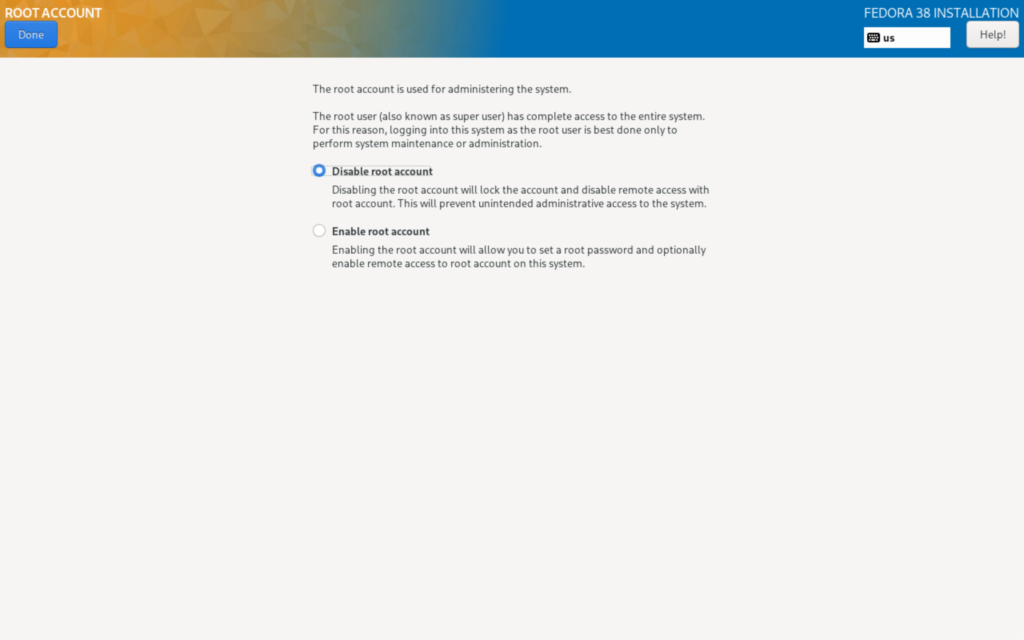
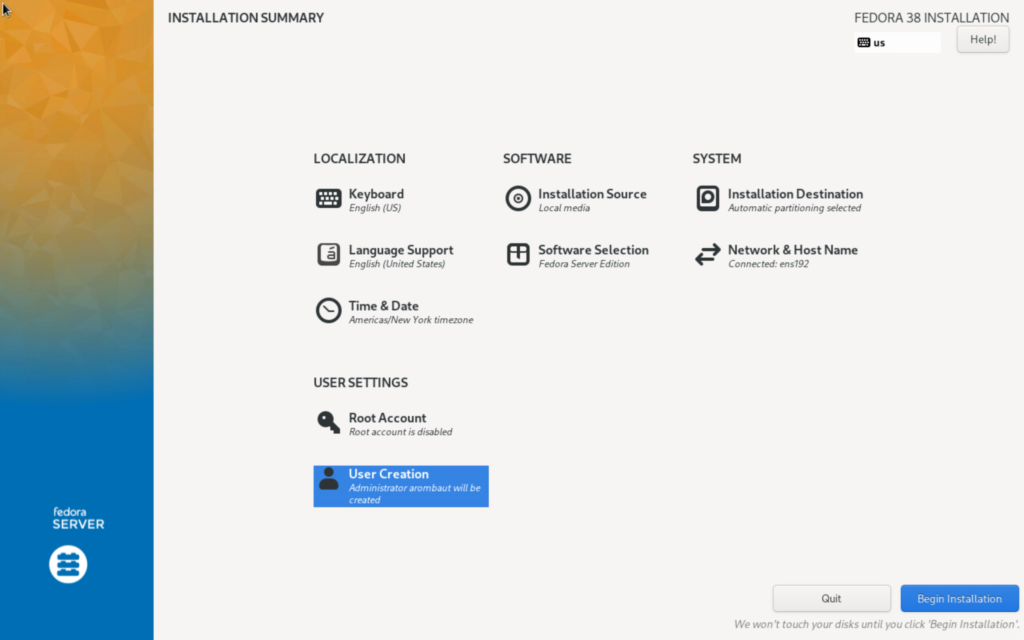
Under User Settings, click Root Account.
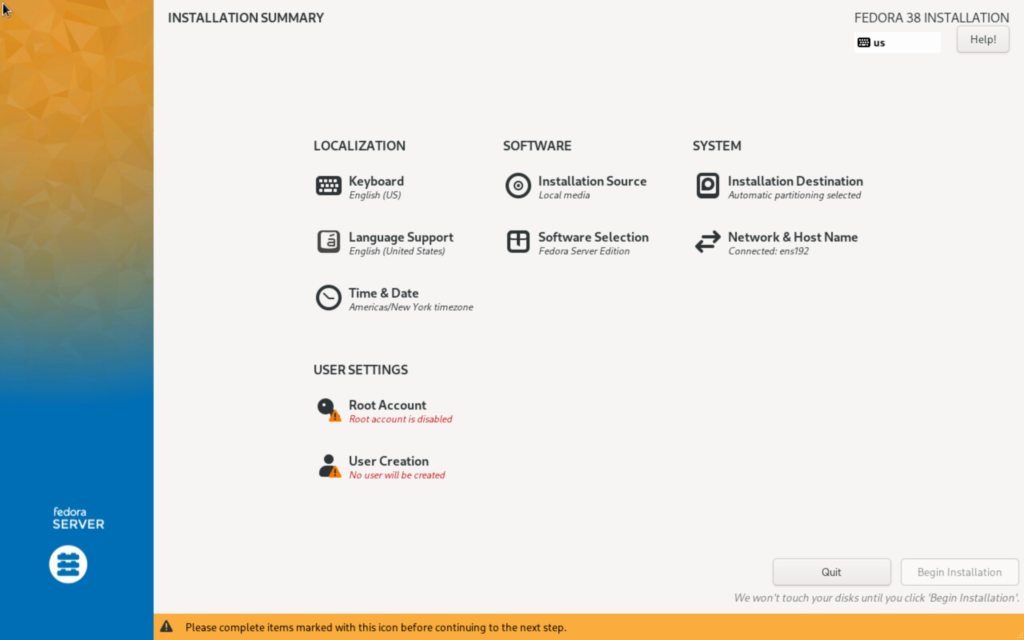
I am choosing the Disable root account option, here.
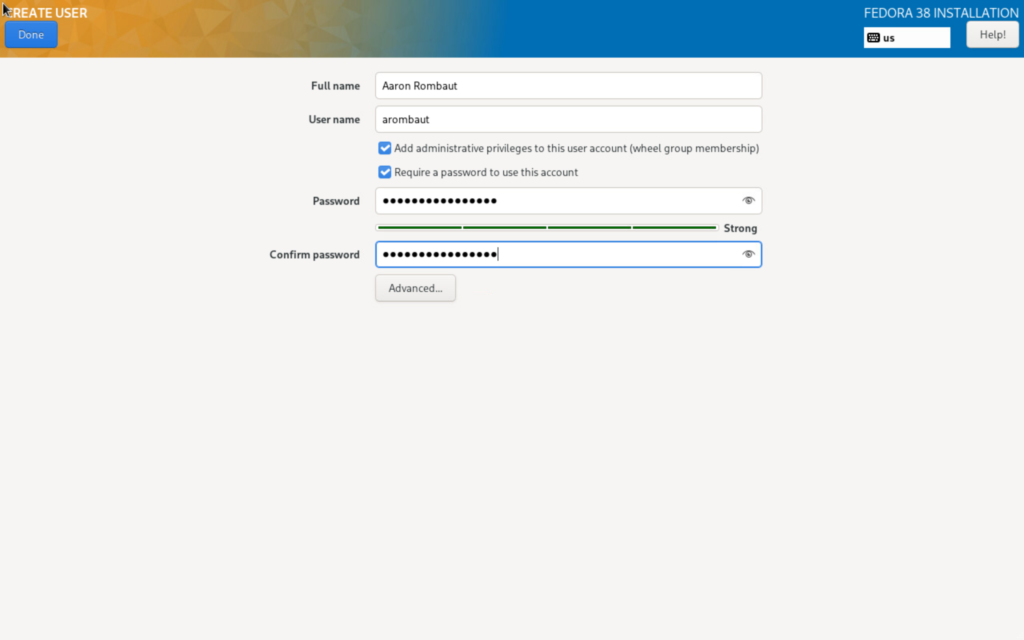
Under User Settings, click User Creation.
Set the user information and password.
Under System, click Network & Host Name.
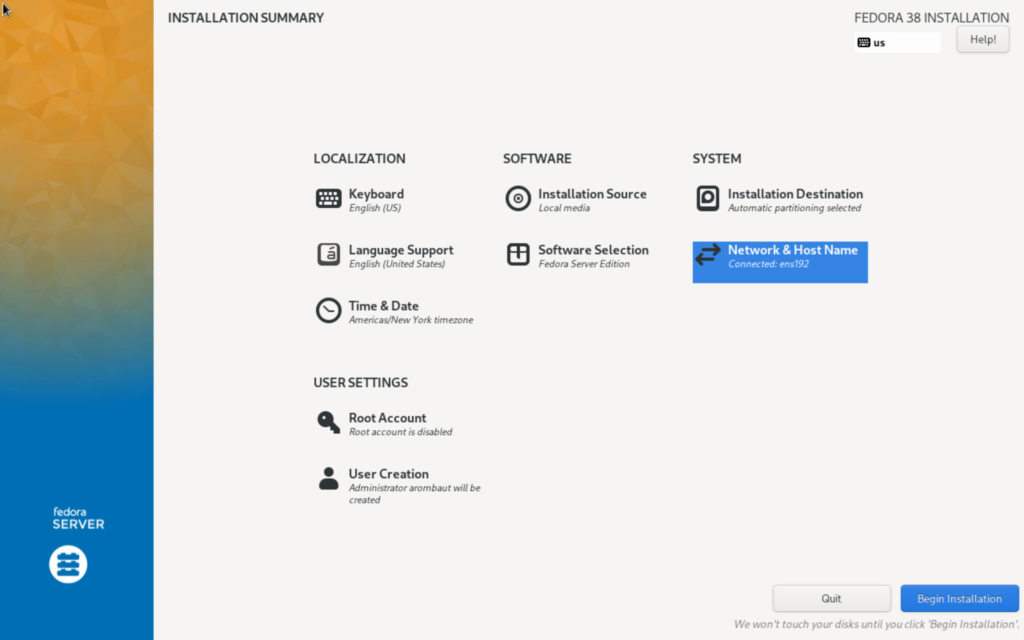
Set a Host Name and click Apply.

Click Begin Installation.
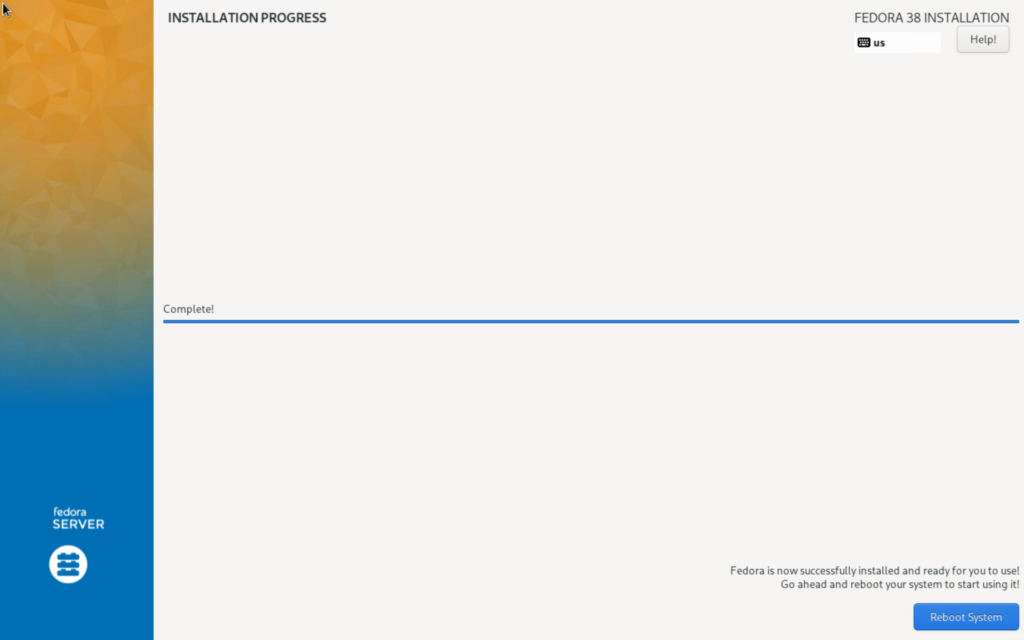
When the installation is complete, click Reboot System.
Configure the Secure File Transfer Server (SFTP) Service
ref: https://www.golinuxcloud.com/sftp-chroot-restrict-user-specific-directory
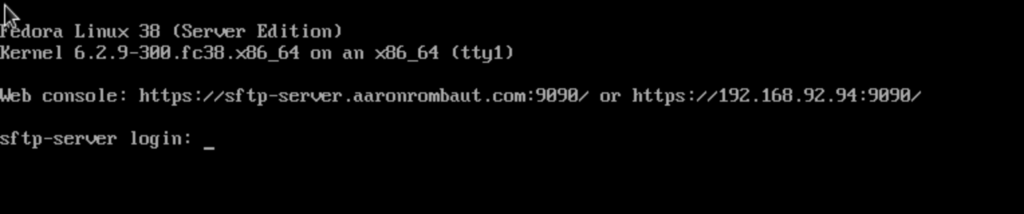
Log in to the server. This can be done, here, on the command line, or the supplied Web console address as seen below.
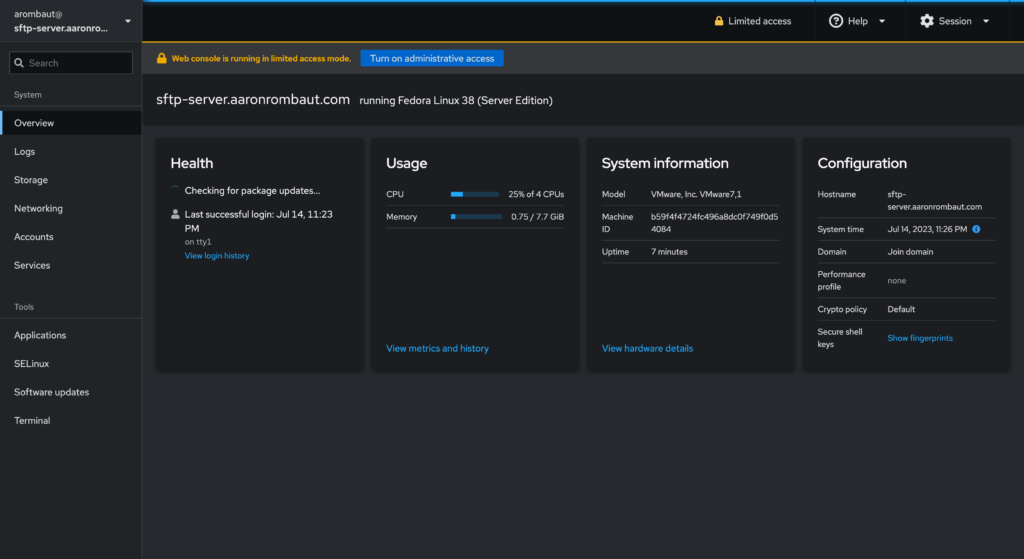
Using the Web console.

Click Turn on administrative access.
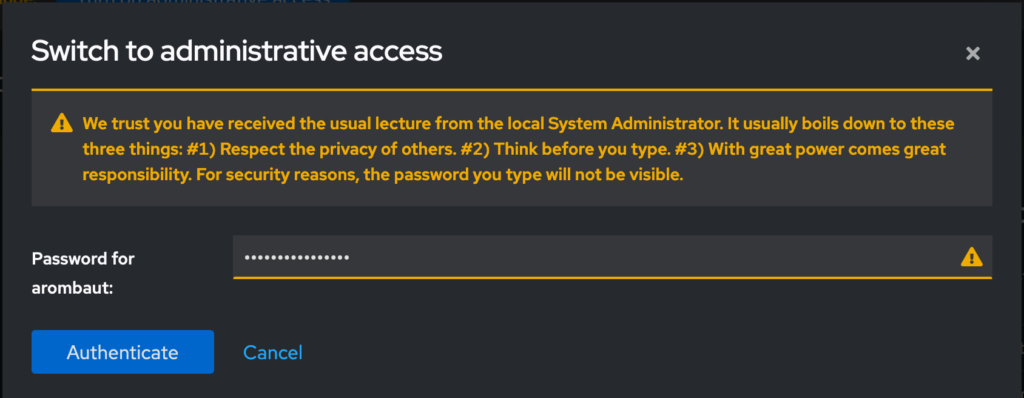
Authenticating…
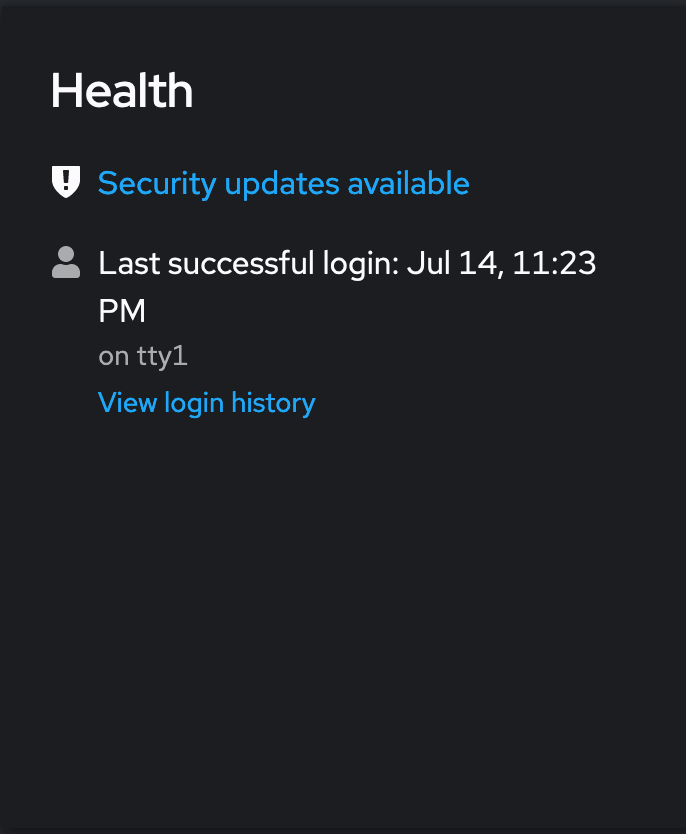
Click the Security updates available link.
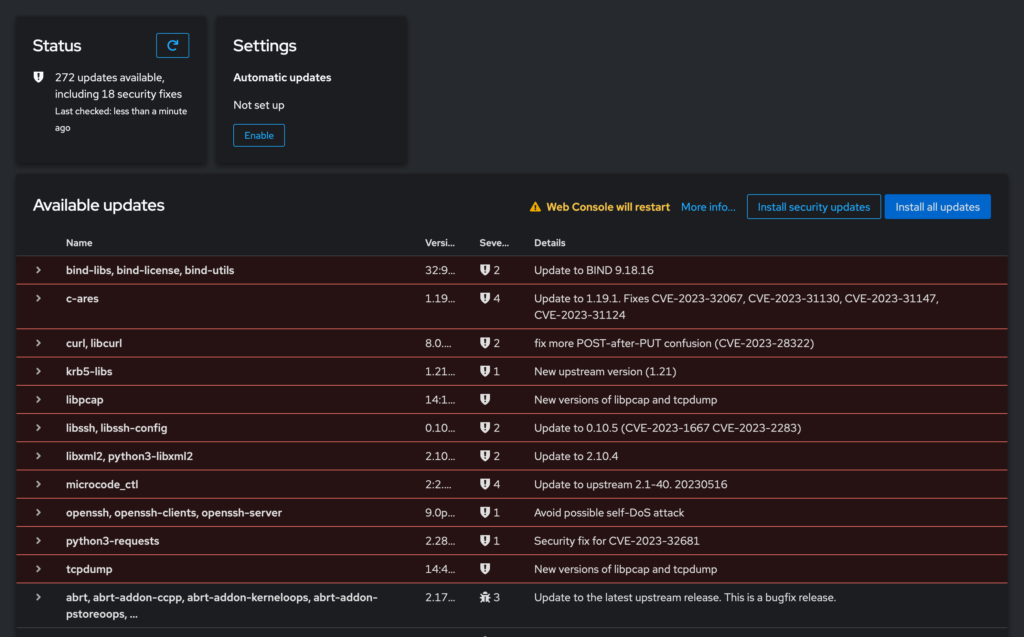
Click Install all updates.
After the updates install, the web console might reboot. Log back in and select Accounts under the System menu.
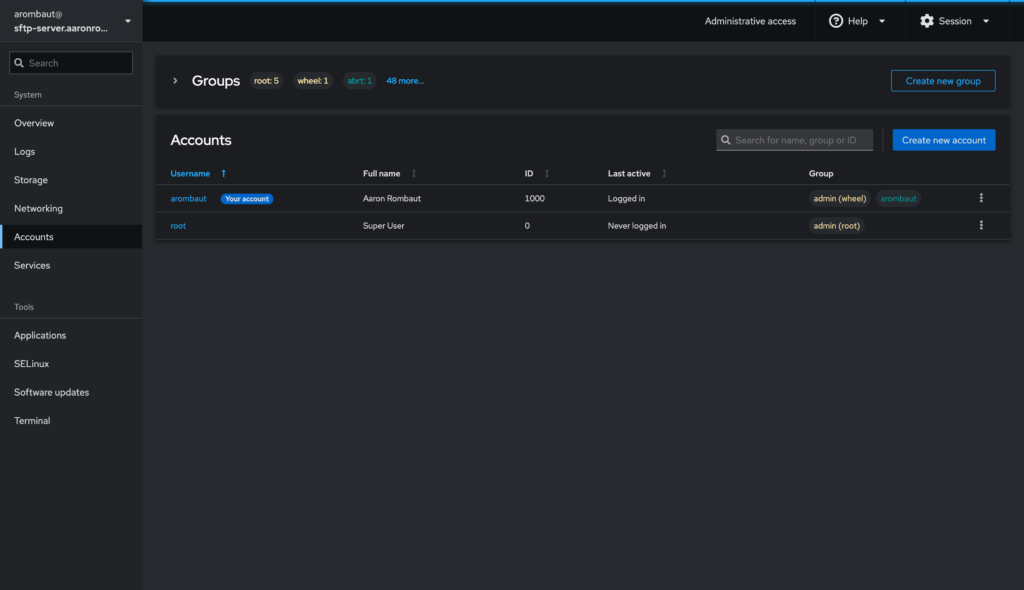
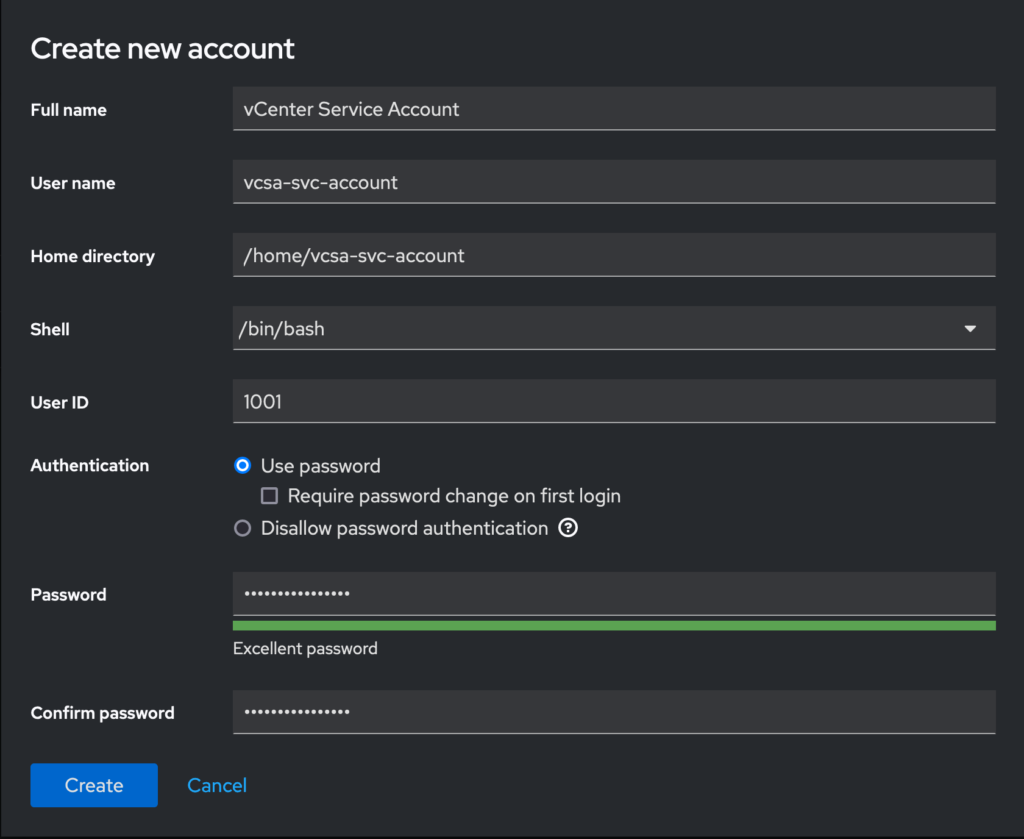
We need to create a service account that the vCenter Server will use to configure the backup.
Select Terminal under Tools.
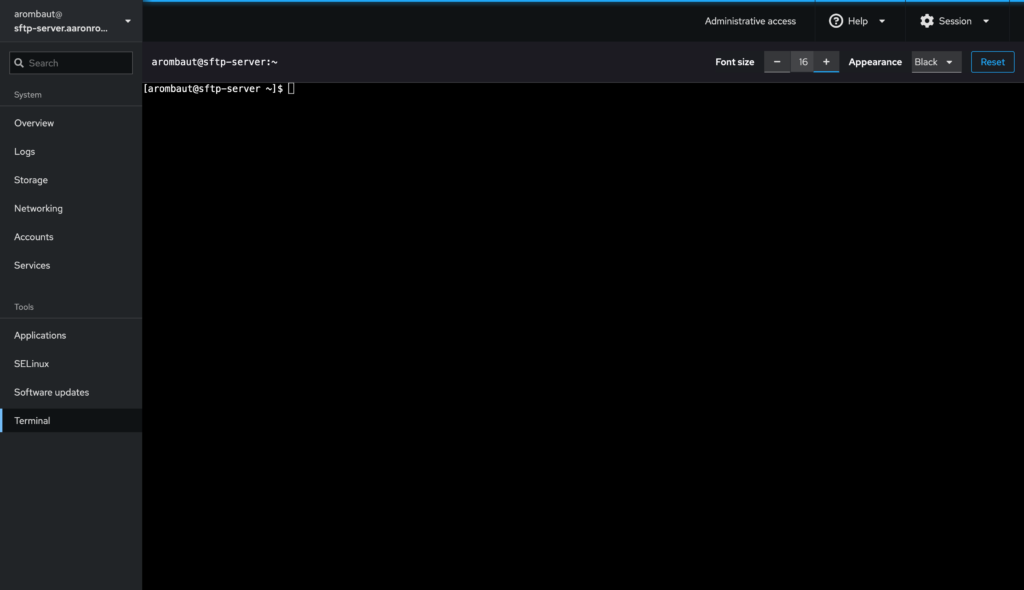
We need to modify the /etc/ssh/sshd_config file to secure directory access the vCenter Service Account will have access to. This is referred to as a Chroot jail. Type the following to edit the file.
sudo vi /etc/ssh/sshd_config
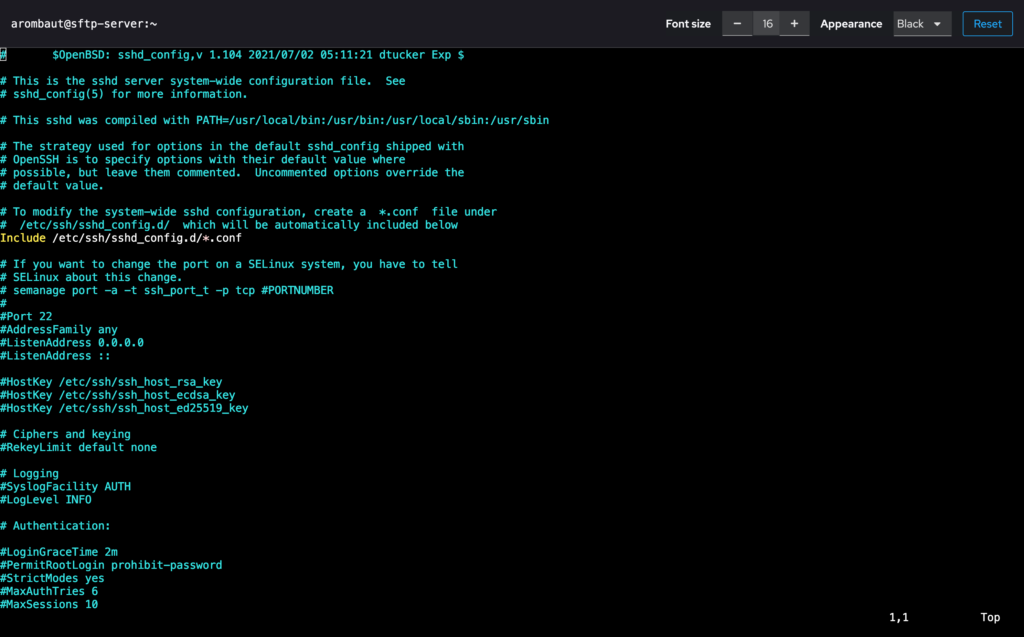
Press the forward slash (/) to begin a forward search. We want to search for Subsystem. We need to make sure the sftp subsystem is enabled but without starting up a new process. We will comment out the line that looks like the following in the next step:
Subsystem sftp /usr/libexec/openssh/sftp-server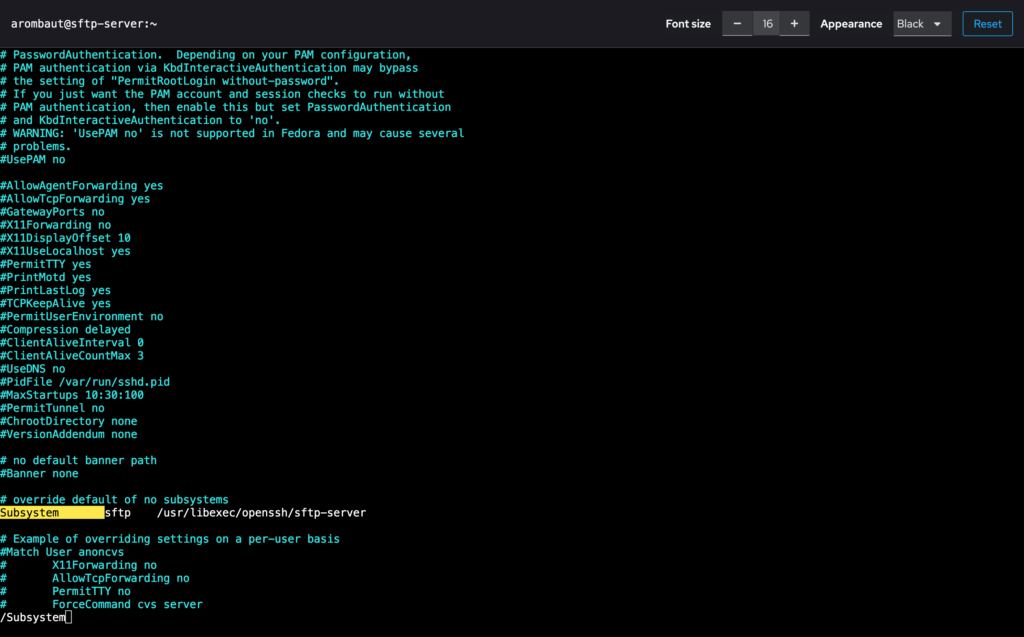
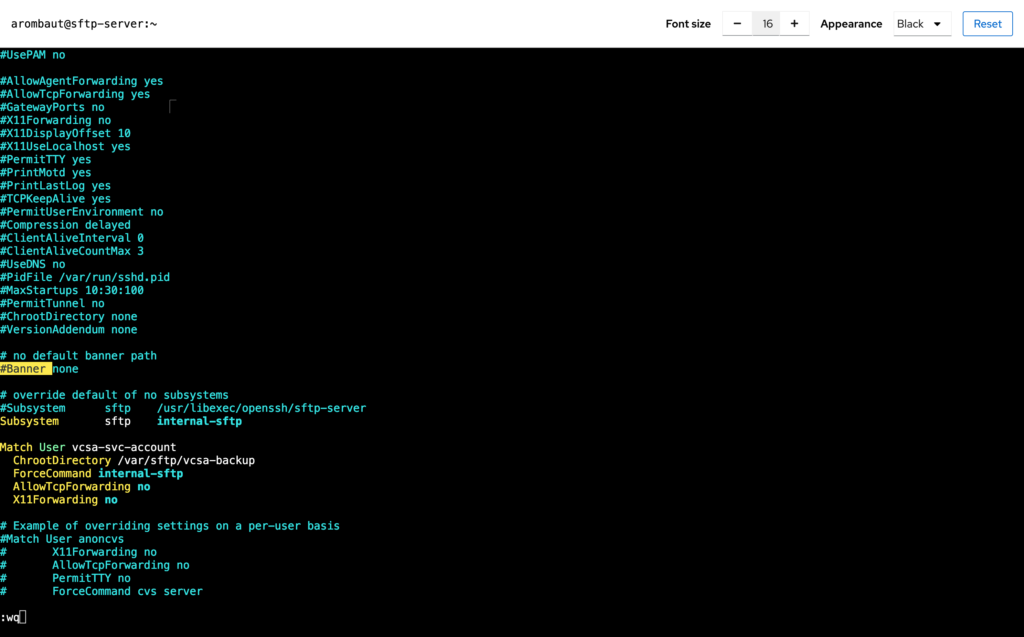
Press the a key to append a new line. Here we want to match the service account user we created earlier. The code to add should look like the following:
#Subsystem      sftp    /usr/libexec/openssh/sftp-server
Subsystem       sftp    internal-sftp

Match User vcsa-svc-account
  ChrootDirectory /var/sftp/vcsa-backup
  ForceCommand internal-sftp
  AllowTcpForwarding no
  X11Forwarding no
To save the file, press the esc key, followed by a colon (:), the letter w (for write) and q (to quit).
Now, we need to create the directory that was specified in the ChrootDirectory directive.
sudo mkdir -p /var/sftp/vcsa-backup
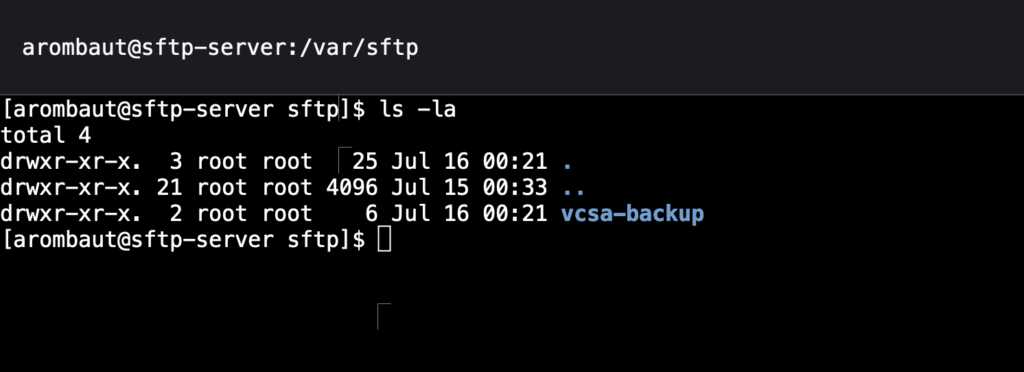
This is the directory that the service account will have access to when logging in. The OpenSSL documentation specifies that the user and group must be root:root and have the permission of 750. Let’s do that, now.
sudo chown root:root /var/sftp/vcsa-backup
sudo chmod 0755 /var/sftp/vcsa-backup
Since this is a location for vCenter backups, we will also need a directory for vCenter to write to. Since the directory is currently owned by the root user and root group, our service account will not be able to write any files or create any directories.
Let’s add a backups directory, assign it to the service account user, and change the permissions.
sudo mkdir -p /var/sftp/vcsa-backup/backups
sudo chown vcsa-svc-account /var/sftp/vcsa-backup/backups
sudo chmod 0755 /var/sftp/vcsa-backup/backups

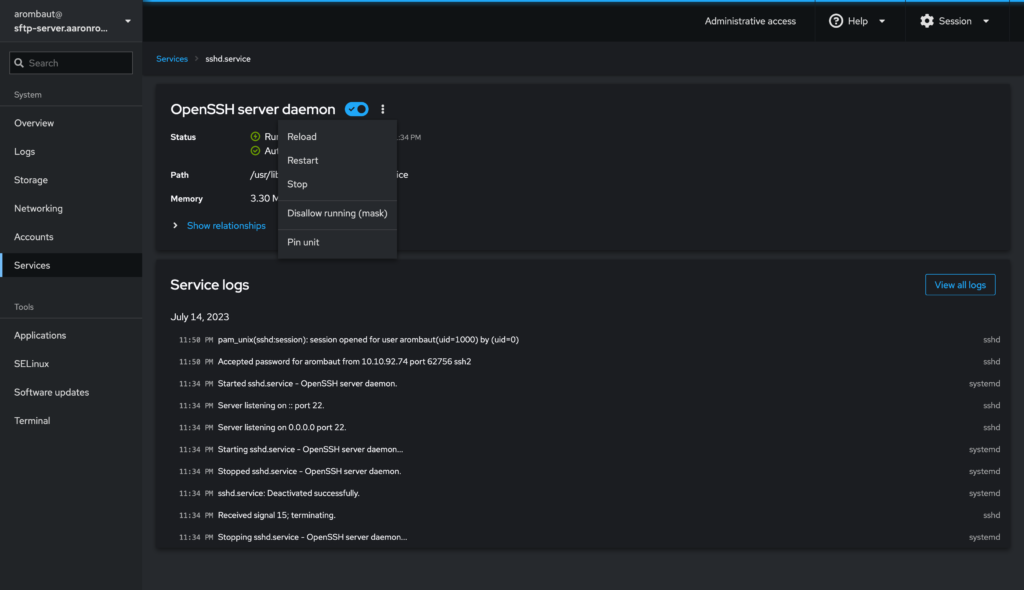
Restart the OpenSSH server daemon by clicking on Services under the System menu.
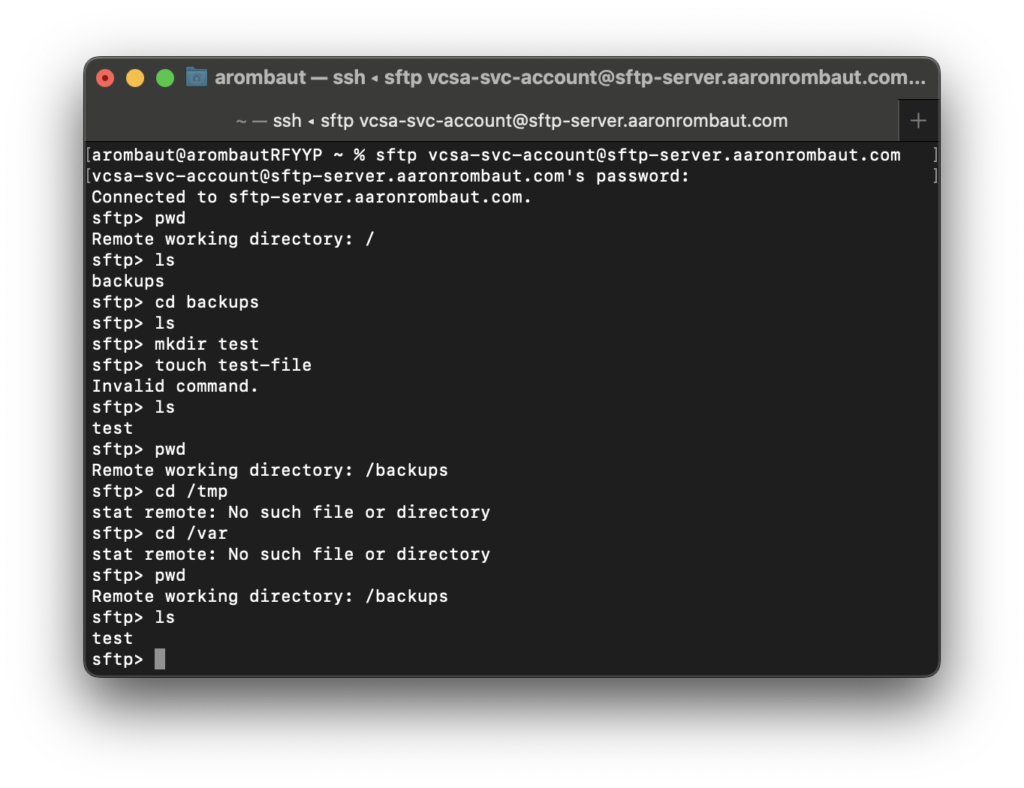
Now, test logging in as the service account user and verify the directory is the one that was specified.
If we try to navigate to any other directory higher up, we can see that we remain in our Chroot jail as intended. We can also test that we can write files and create directories in the /var/sftp/vcsa-backup/backups directory.
Leave a Reply