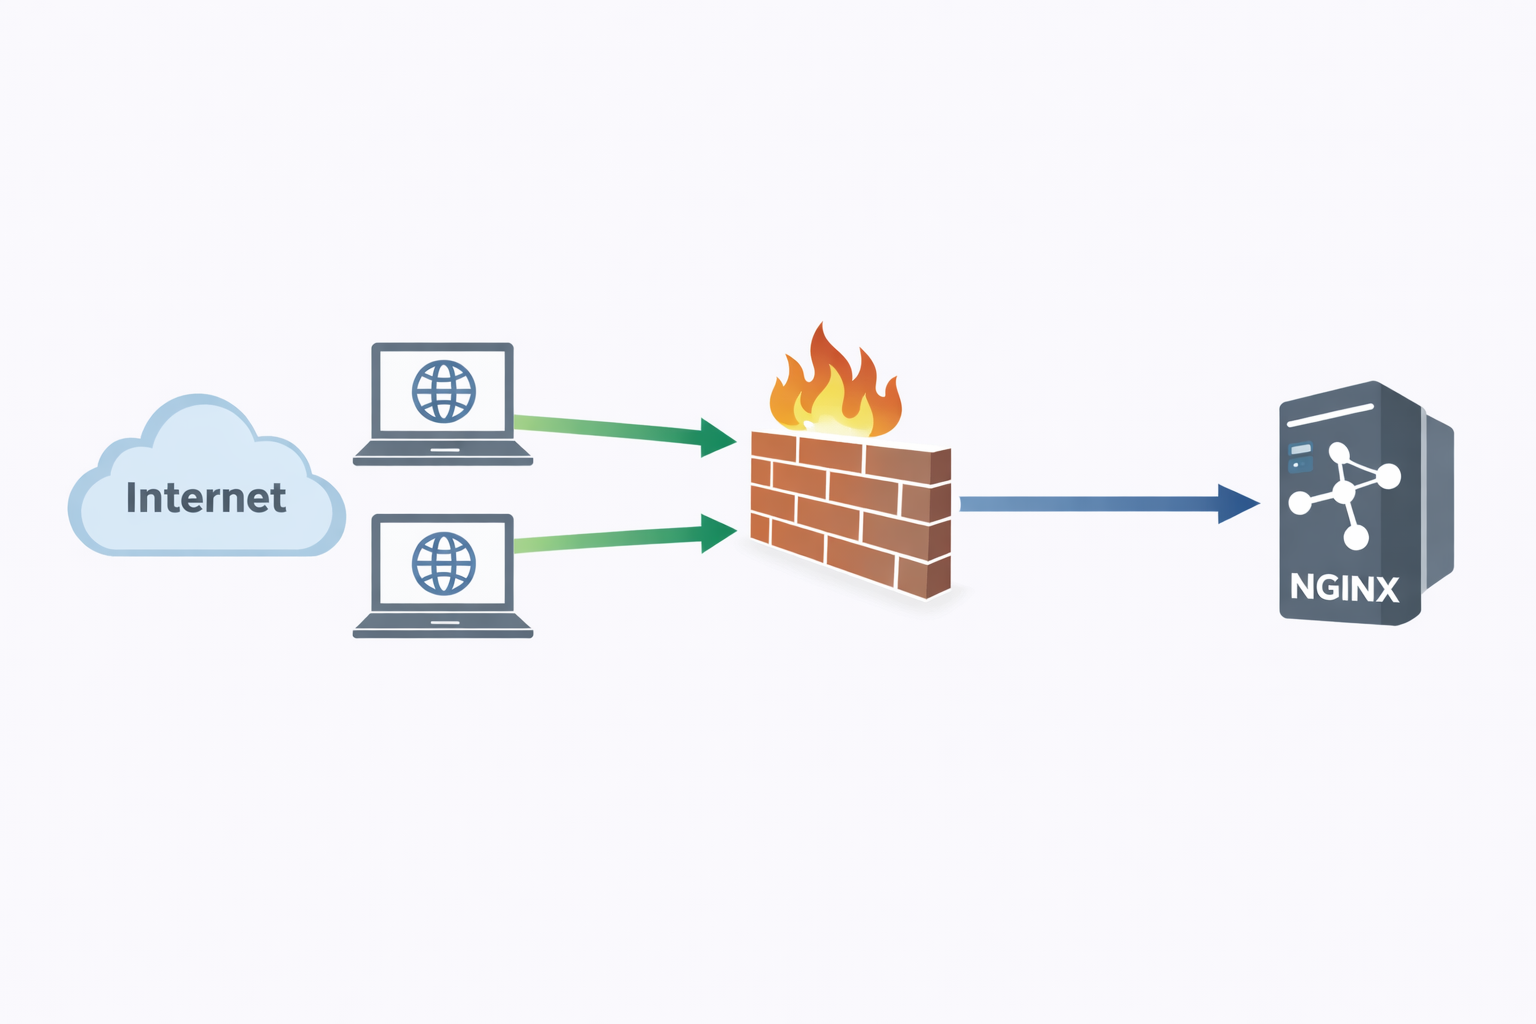
Real World Use of VMware Bundle Transfer Utility

Overview

I work in a lot of air-gapped networks and unfortunately, that comes with an extra level of effort for nearly every task. In the world of VMware Cloud Foundation (VCF), SDDC Manager is used to perform a lot of the maintenance tasks through Lifecycle Manager. When it comes times to perform upgrades, however, not having direct access to the Internet requires use of the Bundle Transfer Utility. More information about this utility can be found in the VMware Documentation.

Continue reading “Real World Use of VMware Bundle Transfer Utility”

Reset VxRail Root and Mystic Accounts

I have been working with clients that are using VxRail for their infrastructure. While administering these VxRail deployments, sometimes the mystic or root accounts get locked, the password’s expire or are just plain lost. Either way, it is a very frustrating situation to find yourself in.

localhost login: root
Password:
Login incorrect

localhost login: _

Turn to Google and search for reset VxRail Manager password and come upon the following Dell kb, Dell VxRail: VxRail Manager root password is lost.(https://www.dell.com/support/kbdoc/en-us/000064579/vxrail-how-to-reset-the-root-password-for-vxrail-manager)

Even after following this article, you realize almost immediately that this hasn’t been updated to reflect newer versions. The very first picture depicts a SUSE Linux Enterprise 12 screenshot.

More recent versions of VxRail are running on SUSE Linux Enterprise 15. The following procedure will hopefully assist you until Dell can update their documentation.

Procedure

Start by taking a snapshot of your VxRail Manager!

Open a web or remote console and then restart the virtual machine. When you see the following splash screen, press the ‘e’ key on your keyboard to interrupt the boot sequence.

This will bring you to the GNU GRUB boot menu. Look for the line starting with linux (14 lines down in my case). Press Ctrl-e to go to the end of the line and add init=/bin/bash.

Press Ctrl-x or F10 to boot.

If you are following the numerous sources out there, they will point you to use the pam_tally2 utility. As you can see below, this won’t work…yet.

Create the log directory and change to it with the following:

mkdir -p /var/log
cd /var/log

Add the tallylog file.

touch tallylog
chmod 600 tallylog

Now, you should be able to use /sbin/pam_tally2. If you are not familiar with the syntax, the below images should help. The full help is at the end of this post for more information. You can see that the two users have 0 failures currently. If you do know the password and just want to unlock the account so you can log in again, use the following syntax.

/sbin/pam_tally2 -u <user name> -r

Reset the passwords

As long as the directory was created above, the passwd utility should be able to be used, now. Ignore the message that the password was used already. I tried completely new passwords and still receive this message.

Reboot the virtual machine

Unfortunately, I have not found a suitable way to reboot the virtual machine, yet. VMware Tools (more accurately, open-vm-tools) is not started since we are not booted in a full multi-user state.

Make sure you have completed your password or unlocking maintenance. When you are ready, go to the power control for the virtual machine and select the Power off option. Wait a moment before powering the virtual machine back on. At this point, the passwords you set or the account should be unlocked.

After you have verified that your accounts work, be sure to remove the snapshot you took in the beginning!

Hopefully this will help you out.

pam_tally2 Help

/sbin/pam_tally2: [-f rooted-filename] [--file rooted-filename]
   [-u username] [--user username]
   [-r] [--reset[=n]] [--quiet]

Create and Change Hard and Symbolic Links

Exam Objectives Covered:

  • Create links
  • Identify hard and/or soft links
  • Copying versus linking files
  • Use links to support system administration tasks

Links in Linux are synonymous with shortcuts in the Windows world. They are not identical, but the idea is similar.  Specifically, the command ‘ln’, is used to make links between files. There are two types of links, symbolic and hard. The following definitions come from Practice Labs:

Symbolic links: It is a pointer to the source file. The permissions that apply to the source file also apply to the symbolic link. It can point to a source file on the local or remote filesystem.

Hard links: It is another directory entry for the source file and carries that same properties, such as file permissions, of the source file. If you delete one file, the other file remains intact. A hard link must exist in the same local filesystem.

The interesting thing about links is that a hard link is tied to the original file, but not dependent on it. This means that if you create a hard link to a file and then delete the original, the linked file will still work. This is not the case with a symbolic link. If you create a symbolic link and remove the original file, the symbolic link will not have anything to link to. A way to be sure that your links are bound, or not, to the original file is by listing the directory, using ‘ls’, with the -i option. This prints the index number of each file.

To support system administration, links are useful when you do not want to make multiple copies of the same file. If you were to update a file, you would have to make the same changes on all the files. If you use hard links, then when you update the file, your changes are seen in all links.

Another situation in which links support system administration is when linking shared objects. The link can make it easier to reference frequently used libraries. It also aides in version control. Application developers can link to shared objects using major versions. Administrators can link shared objects to the major versions. This allows multiple versions to exist for compatibility reasons. If you list the contents of the ‘/lib64’ directory, you will see something like this:

libcrypt.so.1 -> libcrypt-2.17.so

The developer can reference the ‘libcrypt.so.1’ shared object, but the administrator can install any variant of the libcrypt library. This means that if an update were to come out or an older version was needed, it could be located in /lib64 under the naming conventions and linked to the single named variant.

Hard Links and Symbolic Links

To view examples of creating symbolic and hard links, take a look at the screenshots below. You will see the hard link and the original file have the same inode. The symbolic link has a different inode and therefore is not the same file.

To create a hard link:

Syntax: ln TARGET LINK_NAME
Example: ln original-file hard-link


To create a symbolic link:

Syntax: ln [-s|--symbolic] TARGET LINK_NAME
Example: ln -s original-file symbolic-link

Filesystem Hierarchy Standard (FHS)

I wanted to begin with the Filesystem Hierarchy Standard (FHS) which is currently at version 3.0. The standard can be referenced below as well as at http://refspecs.linuxfoundation.org/fhs.shtml.

Filesystem Hierarchy Standard 3.0

When I first began using Linux, I realized that all the files and directories were arranged in a particular way. I wondered why Linux always seemed to have this organization and what each directory was for. After many years of just “going with it” I finally came across this resource. It was originally written in 2004 but version 3.0 was released in 2015. Its goal is, “to support interoperability of applications, system administration tools, development tools, and scripts as well as greater uniformity of documentation for these systems.”

The hierarchy is as follows:

Directory Description
bin Essential command binaries
boot Static files of the boot loader
dev Device files
etc Host-specific system configuration
lib Essential shared libraries and kernel modules
media Mount point for removable media
mnt Mount point for mounting a filesystem temporarily
opt Add-on application software packages
run Data relevant to running processes
sbin Essential system binaries
srv Data for services provided by this system
tmp Temporary files
usr Secondary hierarchy
var Variable data

CompTIA Linux+

I am starting my journey to become CompTIA Linux+ certified! Technically, I started on February 1, but am just now writing this. I have always been curious about Linux and dabbled here and there; I just have never dived in deep enough to be proficient. I want to change that. As an end user, I can get by in a Linux GUI and somewhat on the command line. I want to have greater knowledge than that. I want to be able to administer Linux systems on a professional level with confidence and without having to have Google opened up all the time. I would like to be able to add ‘Linux Administrator’ to my résumé under skills someday.

For this test, I am again going to use ITPro.tv (https://itpro.tv/) combined with Safari Books Online (https://www.safaribooksonline.com/) and Quizlet (https://quizlet.com/). Between the videos, books, practice tests, practice labs, and online flashcards, I have a ton of resources to take the deep dive and stay constantly engaged. I feel the fastest and most successful method of learning is to have multiple inputs. This has proven very successful for me. I also compare and contrast real-world experiences to something I am learning and that helps reinforce the material for me.

I am excited for this opportunity and look forward to getting this accomplished!