Overview
These are notes I used to study for the exam.
Section 1 – Architectures and Technologies
There are no testable objectives for this section.
Section 2 – Products and Solutions
There are no testable objectives for this section.
Section 3 – Planning and Designing
There are no testable objectives for this section.
Section 4 – Installing, Configuring, and Setup
Objective 4.1 – Set up VMware vCenter Server® and single sign-on (SSO)
Prerequisites that we need at a minimum, one ESXi host to install VMware vCenter Server on and to set up single sign-on, and at least one Microsoft Windows Domain Controller (or some other LDAP source). This post (and likely the Advanced Deploy exam) will use Microsoft Active Directory.
Objective 4.1.1 – Deploy and configure VMware vCenter Server® and VMware ESXi (TM)
Starting this post off is an interactive installation of ESXi. We need to stand up at least one ESXi host to install VMware vCenter on.
Add the ISO file directly on the host using a built in optical drive, USB optical drive, created bootable USB media, or use an out of band method (such as iDRAC from Dell or iLO from HPE).
Power on or reboot the host, selecting the boot media method as applicable.
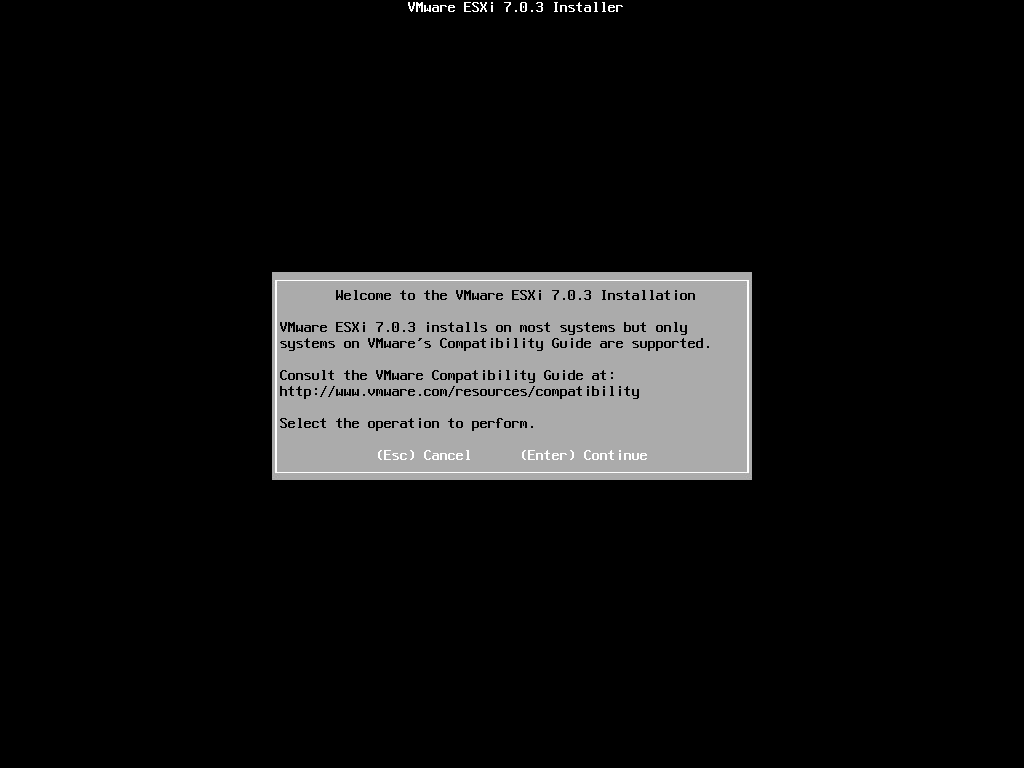
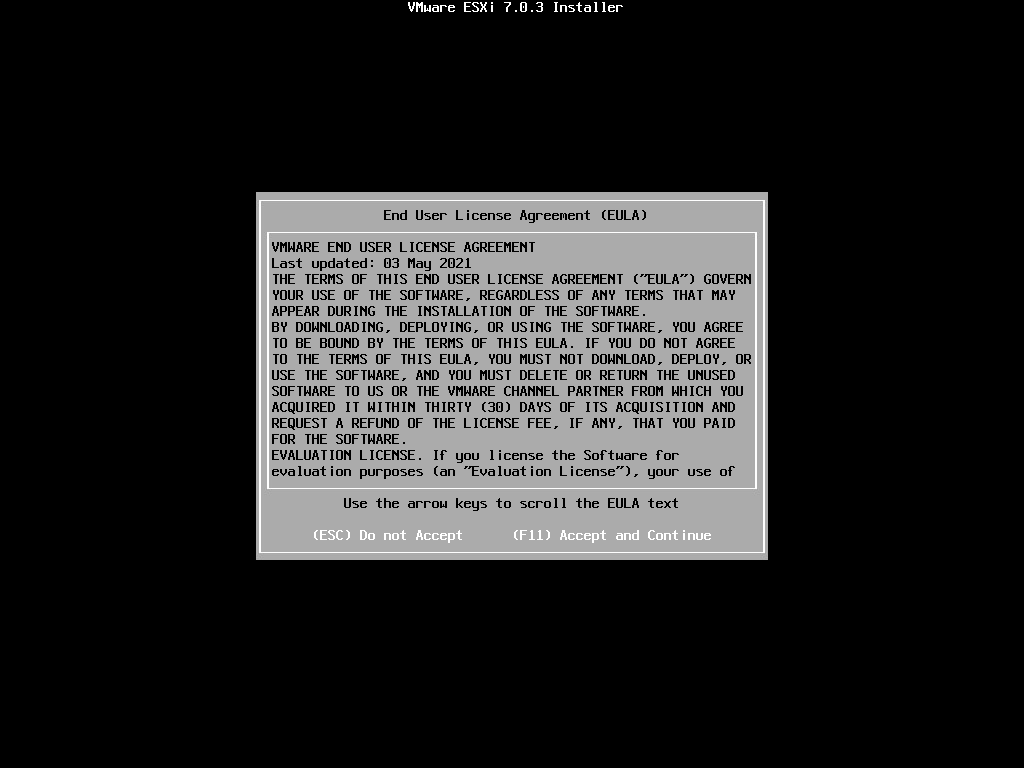
Press F11 to Accept and Continue.
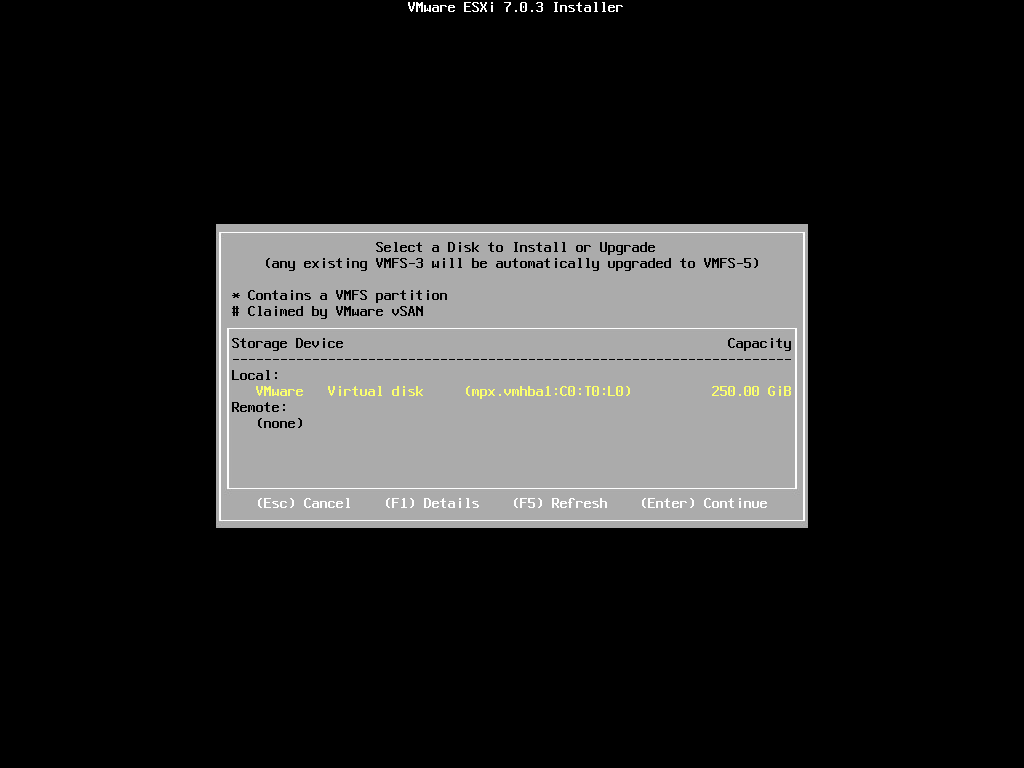
Select a Disk to install on. Don’t forget to review disk size types and minimums! (https://docs.vmware.com/en/VMware-vSphere/7.0/com.vmware.esxi.install.doc/GUID-DEB8086A-306B-4239-BF76-E354679202FC.html)
Press Enter to continue.
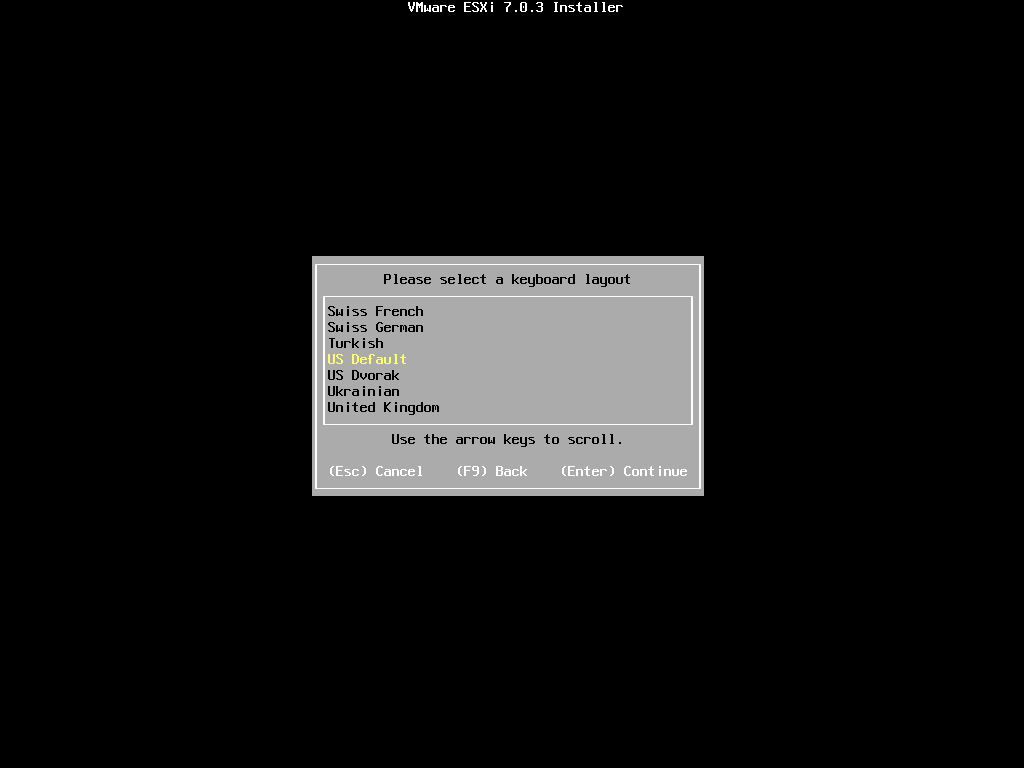
Select a keyboard layout and press Enter to continue.
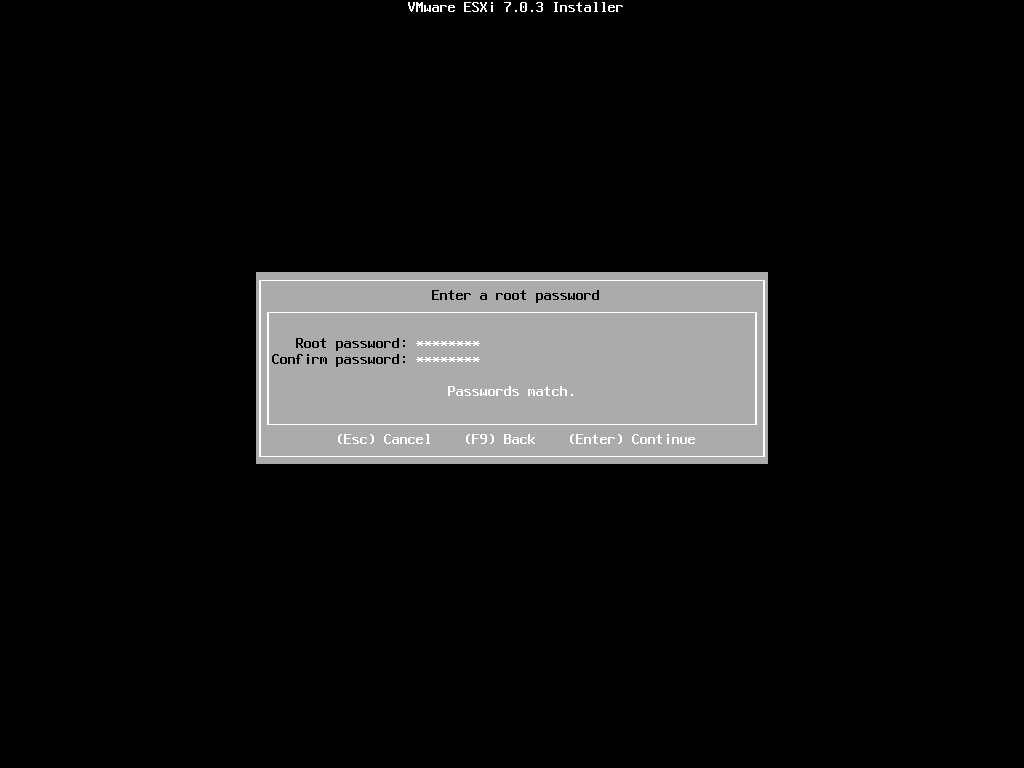
Enter a root password and press Enter to continue.
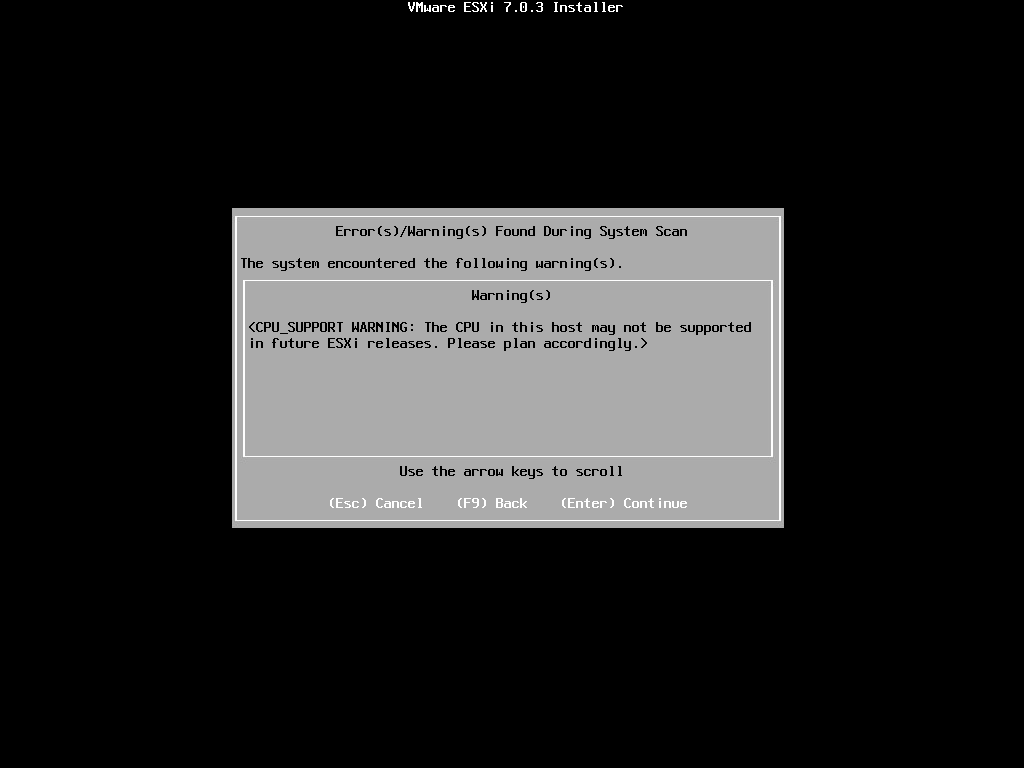
The host I am using is getting a little old. It is still compatible, but I am being warned that it may no longer be supported in future versions. I know this host works so I can safely ignore this message, for now. Press Enter to continue.
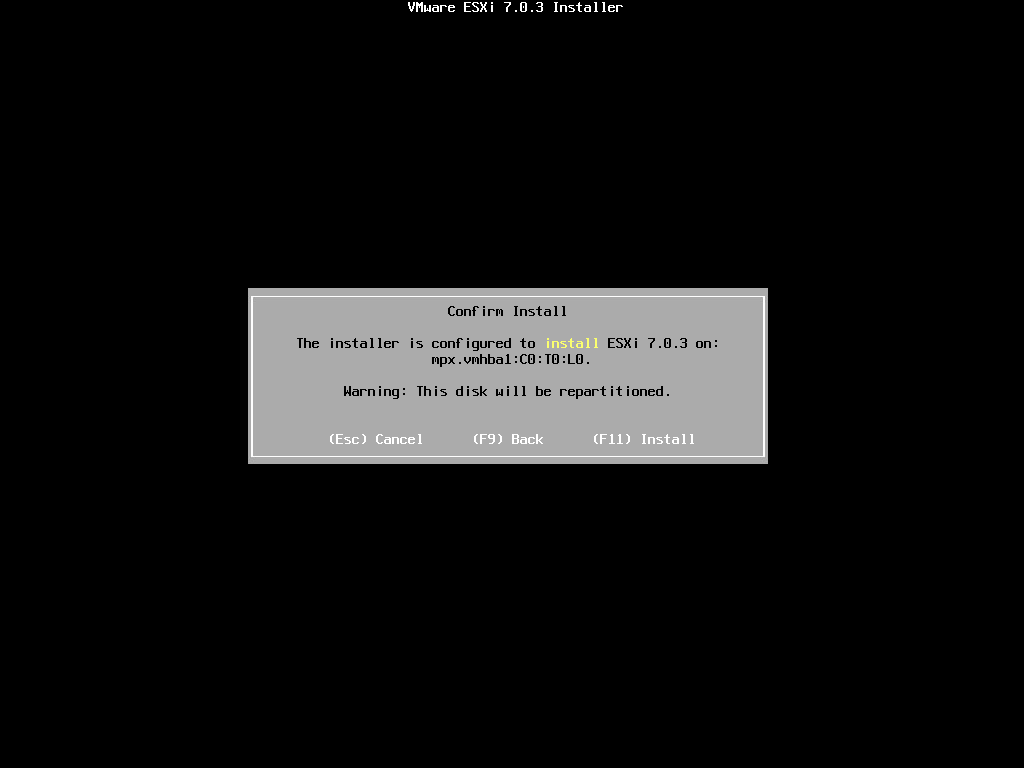
We are all set and ready to install. Press F11 to Install.
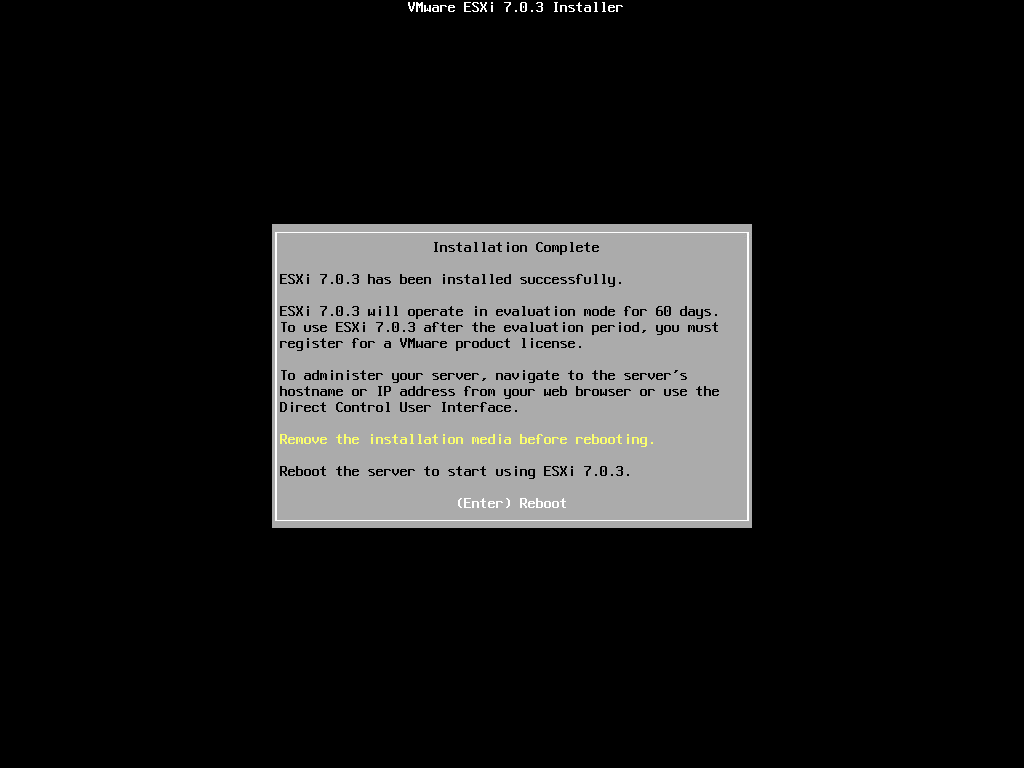
After a few minutes, the installation should complete. Press Enter to Reboot.
The host should reboot and look like this when it’s ready to configure.
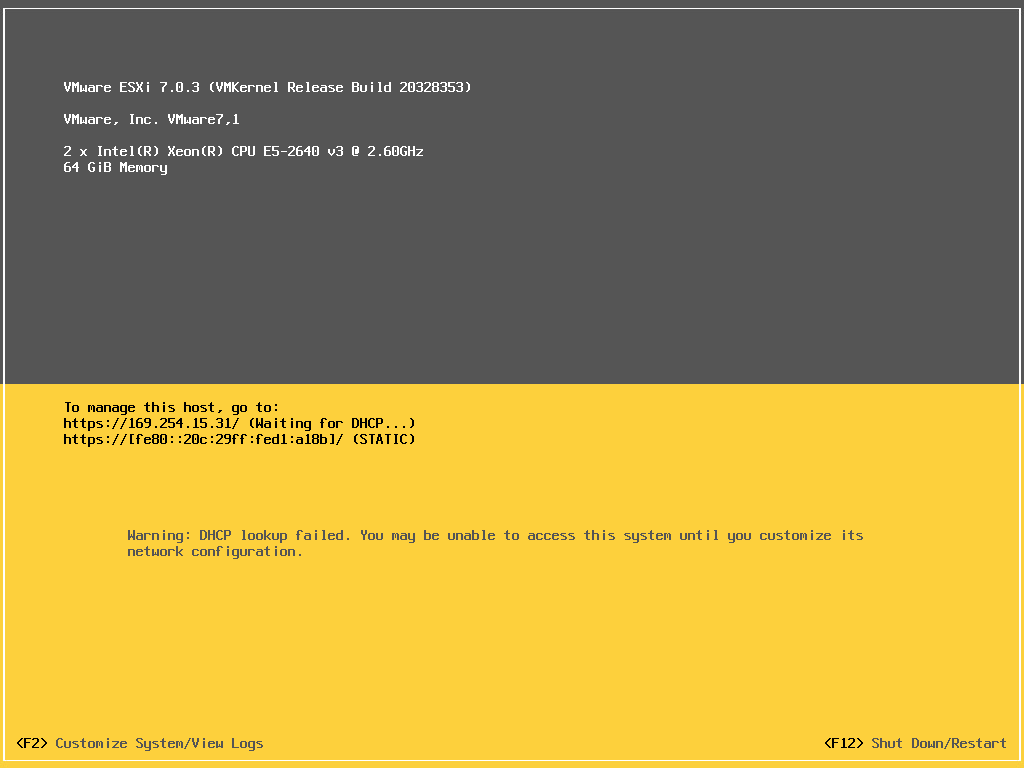
The official VMware documentation starts the configuration process from the VMware Host Client. That assumes that DHCP services are configured. In my experience, DHCP is not set up for management networks. This is also the case for my lab, where I am building out these machines for this blog post. So we have to start at the Direct Console User Interface (DCUI) and get a basic configuration.
When the host reboots and we are at the yellow screen (or black if it’s sleeping), press the F2 key to get started.
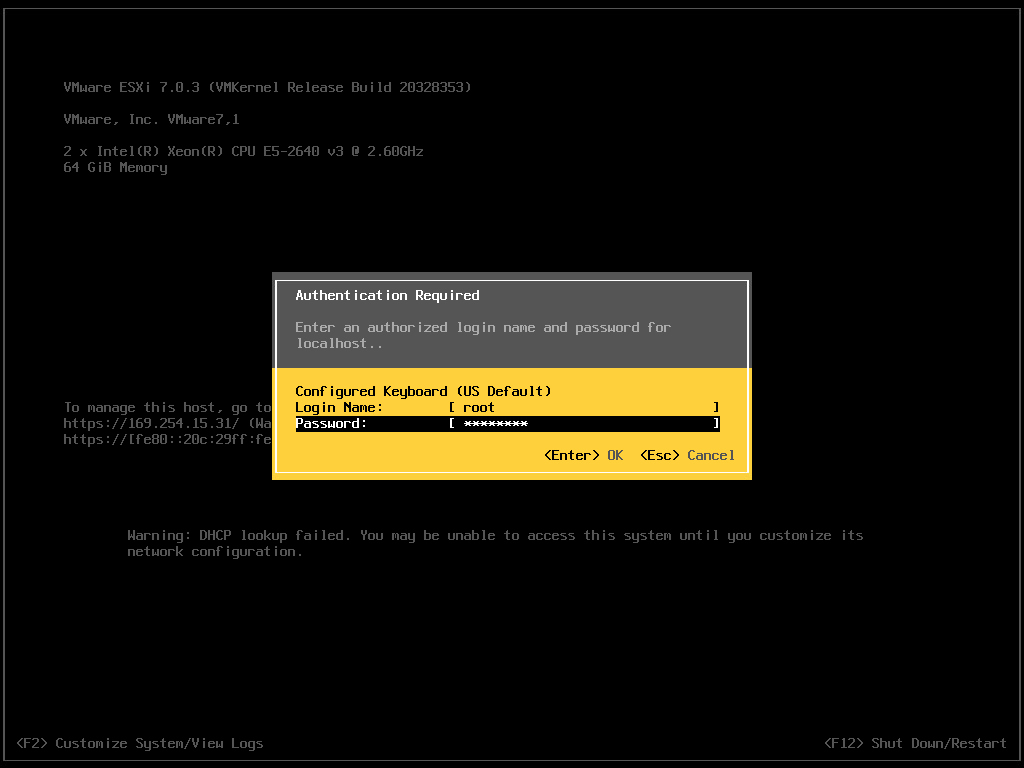
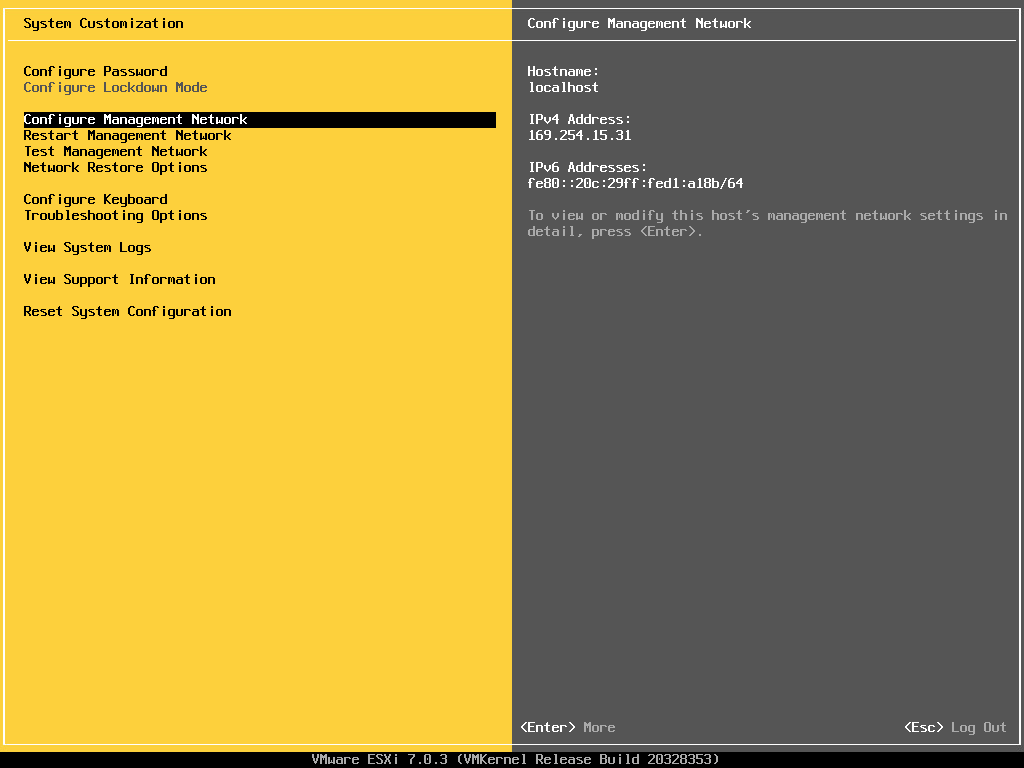
The mouse will not work in the DCUI, so use the keyboard arrows and select Configure Management Network.
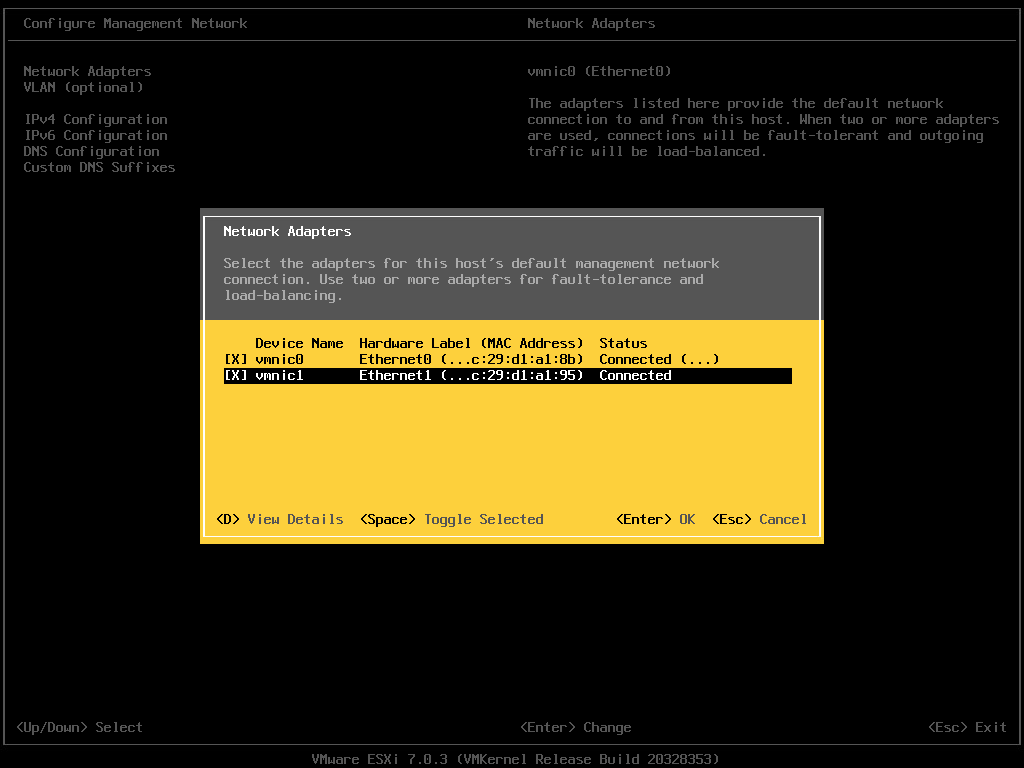
The first option I usually set is adding additional Network Adapters for the Management network. This ensures fault tolerance and adds load balancing.
Press Enter to set the configuration.
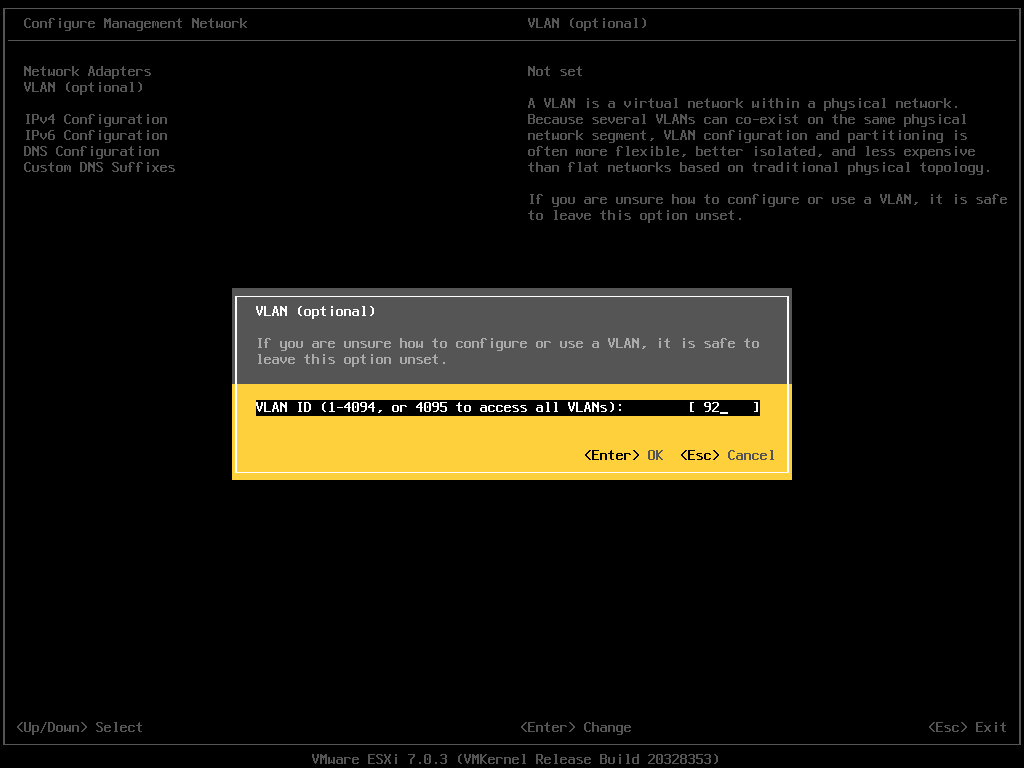
Optionally, choose VLAN and configure a VLAN ID.
Press Enter to set the configuration.
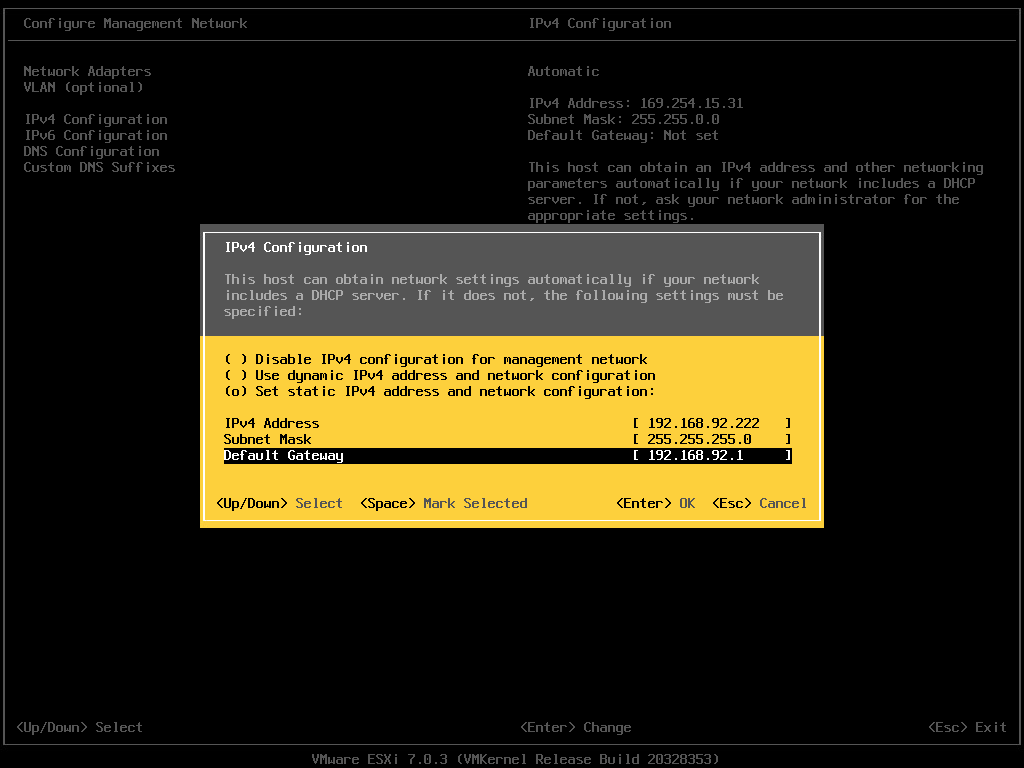
Next, select IPv4 Configuration, select the appropriate option, and set the IP address information according to your environment. I am setting a static address so I choose Set static IPv4 address and network configuration:.
Press Enter to set the configuration.
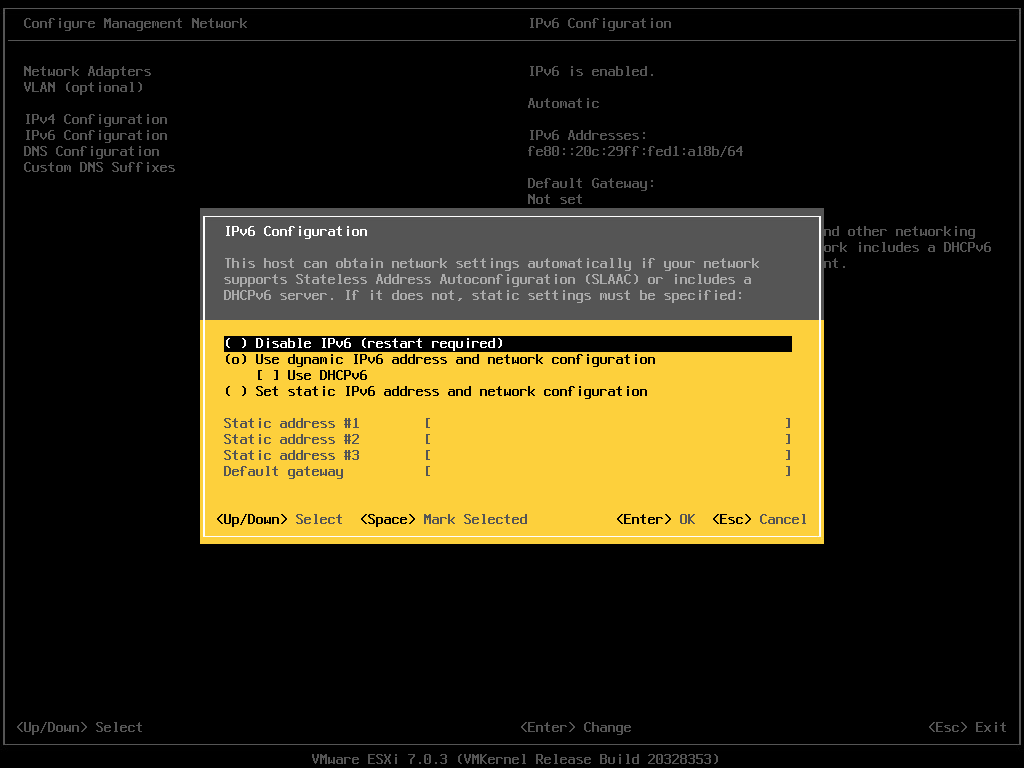
I use IPv6 in my lab so I select IPv6 Configuration and verify the settings.
Press Enter to set the configuration.
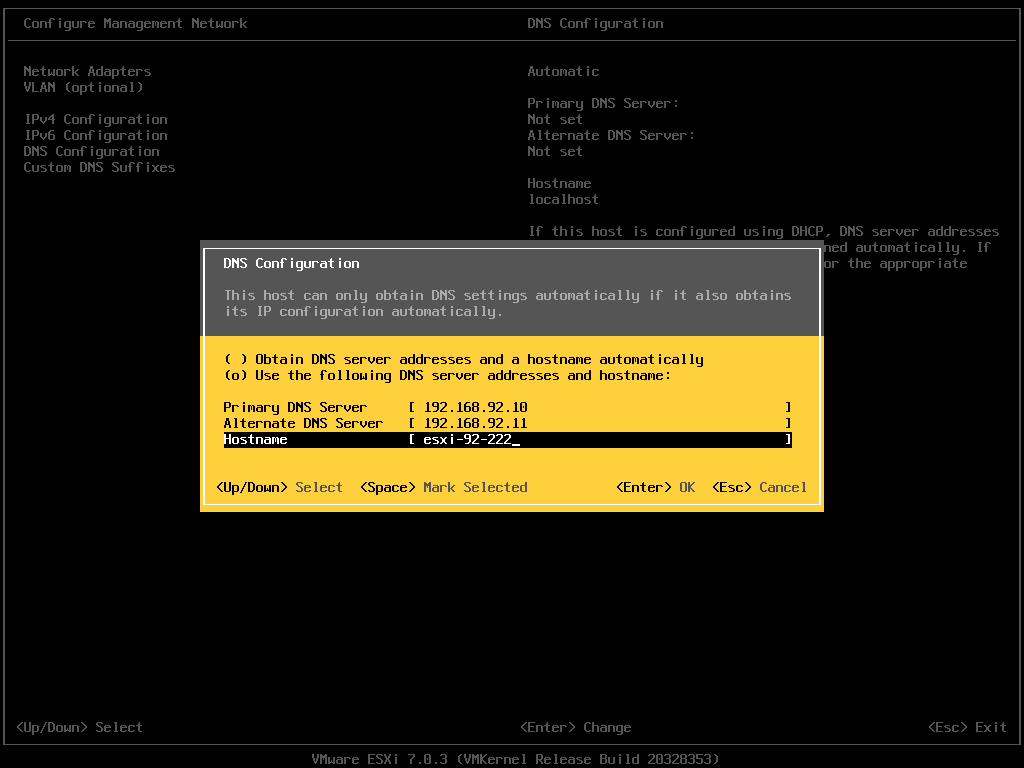
Select the DNS Configuration and set the Primary, Alternate, and Hostname for the host.
Press Enter to set the configuration.
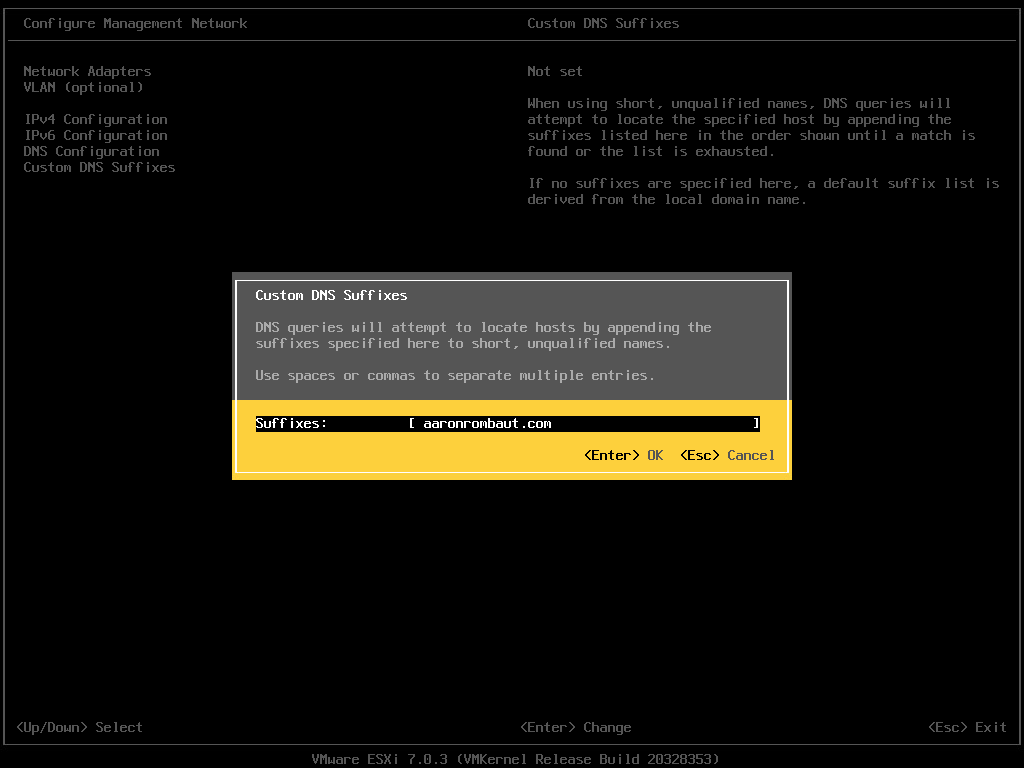
Finally, select Custom DNS Suffixes and set the appropriate suffixes. I set this option even if my Domain Controller is not set up at this point. I know what it will be, so I set it to that.
Press Enter to set the configuration.
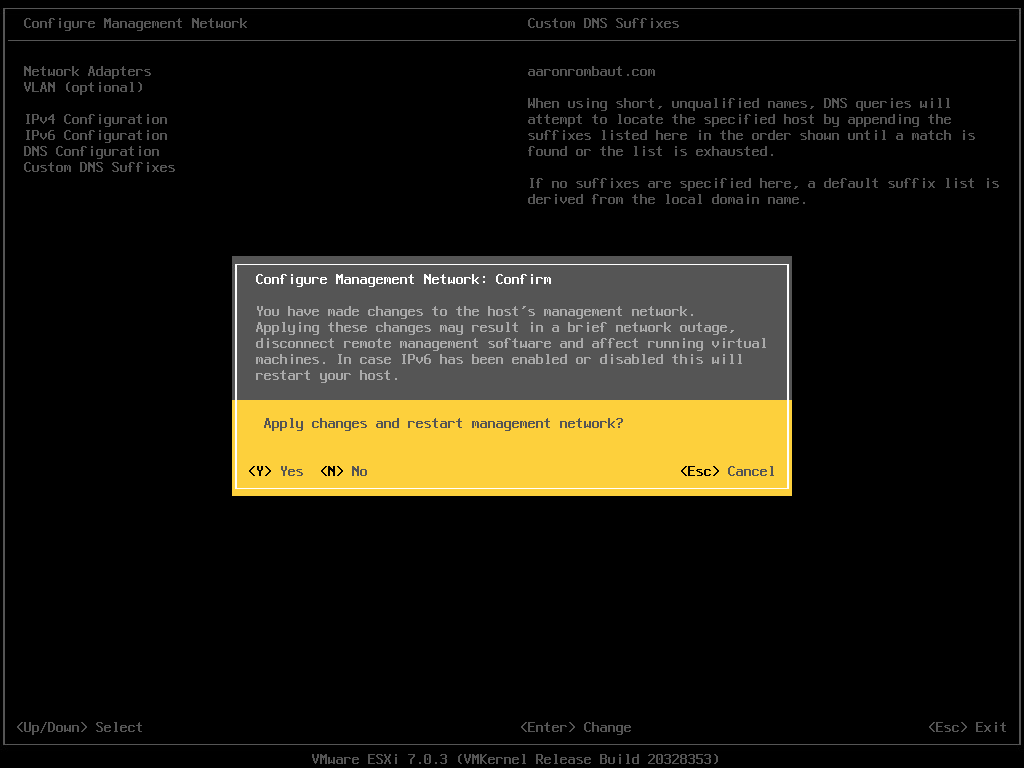
Once all the settings are configured, press the Esc key to Exit the configuration menu. A prompt will display asking if we want to confirm our settings.
Press Y to Apply changes and restart management network.
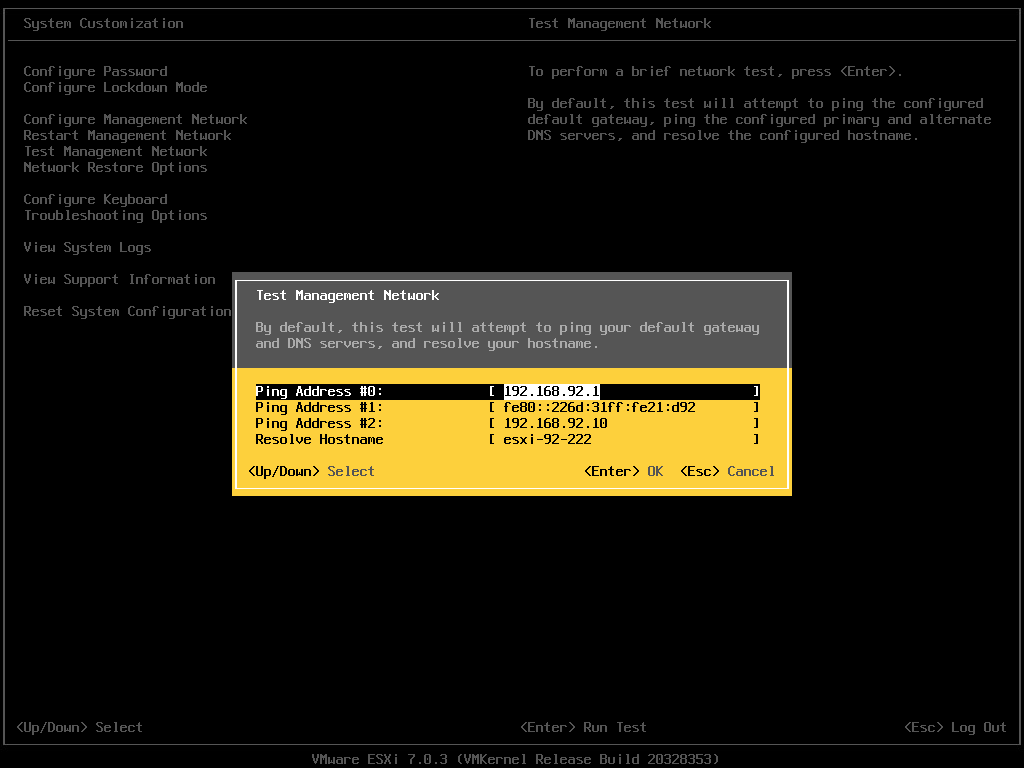
Arrow down and select Test Management Network. Adjust IP addresses and host names as necessary; usually, the default settings are appropriate.
Press Enter to start the test.
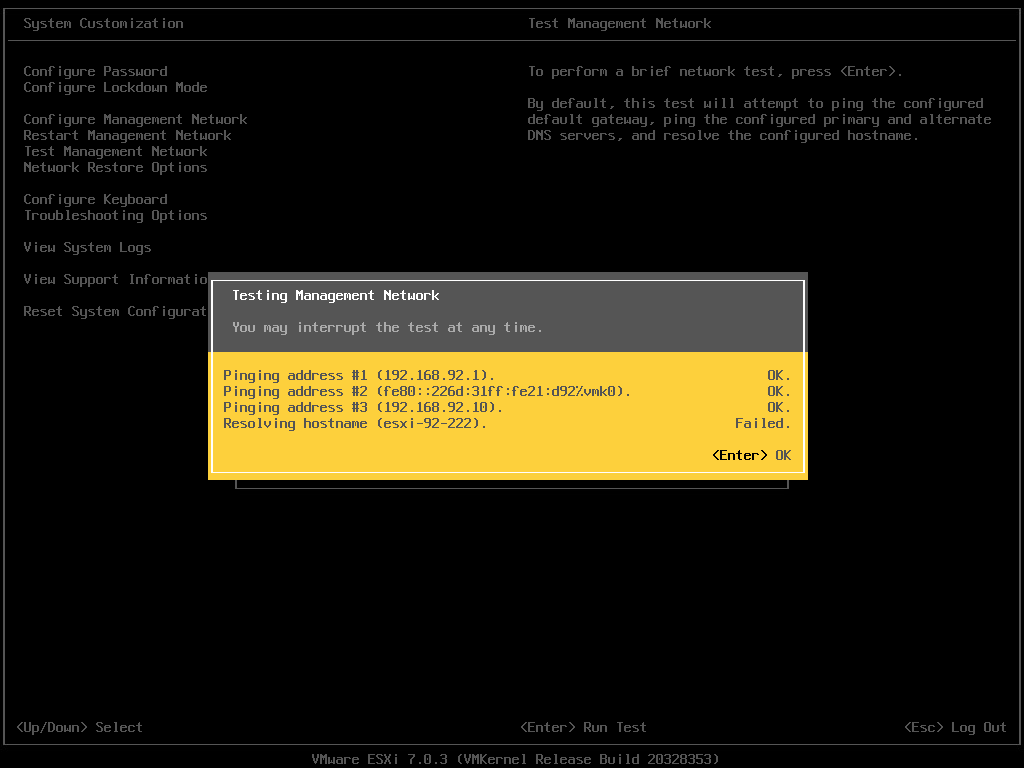
Since there is no domain, yet, and therefore no Domain Name System (DNS) configured, the name resolution step fails. This is expected!
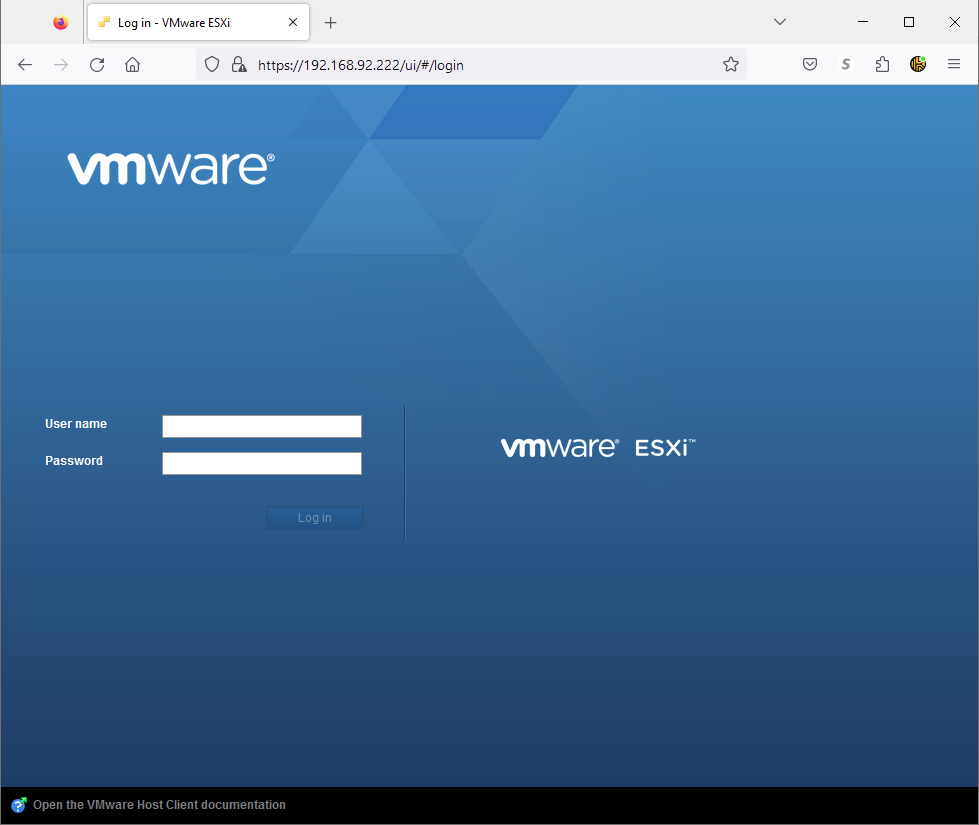
At this point, the host should be accessible via a web browser. Some environments are configured with HTTP Strict Transport Security (HSTS) and will give us trouble accessing with a name while the certificate is self-signed and not trusted. In this case, just navigate to the host with the IP address.
I have already documented the installation of VMware vCenter Server. Please review the following link, MyLab: VMware vSphere.
Objective 4.1.2 – Configure identity sources
So…this one is a little unclear, but bear with me. An identity source can be configured on a standalone ESXi host. This seems like it could be a configured identity source since the identity would be on a central server, such as Microsoft Active Directory. I will document that process here, but I am fairly certain that this objective is actually for vCenter. Configuring vCenter Identity Sources will be documented at the end of this section.
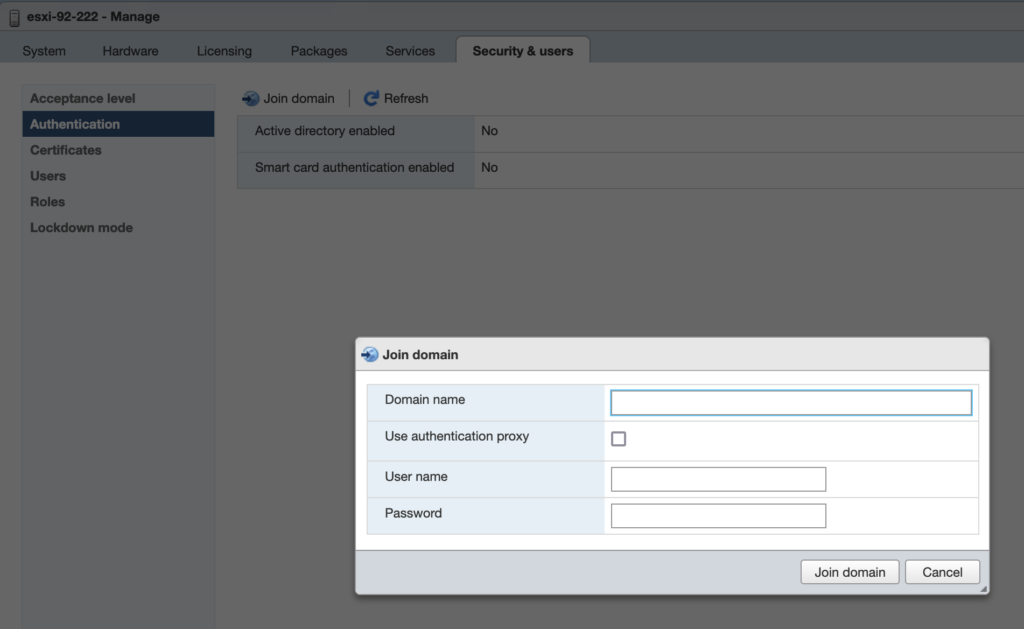
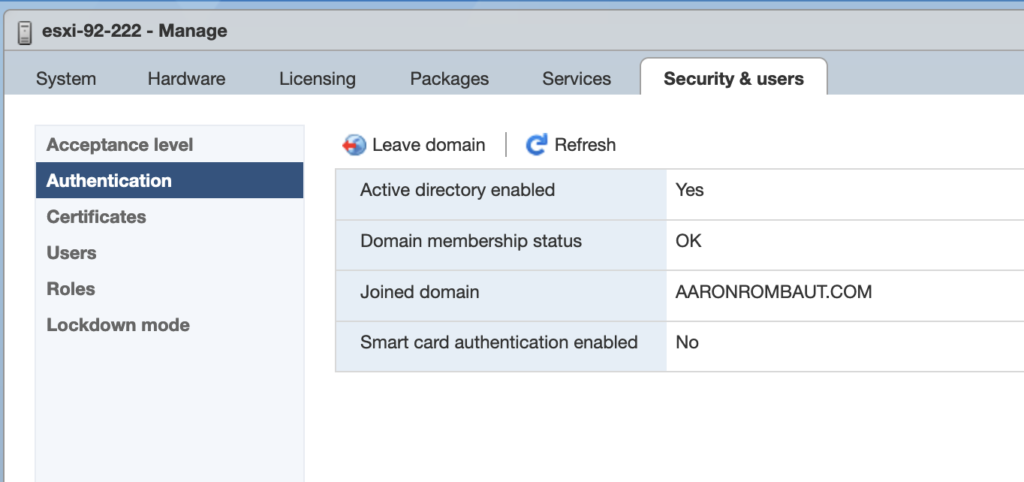
A standalone ESXi host, joined to an Active Directory domain.
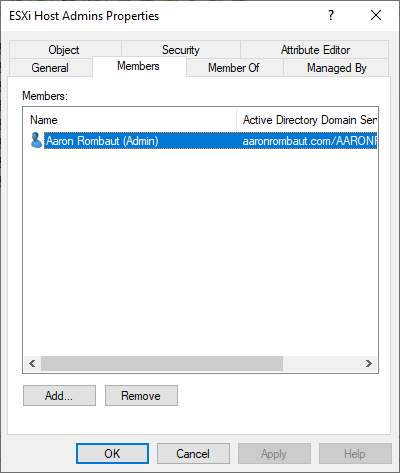
In Active Directory, we create a Security Group called ESXi Host Admins and add an administrator account to the group.
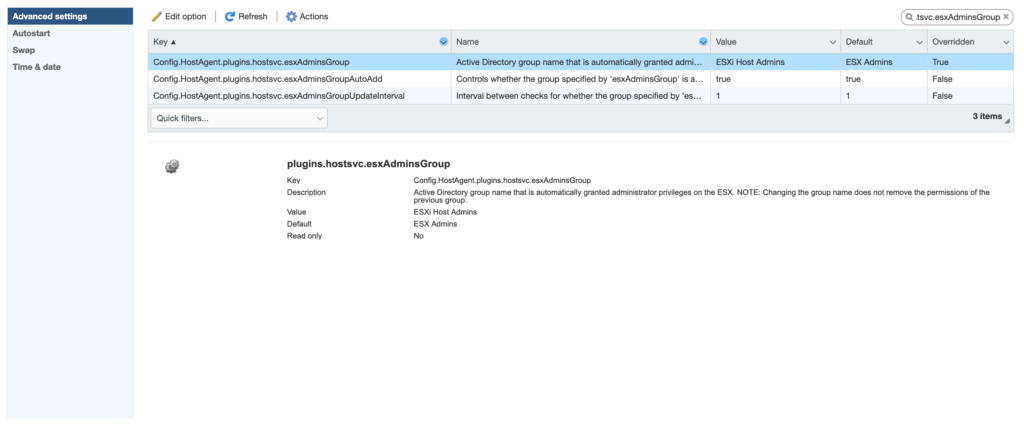
Update the Config.HostAgent.plugins.hostsvc.esxAdminsGroup key in Advanced settings (Manage > System > Advanced settings) to reflect the Active Directory security group.
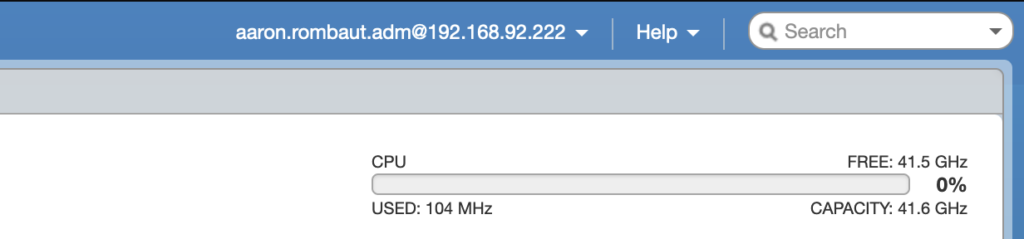
We can now log in as an Active Directory user!
Configuring vCenter Identity Sources
Note: I am not sure how the test will handle this, but for the real world (aka production), Integrated Windows Authentication (IWA) is a deprecated feature (https://kb.vmware.com/s/article/78506) and LDAPS should be configured instead.
After logging into the vSphere Client, navigate to Administration > Single Sign On > Configuration.

Under the Identity Provider tab, click Identity Sources, and click Add.
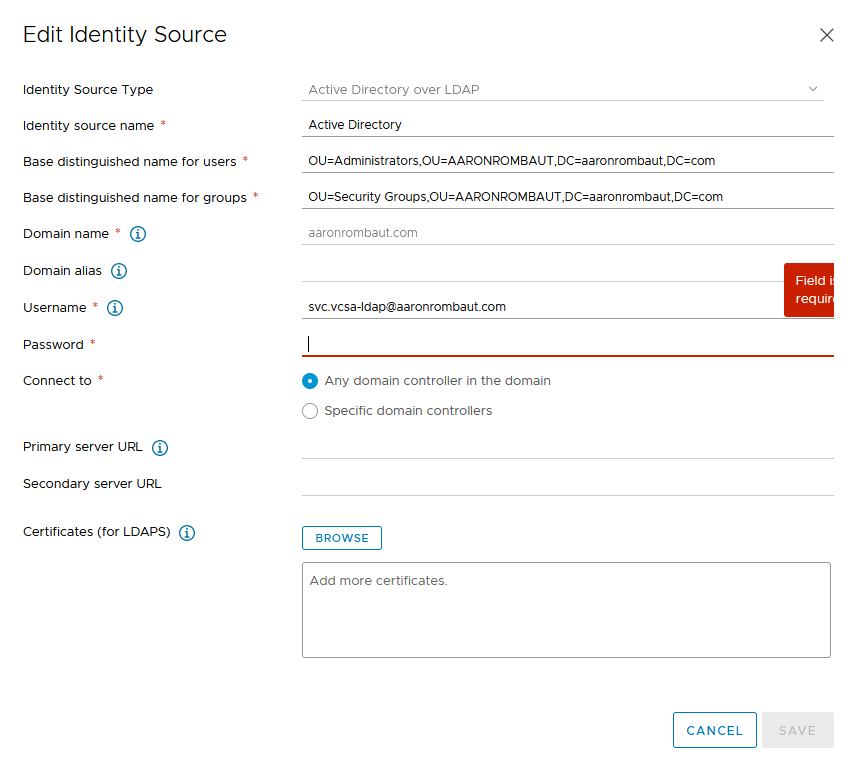
Select the Active Directory over LDAP identity source and fill in the details.
If you want users to be able to log in and not have to add the domain to their user name, then set the Identity Source as the default.

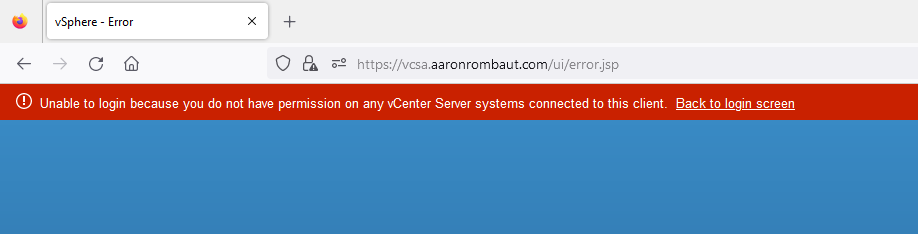
Now that the directory is added, users need to be assigned to at least a Read Only role before being able to log in.
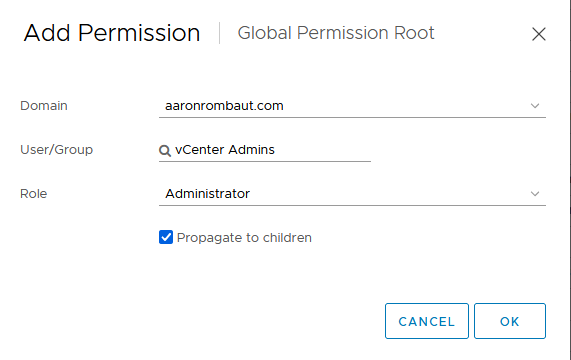
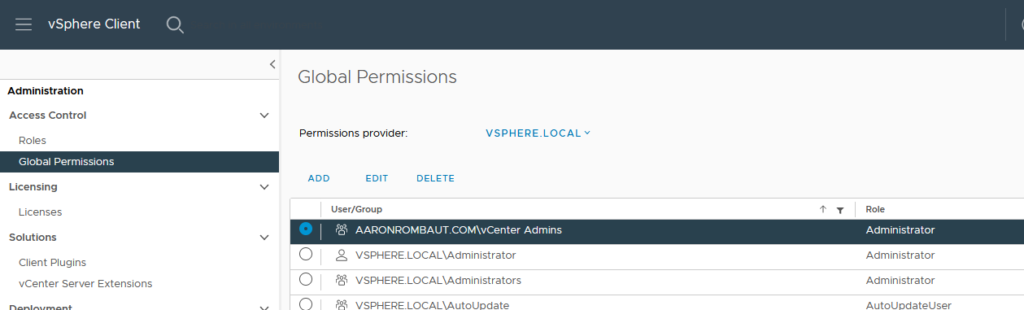
In the Administration menu, click Global Permissions under Access Control. Click Add to add a permission. We are going to add the vCenter Admins group from the domain, give them the Administrator role, and check the box to Propagate to children.
Below, we can see that the permission has been successfully added.
This can be tested by logging off of vSphere Client and trying to log in as a user in the security group that was just added.
Objective 4.2 – Set up a clustering solution for VMware vSphere® High Availability (HA)
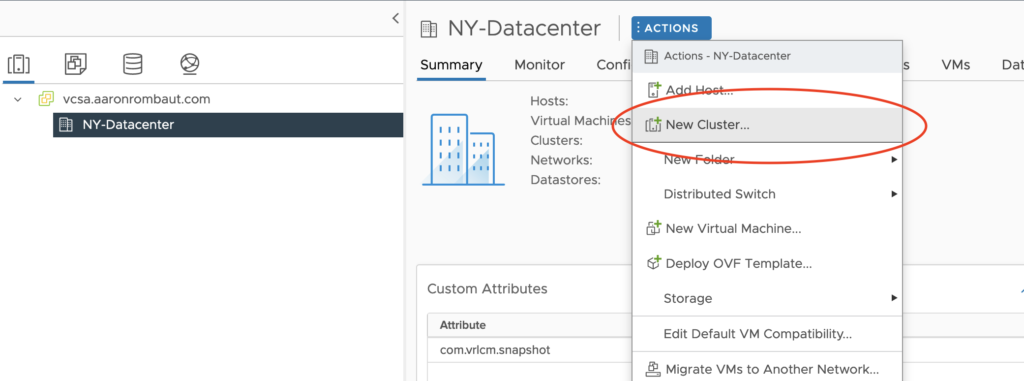
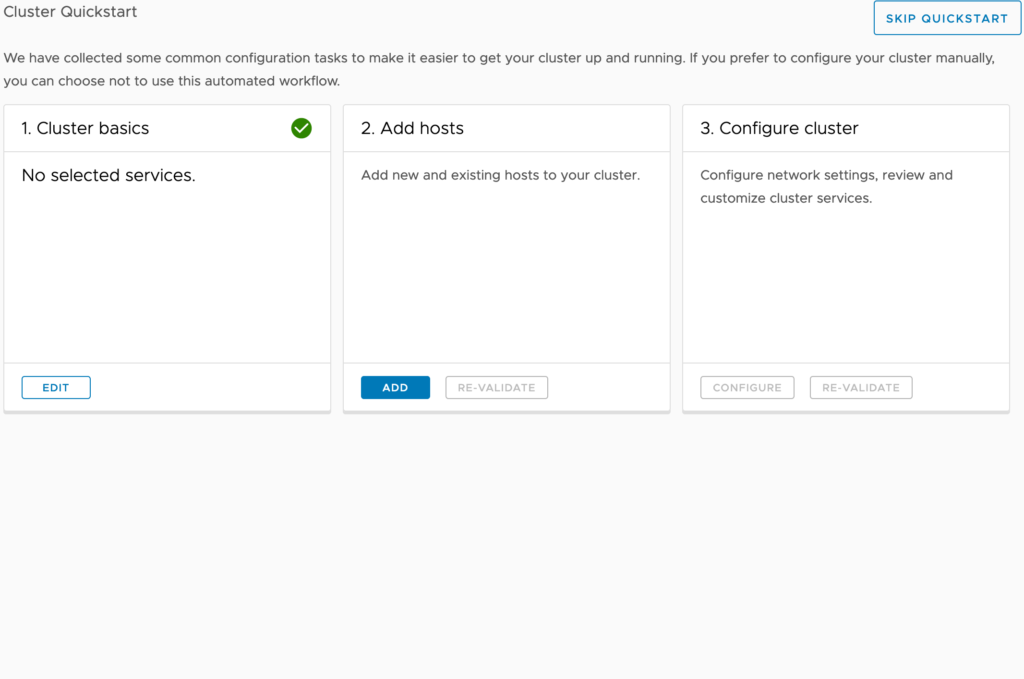
In the vSphere Client, browse to the data center where you want the cluster to reside and click New Cluster.
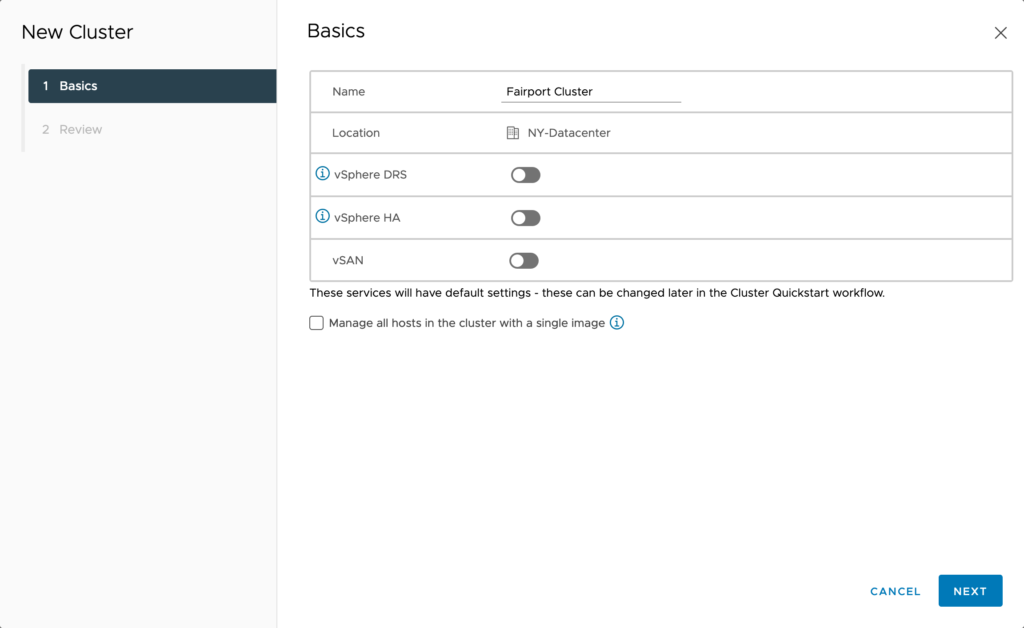
According to the article linked above, the new cluster should not have vSphere DRS or vSphere HA turned on. Basically, the doc is only asking for a name for the cluster and then instructs us to save the settings.

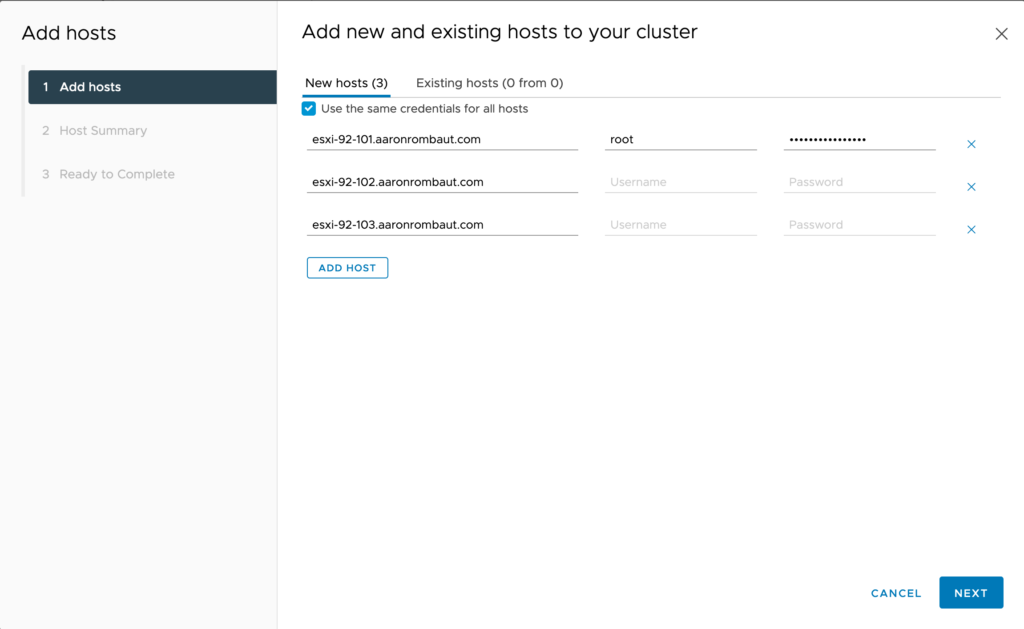
Now that we have a cluster built, we can add hosts. From the docs, “A cluster must contain at least two hosts.”
I check the box to Use the same credentials for all hosts and add three hosts.

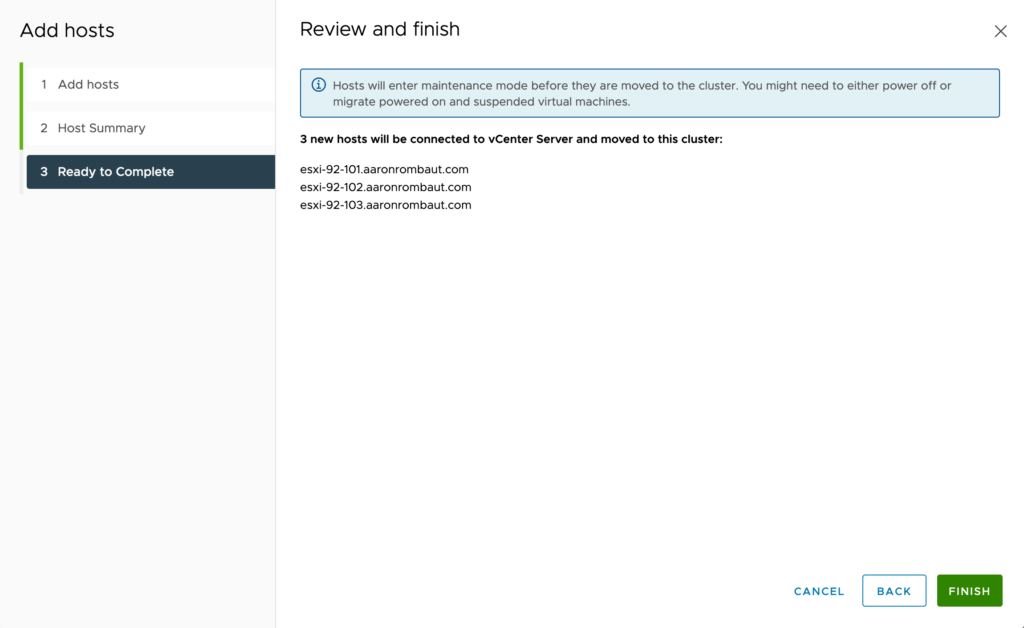
After the hosts are added to the cluster, I noticed that all of the hosts were in Maintenance Mode. Remember to take the hosts out of Maintenance Mode either before or after configuring the cluster so that cluster election can take place. If the vCLS machines do not deploy, this is a strong indication that the cluster is not configured, there are errors, or the hosts are in Maintenance Mode.
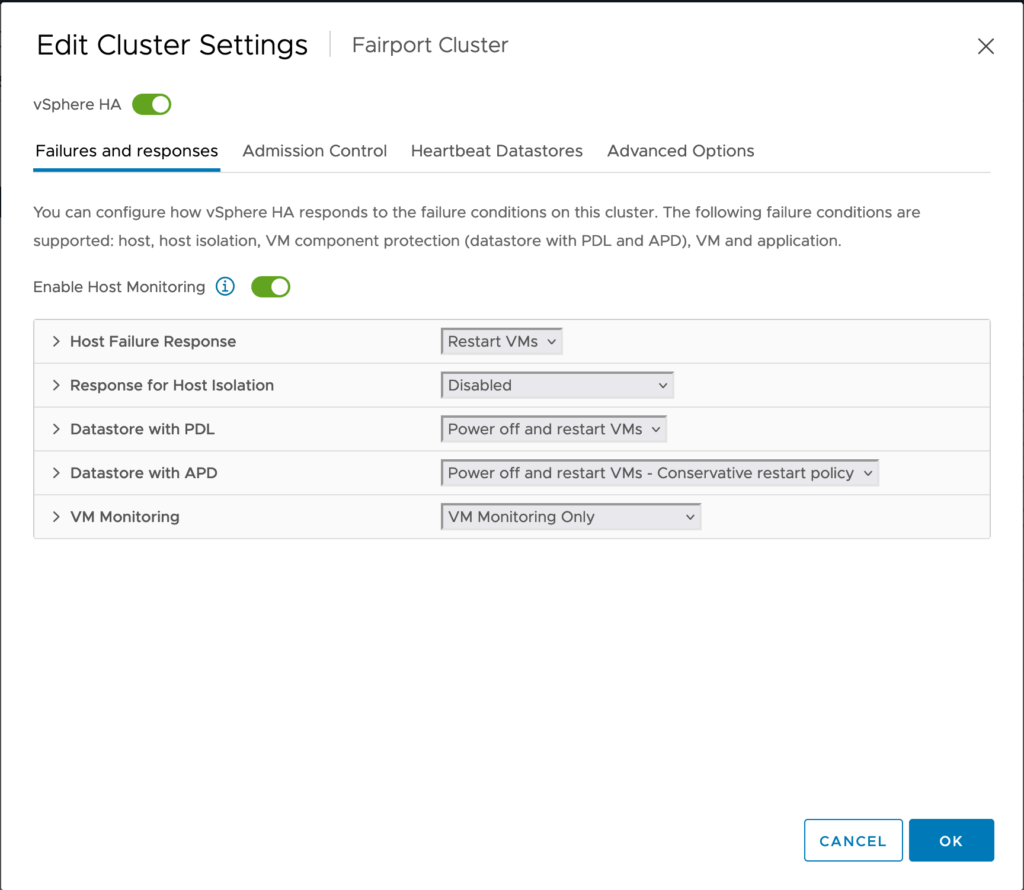
From here, we can configure the cluster and enable vSphere HA. On the Configure tab, select vSphere Availability and click Edit. Select vSphere HA.
Select Enable Host Monitoring under Failures and responses.
Select a setting for VM Monitoring. I am choosing to set this to VM Monitoring Only.
Click OK to save these settings and start the cluster election process. I made a note above, but it warrants a second mention. If the vCLS machines are not being deployed, this is a good indicator that the hosts are in Maintenance Mode, there is a configuration issue, or there is a general error that needs to be looked at. A cluster consisting of more than three hosts will only have a max of three vCLS machines deployed. ref
Objective 4.2.1 – Configure and manage High Availability options
There is not much more I can add here from what is written in the docs, so I will copy and paste those, here. The reason I write that is because these settings are subjective and there is no “right way” to set them. They are configurable and should be done with care according to the infrastructure that you are working with. The settings I use may or may not work for your set up. Following the Best Practices as suggested by VMware as a starting point is recommended.
When you create a vSphere HA cluster or configure an existing cluster, you must configure settings that determine how the feature works.
In the vSphere Client, you can configure following the vSphere HA settings:
Failures and responses Provide settings here for host failure responses, host isolation, VM monitoring, and VM Component Protection.
Admission Control Activate or deactivate admission control for the vSphere HA cluster and choose a policy for how it is enforced.
– My Notes…this setting will prevent new virtual machines from starting up if configured incorrectly or the cluster is over provisioned. Admission Control, when set correctly, reserves host resources so that all virtual machines can be powered on in the cluster somewhere. If the new virtual machine consumes too many resources and would prevent other virtual machines from powering on, this will prevent the virtual machine from powering on. This sounds like a great scenario for an exam question.
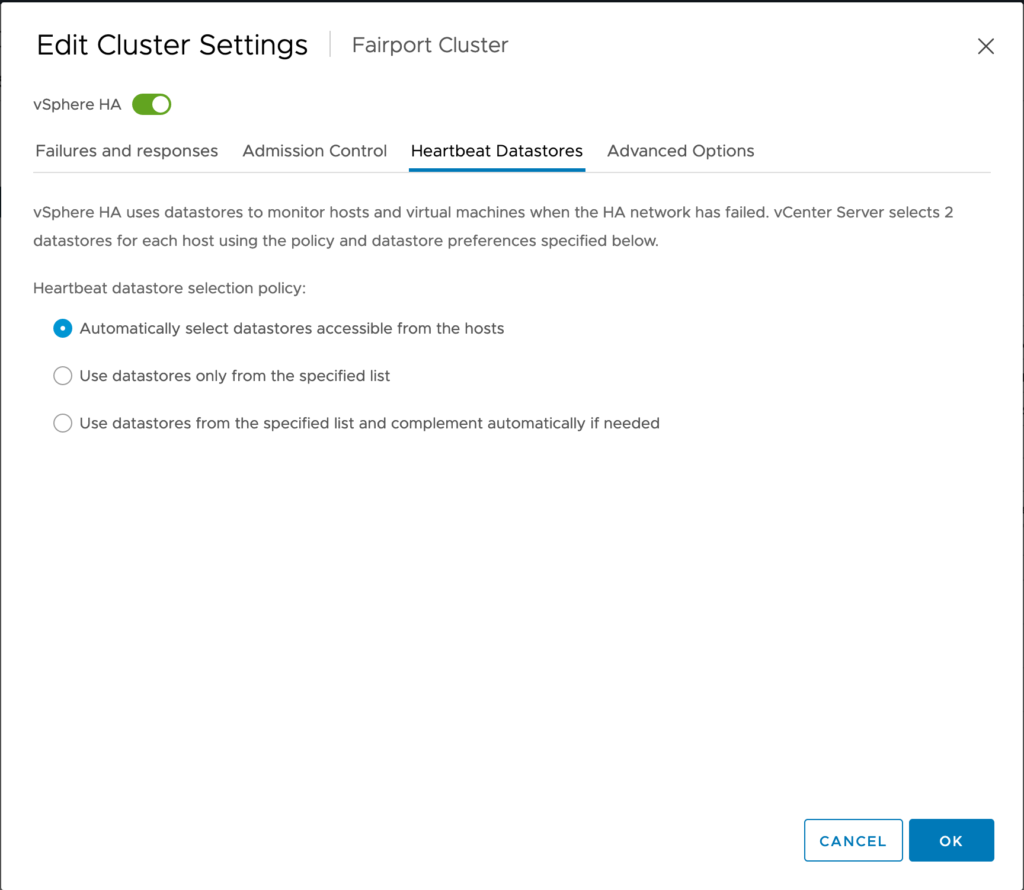
Heartbeat Datastores Specify preferences for the datastores that vSphere HA uses for datastore heartbeating.
– My Notes…while building the vSphere HA cluster, there is a note in the prerequisites that state, “Verify that you have configured hosts with at least two datastores to provide redundancy for vSphere HA datastore heartbeating.”
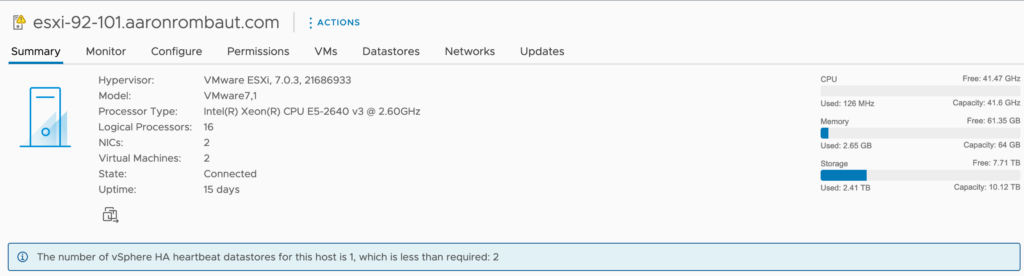
– In my lab, I created an additional 5 GB datastore, purely for the purpose of having an additional datastore available. I started with 1 GB, but the required minimum size for a VMFS datastore is 2 GB. Following is an image of the informative message letting me know that the number of vSphere HA heartbeat datastores for the host is one, which is less than the required.
Configure the Heartbeat Datastores selection policy to Automatically select datastores accessible from the hosts for normal operations. If you want to see how many datastores are available to all hosts, choose the last option, temporarily. If there is a missing datastore, check the ESXi hosts > Configure > Storage > Storage Devices. If a datastore is missing, try re-scanning the Storage Adapter.
Advanced Options Customize vSphere HA behavior by setting advanced options.
Objective 4.3 – Set up a cluster solution for VMware vSphere® Distributed Resource SchedulerTM (DRS)
Objective 4.3.1 – Configure VMware vSphere® vMotion
vSphere vMotion Networking Requirements
About Enhanced vMotion Compatibility (EVC)
Objective 4.3.2 – Configure scalable shares
Here is another link from Duncan Epping – https://www.yellow-bricks.com/2020/03/12/introducing-scalable-shares-vsphere-7/
Objective 4.4 – Set up a cluster solution for VMware vSAN (TM)
Objective 4.4.1 – Set up a cluster solution for VMware vSAN(TM)
Section 5 – Performance-tuning, Optimization, and Upgrades
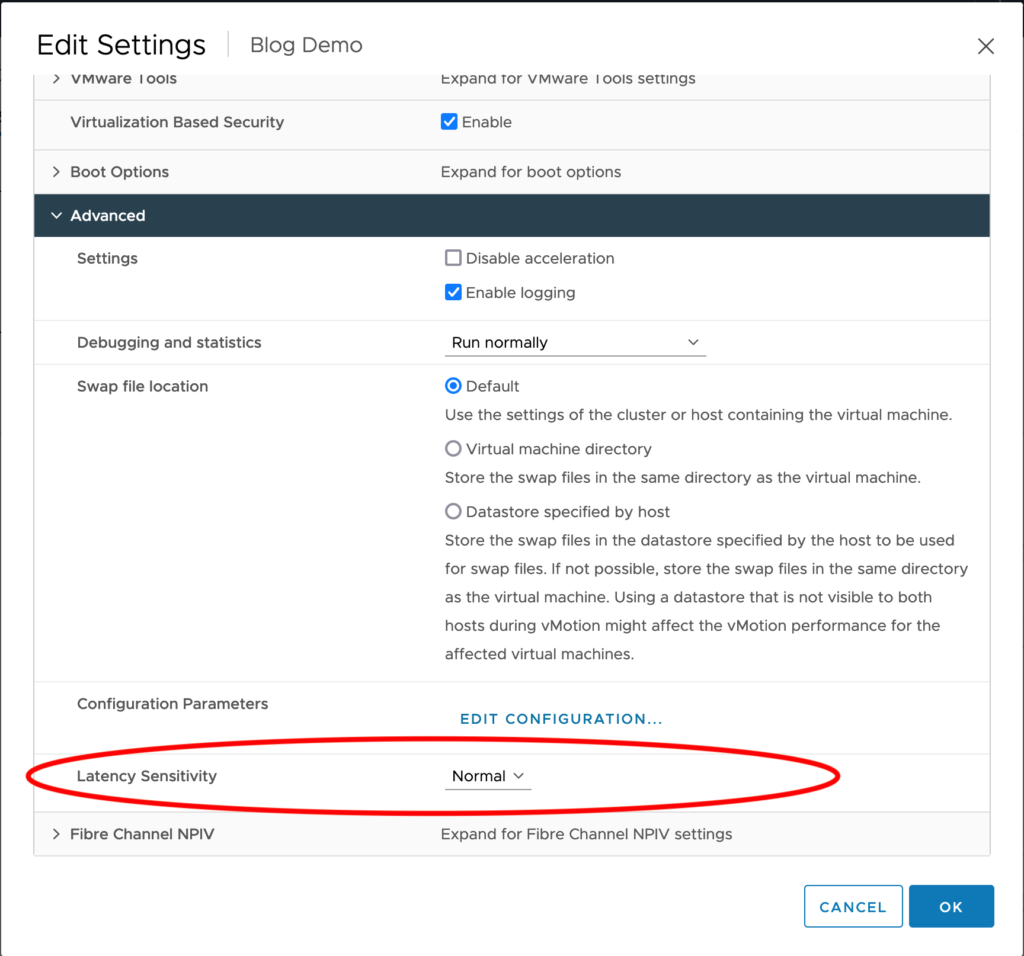
Objective 5.1 – Manage advanced virtual machine configurations (per VM EVC, latency sensitivity)
Objective 5.1.1 – Identify and implement vSphere® resource optimization opportunities
Section 6 – Troubleshooting and Repairing
Objective 6.1 Troubleshoot resource issues
Objective 6.1.1 – Troubleshoot vSphere® configuration issues
Objective 6.1.2 – Troubleshoot resource pool configuration issues (e.g. Limits/Sharing, hierarchy)
Objective 6.1.3 – Troubleshoot virtual machine (VM) issues
Objective 6.2 – Troubleshoot network and storage issues
Objective 6.2.1 – Troubleshoot storage issues
Objective 6.2.2 – Troubleshoot network issues
Objective 6.3 – Troubleshoot vSphere® infrastructure issues
Objective 6.3.1 – Troubleshoot VMware ESXi ™ host issues
Objective 6.3.2 – Troubleshoot resource issues of the VMware vCenter Server®
Objective 6.4 – Troubleshoot vSphere® 7.x clusters
Objective 6.4.1 – Troubleshoot virtual machine reservations and VMware Admission Control
Section 7 – Administrative and Operational Tasks
Objective 7.1 – Set up networking and storage
Objective 7.1.1 – Deploy and manage VMware vSphere® Standard Switch (vSS)
Objective 7.1.2 – Deploy and manage VMware vSphere® Distributed Switch (VDS)
Objective 7.1.3 – Configure and manage advanced storage configurations
Objective 7.2 – Set up log collection and VMware vCenter Server® backup
Objective 7.2.1 – Manage and review VMware vSphere® log files
Objective 7.2.2 – Configure VMware vCenter Server® file-based backup
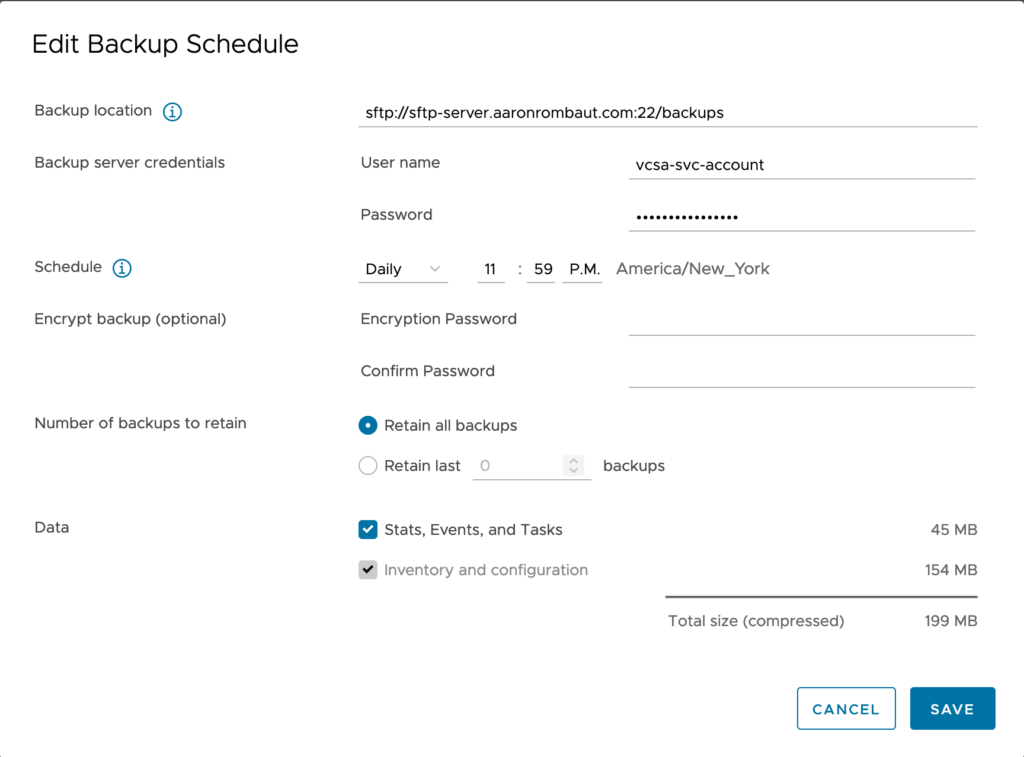
– Here is the prerequisite from the docs, “You must have an FTP, FTPS, HTTP, HTTPS, SFTP, NFS, or SMB server up and running with sufficient disk space to store the backup.”
I am going to install a Fedora Server 38 virtual machine and configure Secure File Transfer Protocol (SFTP) service on it. This will be used to configure the VMware vCenter Server file-based backup target.
In a Web browser, go to the vCenter Server Management Interface, https://appliance-IP-address-or-FQDN:5480.
Log in as root.
Edit the Backup location details.
Objective 7.2.3 – Configure and manage VMware vCenter Server® backup and restore options
Objective 7.2.4 – Configure VMware vCenter Server® profiles
Objective 7.3 – Manage and remediate host and clusters
Objective 7.3.1 – Configure and manage advanced cluster configurations (Quickstart, Admission Control)
Objective 7.3.2 – Create and manage host profiles (e.g. edit and apply host profiles)
Objective 7.3.3 – Manage and remediate clusters using vSphere® Lifecycle Manager™
Objective 7.3.4 – Configure and manage Lifecycle Manager™ components
Objective 7.4 – Work with content libraries
Looks like testable content to me…
Users who are Administrators can also manage libraries and their contents. If a user is an Administrator at a vCenter Server level, they have sufficient privileges to manage the libraries that belong to this vCenter Server instance, but cannot see the libraries unless they have a Read-Only role as a global permission.
For example, a user has an Administrator role that is defined at a vCenter Server level. When the Administrator navigates to Content Libraries in the object navigator, he sees 0 libraries despite there are existing libraries in the vSphere inventory of that vCenter Server instance. To see the libraries, the Administrator needs a Read-Only role assigned as a global permission.
Objective 7.4.1 – Configure and manage a content library
Objective 7.4.2 – Update virtual machine templates in a content library
Objective 7.5 – Configure role-based access control (RBAC)
Objective 7.6 – Configure and manage advanced security options
Objective 7.6.1 – Configure CPU scheduler for security options
Objective 7.7 – Implement VMware vSphere® virtual machine encryption (VM encryption)
Objective 7.7.1 – Configure and manage a Key Management solution
Objective 7.7.2 – Create an encrypted virtual machine
Objective 7.8 – Configure and manage advanced host configurations
Objective 7.8.1 – Configure the VMware Tools and vSphere® Client repository (productLocker)
Leave a Reply