Introduction
This post will discuss the initial setup and configuration for an Automated Instant-Clone Farm for use with VMware Horizon. I am going to use this farm to publish applications and connect them into Workspace ONE Access (WS1 Access). Workspace ONE Access is not required for this technology, but can be leveraged. In this example, I am also going to leverage VMware App Volumes instead of installing the applications directly on the server.
Basically, after installing the Remote Desktop Services Role, we will restrict users to a single session through a local group policy, install the VMware Horizon Agent, install the VMware App Volumes Agent, and finally run the VMware Operating System Optimization Tool (OSOT). Once complete, the virtual machine can be shut down, a snapshot can be taken, and then a Farm can be established in the VMware Horizon Console.
Getting Started
First things, first, this technology uses a Windows Server and the Remote Desktop Session Host (RDSH) role. I am not going to go over the deployment of Windows Server in vSphere Client. I am going to assume that a Windows Server is already deployed and added to the domain and all licensing is in order. If you need a reference on how to configure RDSH, please view this post.
Deactivate Windows Hibernation in the Golden Image
Open an elevated Command Prompt (cmd.exe) window and type the following to deactivate Windows Hibernation.
powercfg.exe /hibernate off
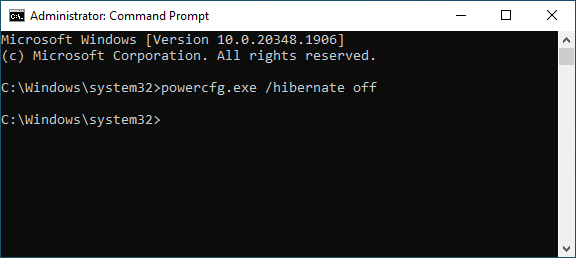
Close the Command Prompt.
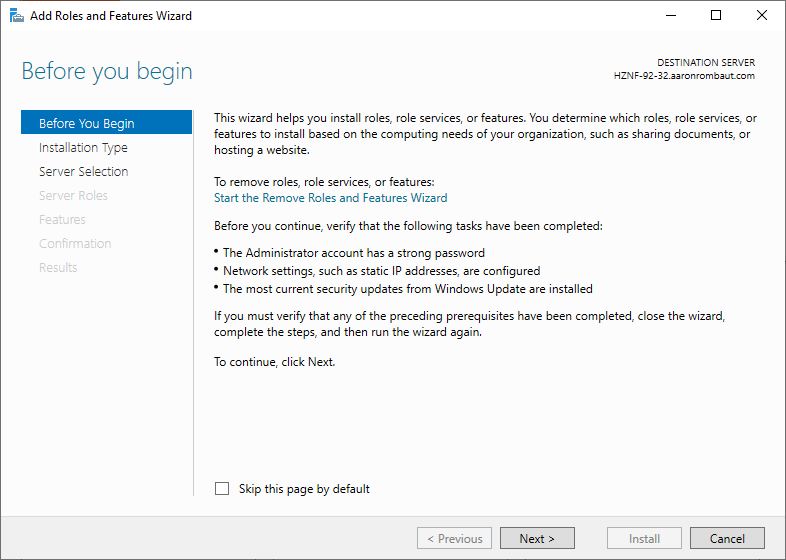
Install the Remote Desktop Services Role (Brief)
This is not a fully documented how-to install the RDS role, but a brief overview. For a more in-depth post, please view the post.
Server Manager > Add roles and features
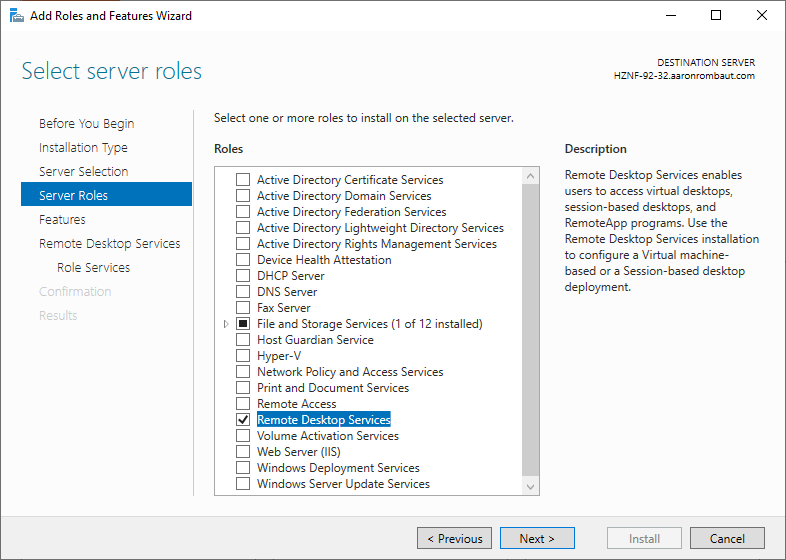
Select Remote Desktop Services.
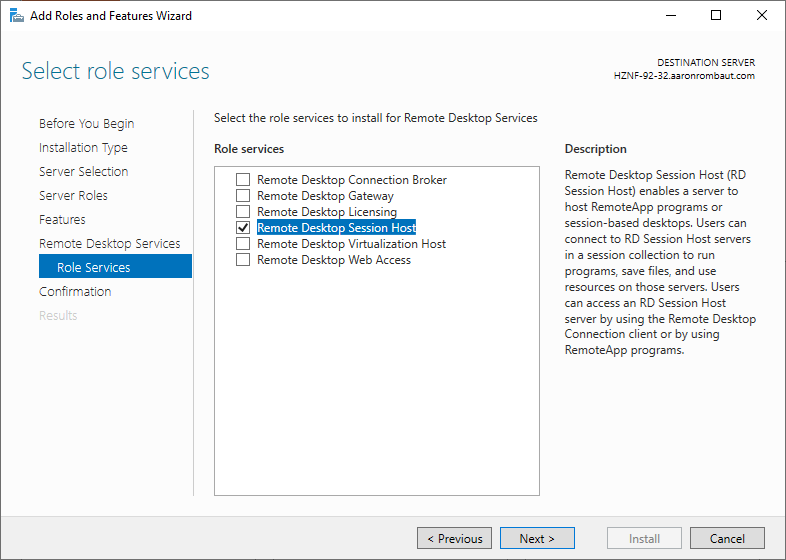
Select Remote Desktop Session Host.
After the installation completes, restart the server.
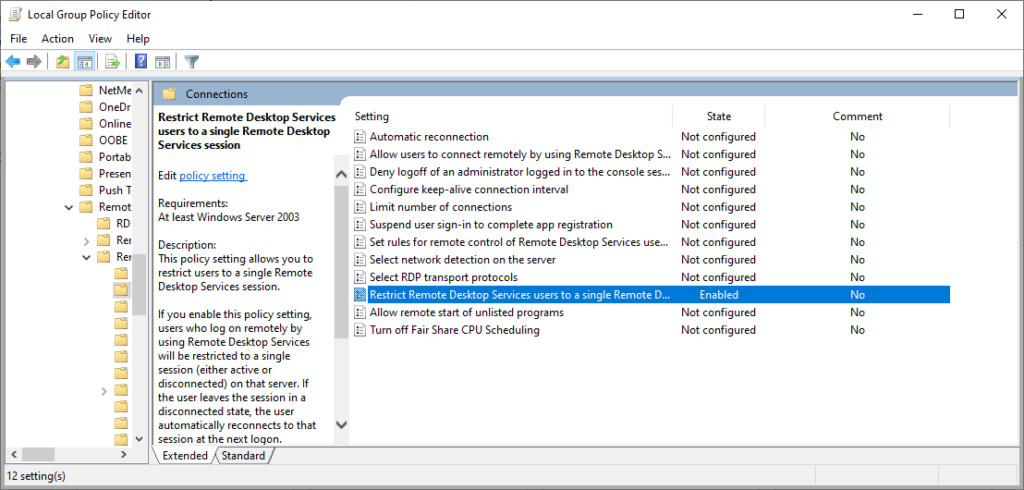
Restrict Users to a Single Session
Open the Local Group Policy Editor (gpedit.msc) and navigate to:
Computer Configuration > Administrative Templates > Windows Components > Remote Desktop Services > Remote Desktop Session Host > Connections > Restrict Remote Desktop Services users to a single Remote Desktop Services session (Enabled)
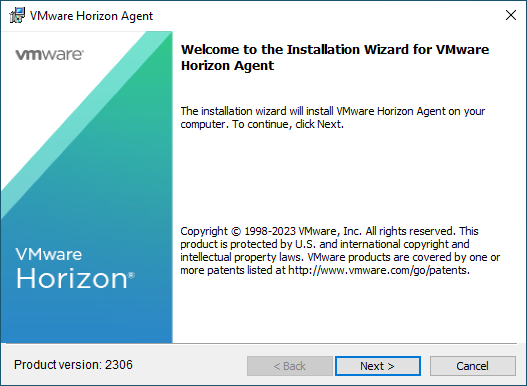
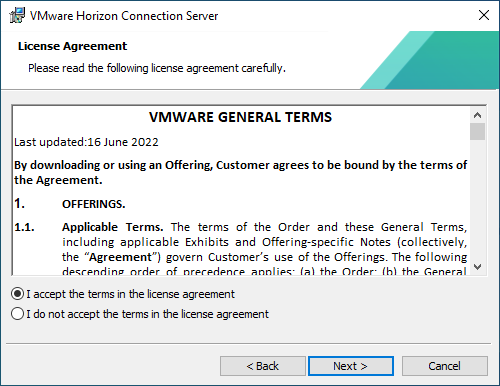
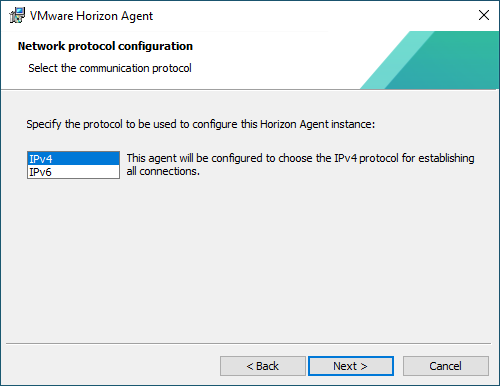
Install Horizon Agent
Enable 3D RDSH, VMware Horizon Instant Clone Agent, and Horizon Performance Tracker.
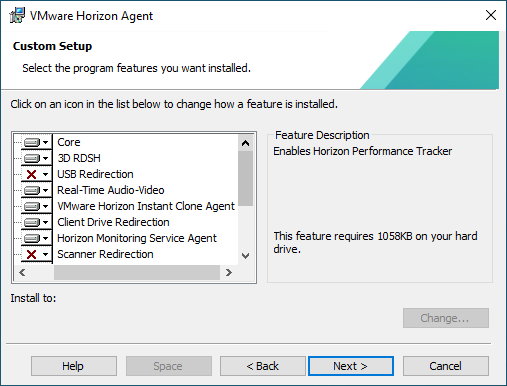
Select Automatically restart system on successful completion.
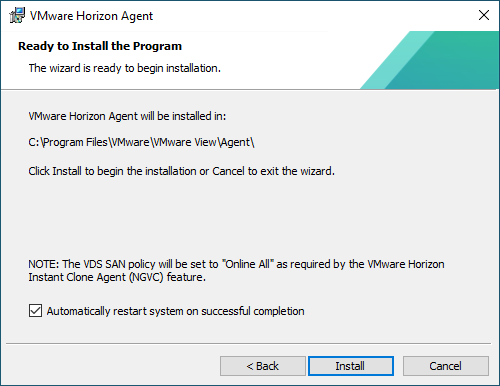
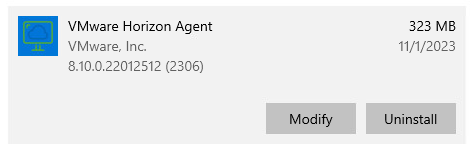
Wait for the installation to complete and the server to automatically restart. Apps & features will show the VMware Horizon Agent installed.
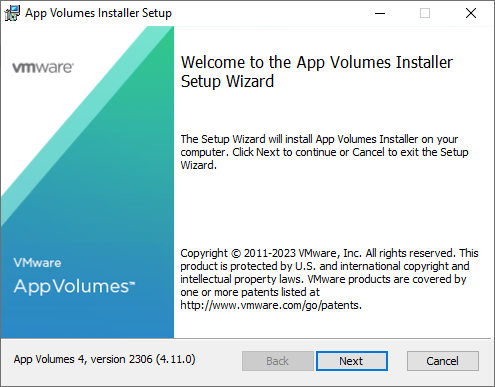
Install App Volumes Agent
Mount the App Volumes ISO.
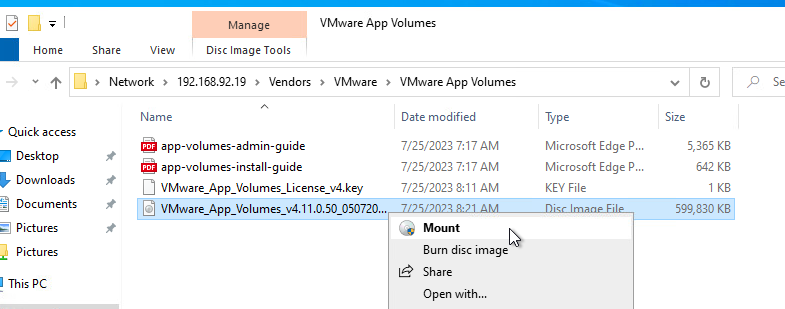
Open Installation folder and double-click setup.exe.
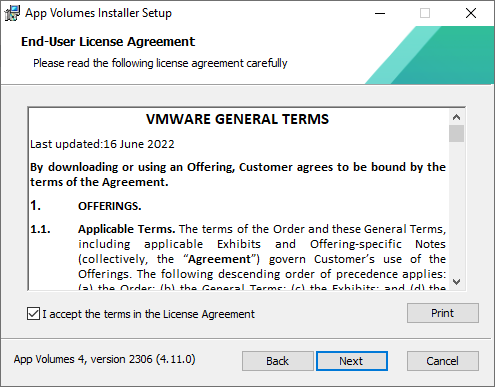
Select I accept the terms in the License Agreement.
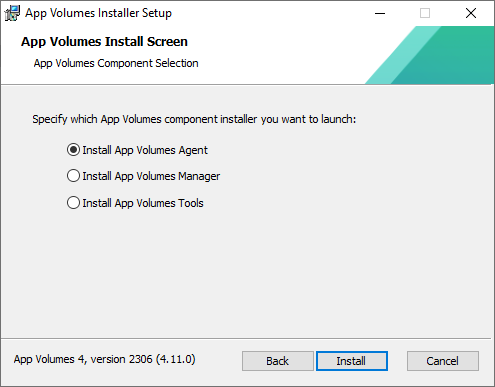
Select Install App Volumes Agent.
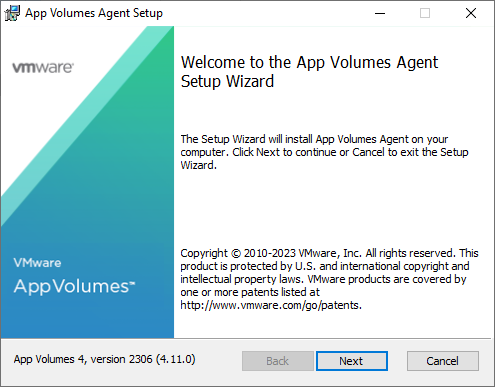
The App Volumes Agent installer opens (it may be a flashing icon on the taskbar).
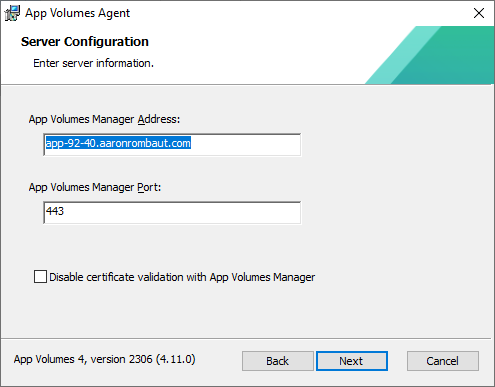
Enter the App Volumes Manager Address, either a single server and then modify the registry to add the additional App Volumes Managers or the load balanced address.
Ensure the Disable certificate validation with App Volumes Manager is de-selected!
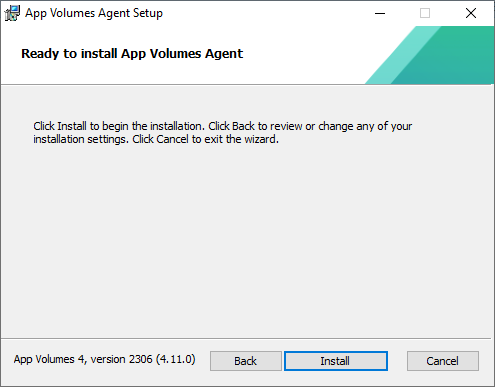
Click Install.
Click Finish the the installer completes.

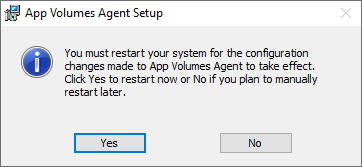
Click Yes to restart the server.
Reduce Log In Time If There is a Connection Failure to App Volumes Manager
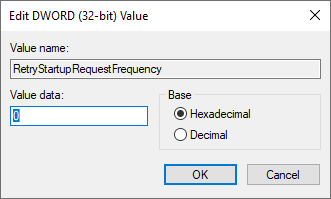
Open the Registry Editor (regedit.msc) and navigate to HKEY_LOCAL_MACHINE\SYSTEM\CurrentControlSet\Services\svservice\Parameters.
Add the the following new DWORD (32-bit) Value:
Value name: RetryStartupRequestFrequency
Value data: 0

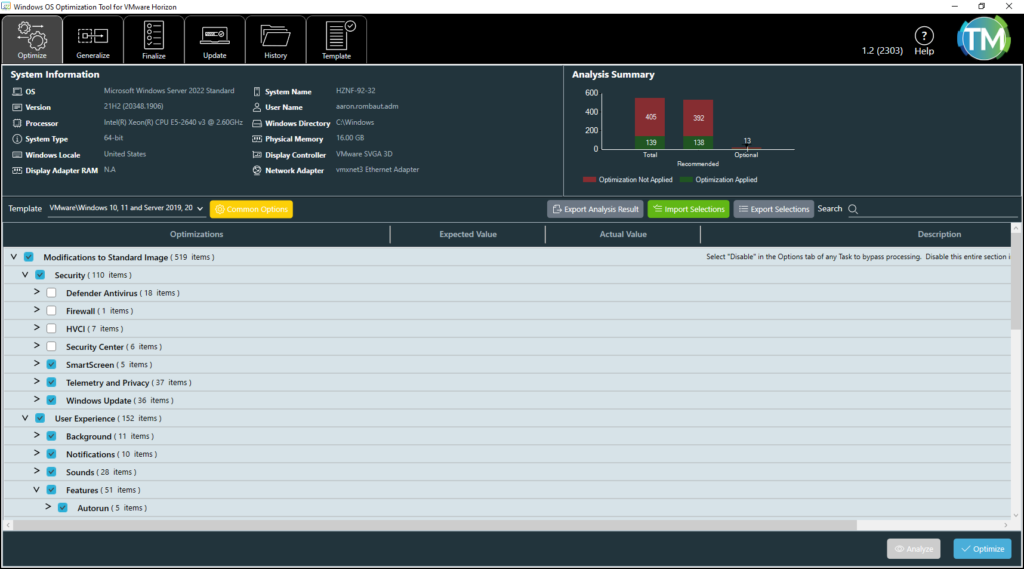
Run VMware Horizon OS Optimization Tool (OSOT)
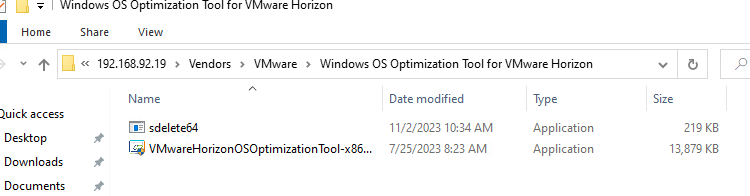
Before running the VMware Operating System Optimization Tool (OSOT), be sure to add sdelete64.exe from Sysinternals Suite to the same directory as the executable.
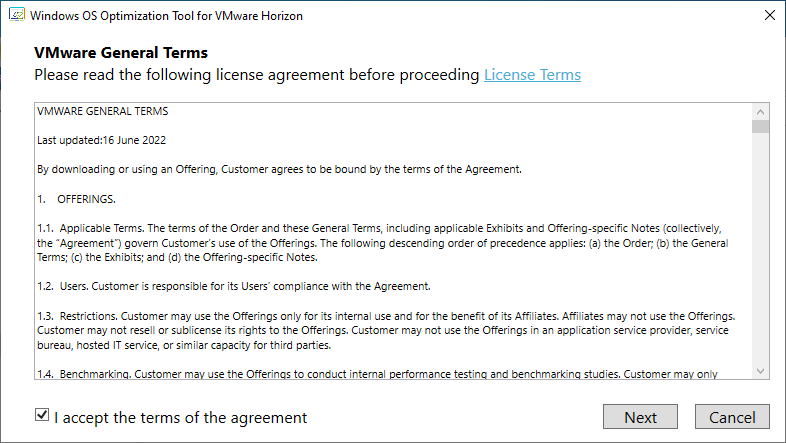
Double-click the VMwareHorizon…exe application icon.
Select I accept the terms of the agreement.
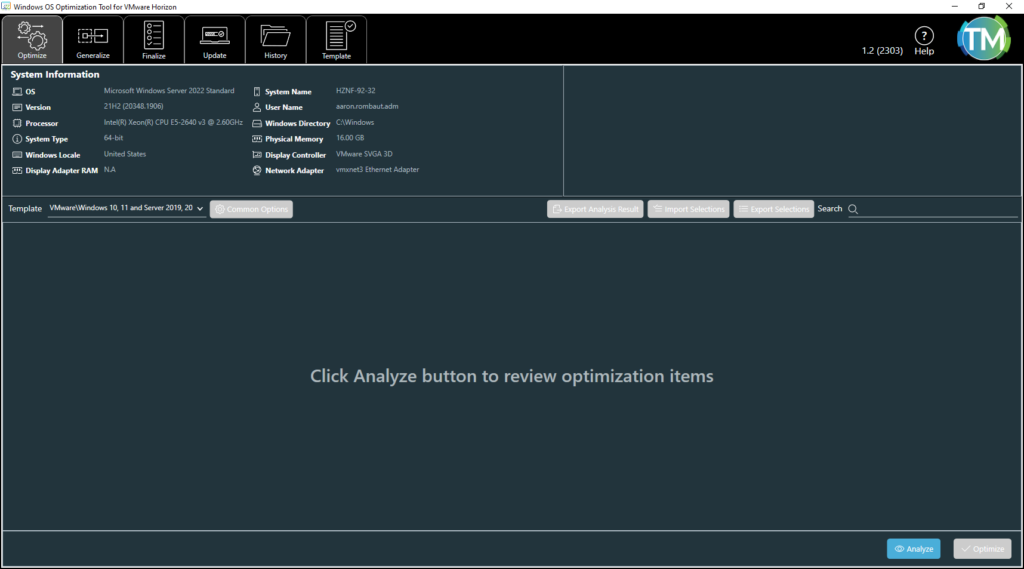
On initial load, you should land on the Optimize tab. Click Analyze to get started.
Click Common Options.
On this machine, since it will be used for an Automated Instant-Clone Farm to host published applications, I want to keep the Windows Store Applications. On the Store Apps menu item, select Keep all Windows Store Applications.
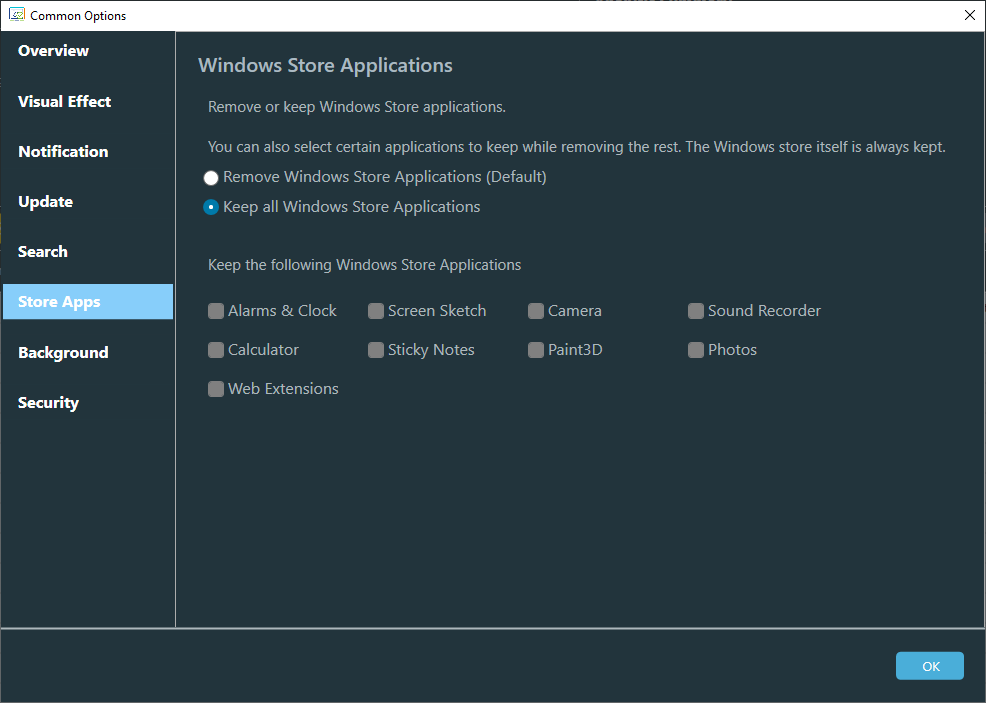
Since this is not a golden image that will be hosting desktops for users, I am not changing any other configuration items. Click OK on the Common Options window.
Back on the main window, click Optimize.
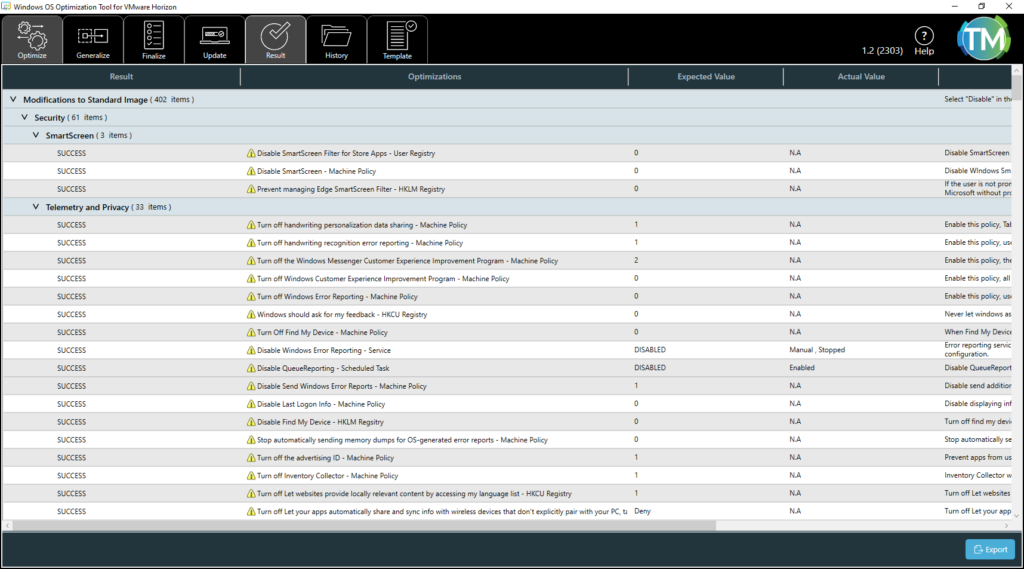
When the optimization completes, you will land on the Result tab.
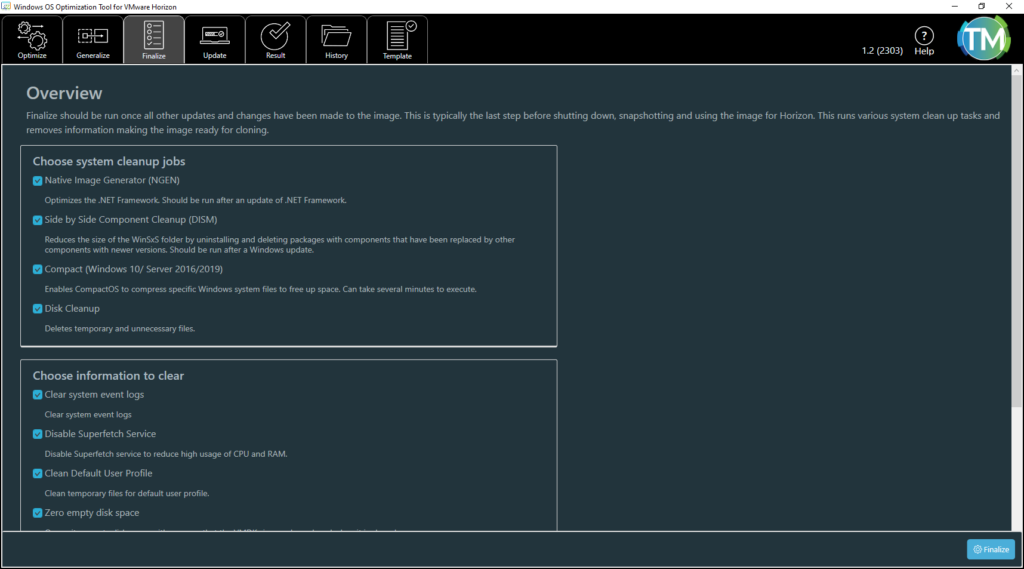
Click the Finalize tab and click Finalize. For the first run, this process is lengthy. Subsequent runs should be much shorter.
An Information pop-up will display when the process is complete.
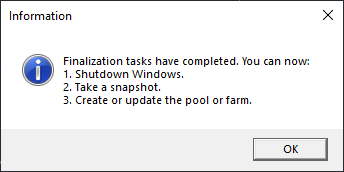
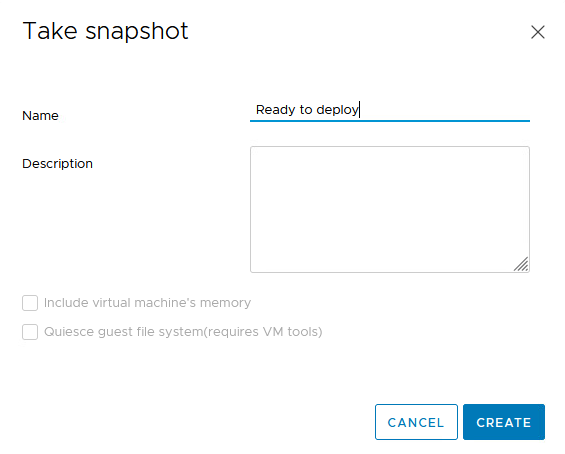
Shut Down and Snapshot the Golden Image
Shut Down the virtual machine and take a snap shot. This is going to be the Golden Image for the Automated Instant-Clone Farm in VMware Horizon Console.
Add the Automated Farm
Open the VMware Horizon Console. Navigate to Settings > Farms.
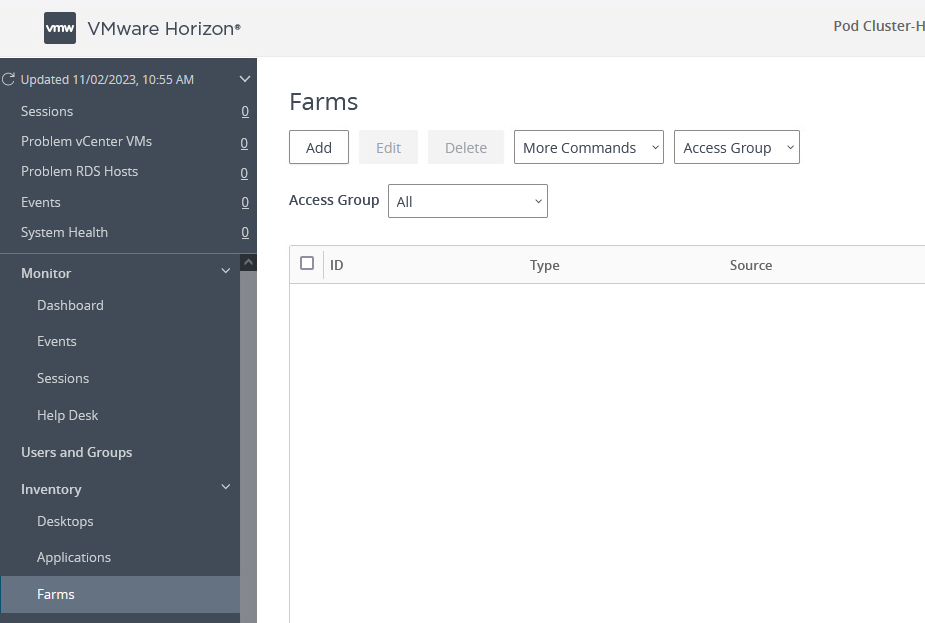
Click Add.
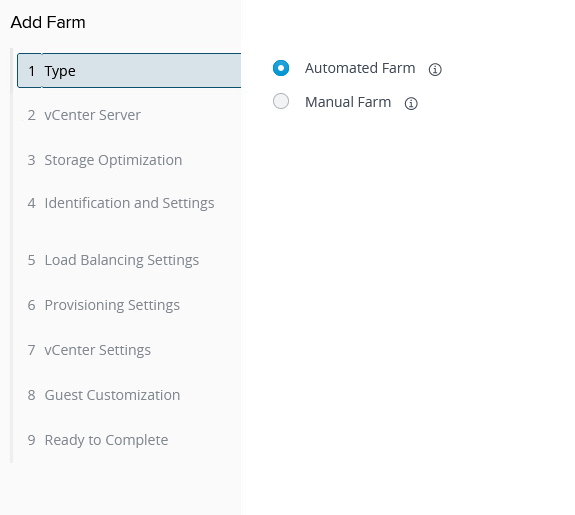
Select Automated Farm.
Select Instant Clone the vCenter Server.
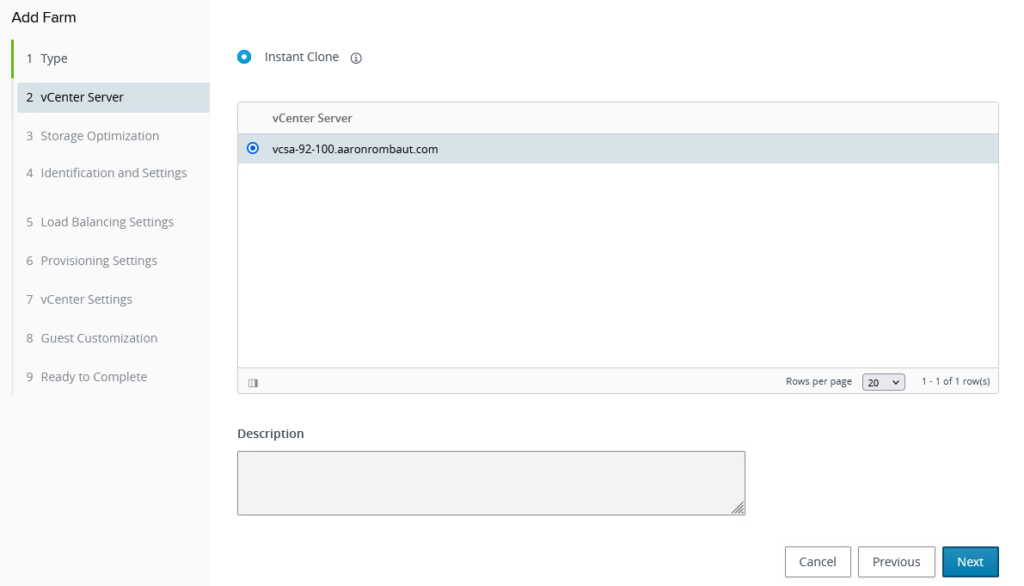
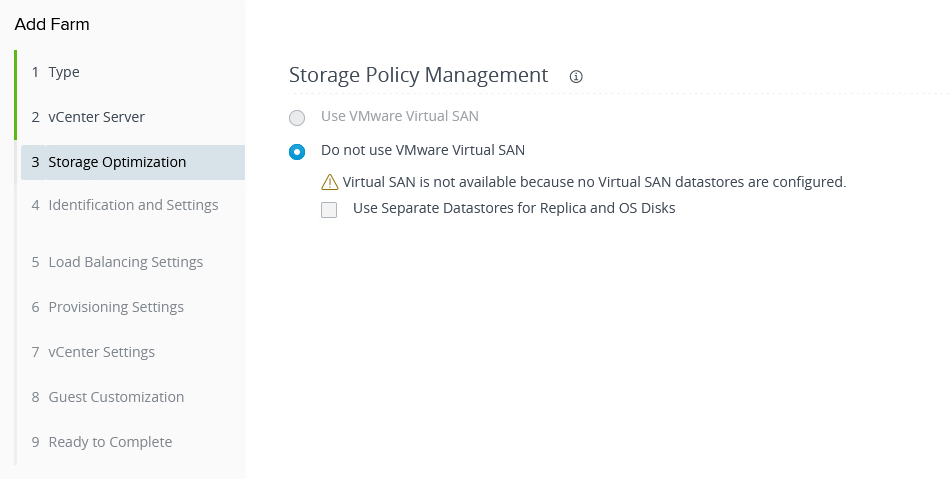
Based on your environment, choose the Storage Policy Management.
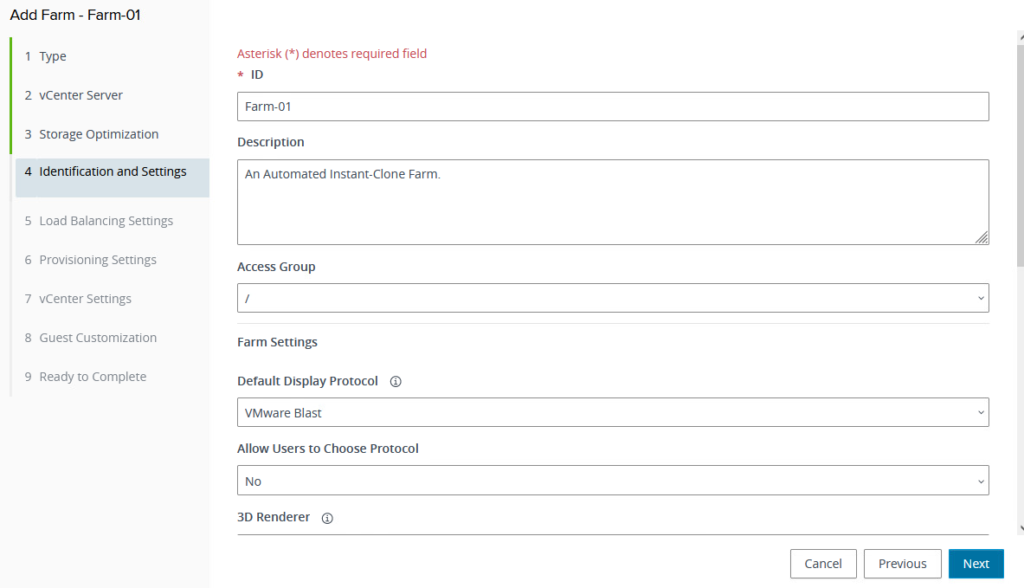
Provide an ID and an optional Description for the pool. Modify the other settings as necessary. A few settings I change or verify include:
Default Display Protocol: VMware Blast
Allow Users to Choose Protocol: No
Logoff Disconnected Sessions: After 15 minutes
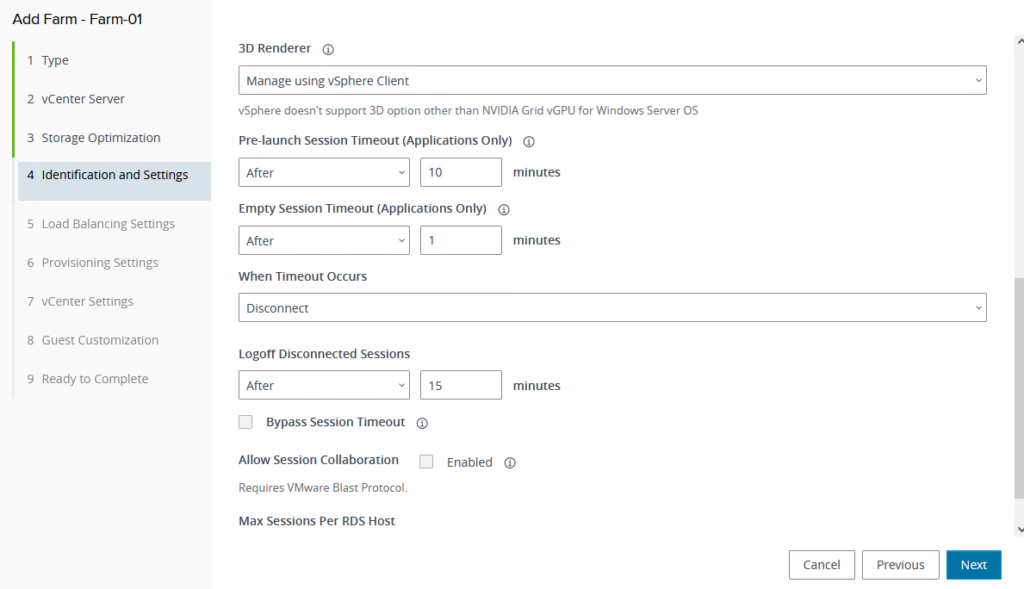
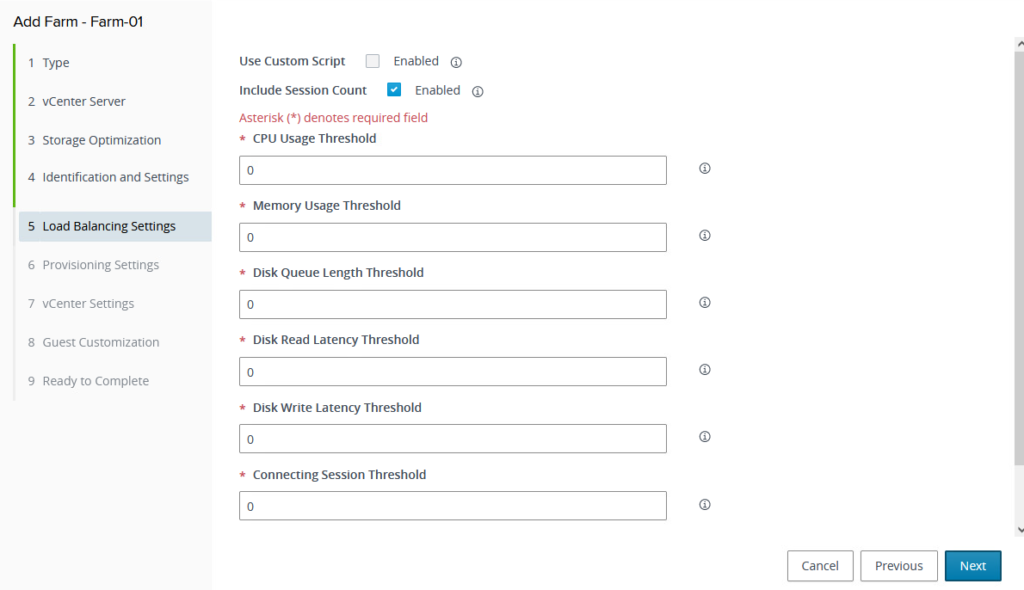
I do not typically change any settings on the Load Balancing Settings tab.
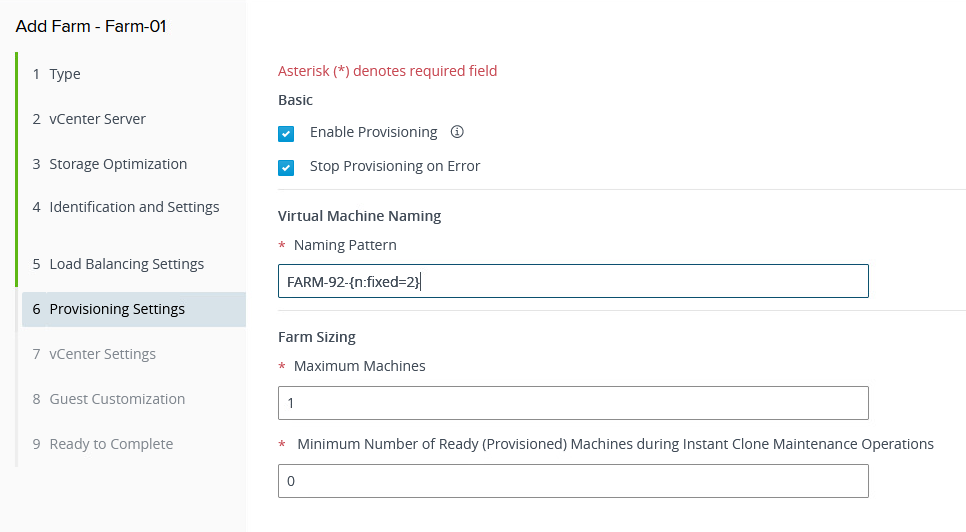
Provide a Naming Pattern and set the Farm Sizing appropriately.
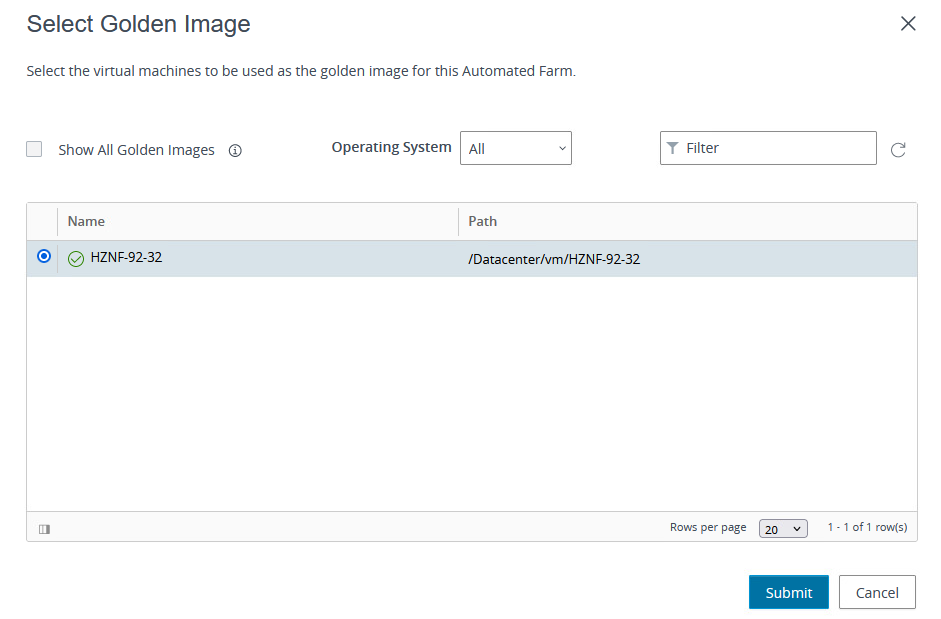
Choose the Golden Image in vCenter that was created. Be sure a snapshot was taken!
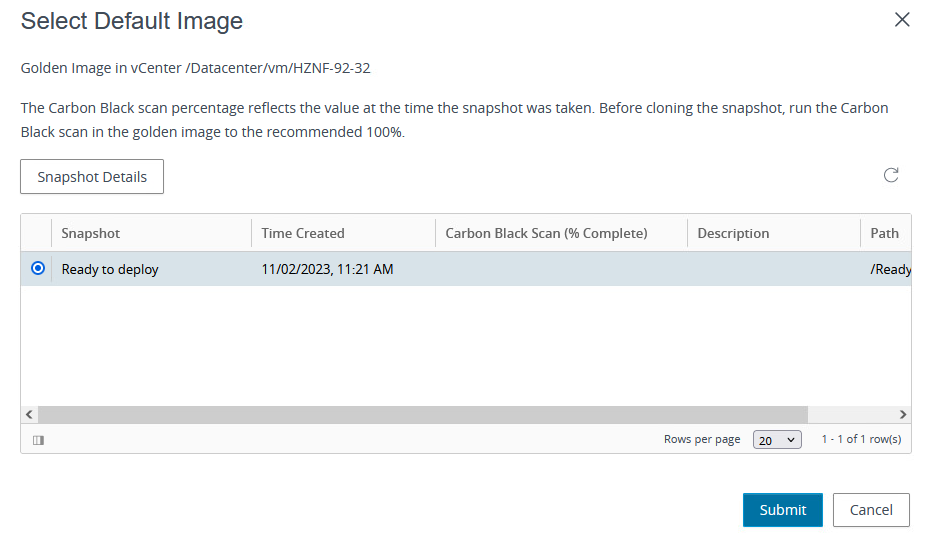
Browse for the Snapshot.
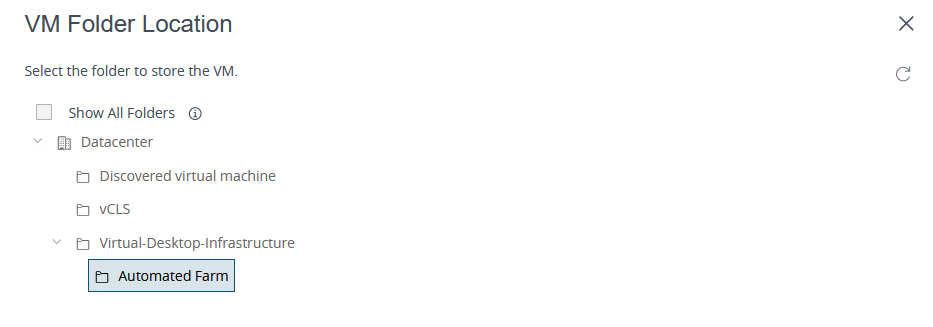
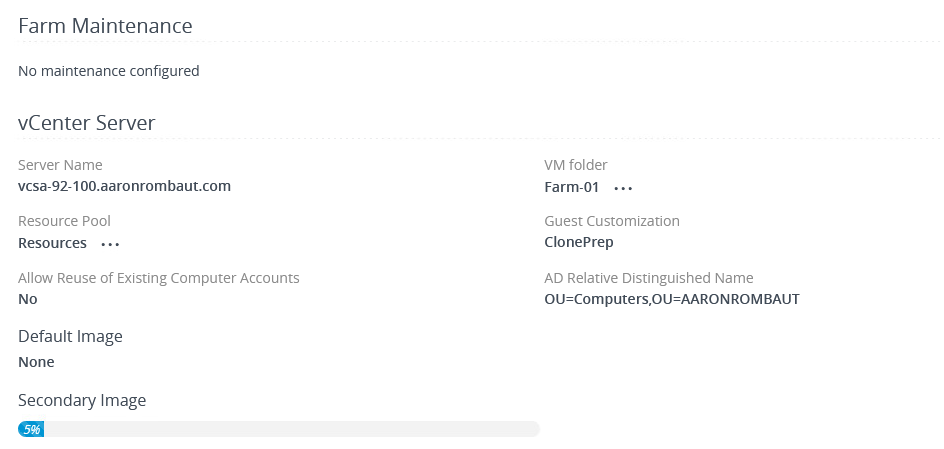
Provide a VM Folder Location. This is where the machines in the Farm will be stored in vCenter.
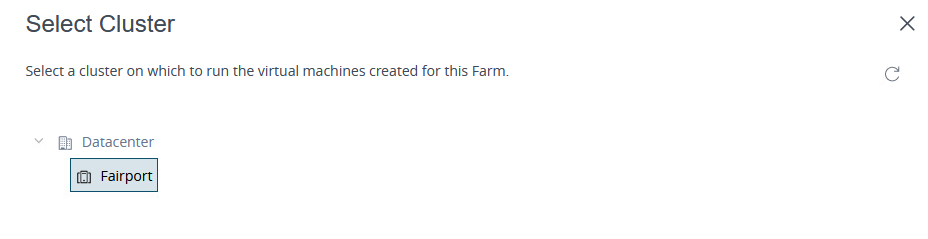
Provide a Cluster resource that will be used for the Farm.
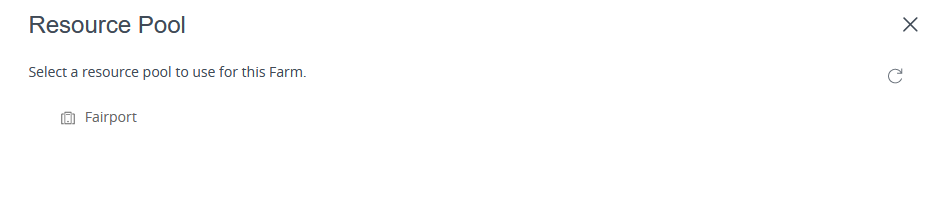
Provide a Resource Pool that will be used.
Choose a Datastore that will be used.

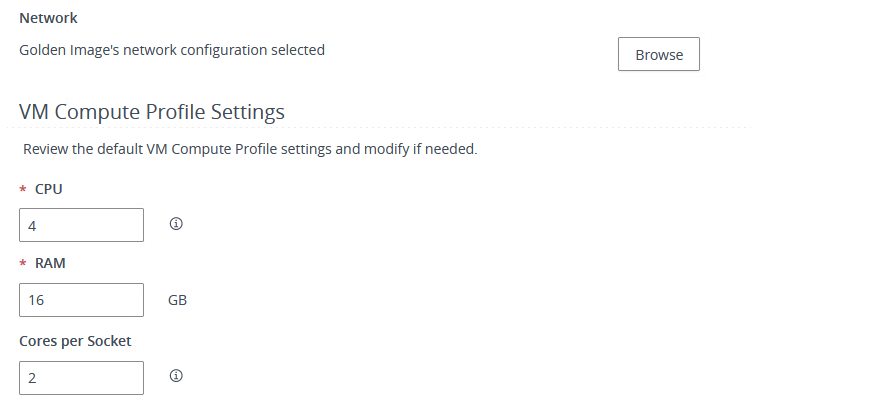
For the rest of the settings, I leave the default Network and VM Compute Profile Settings.
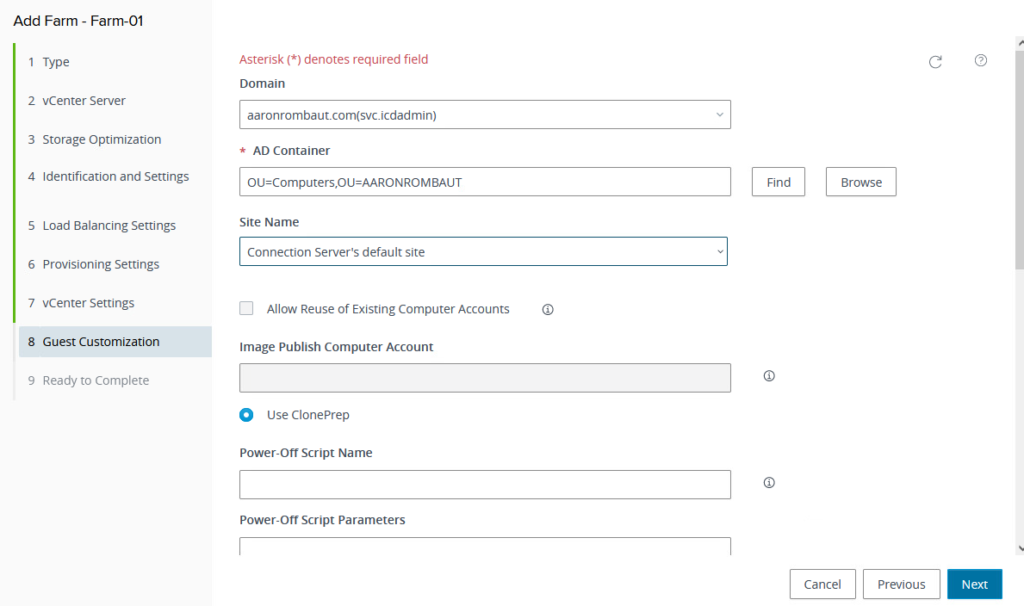
Select the appropriate Domain user account from the Domain drop-down.

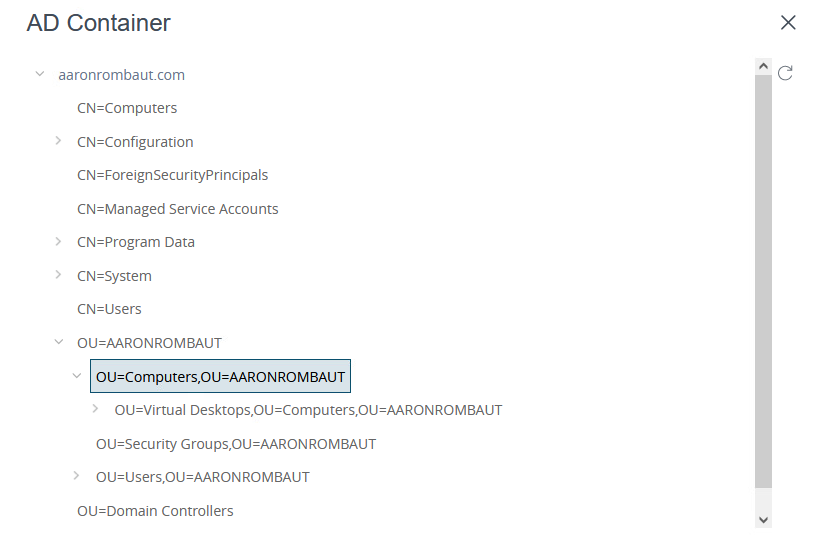
Select the appropriate AD Container where the Instant-Clone Domain Administrator account (the account selected, above) is able to add and remove computer objects in Active Directory.
If the site is labeled, you can also choose the Site Name from the drop-down. No other settings need to be configured.
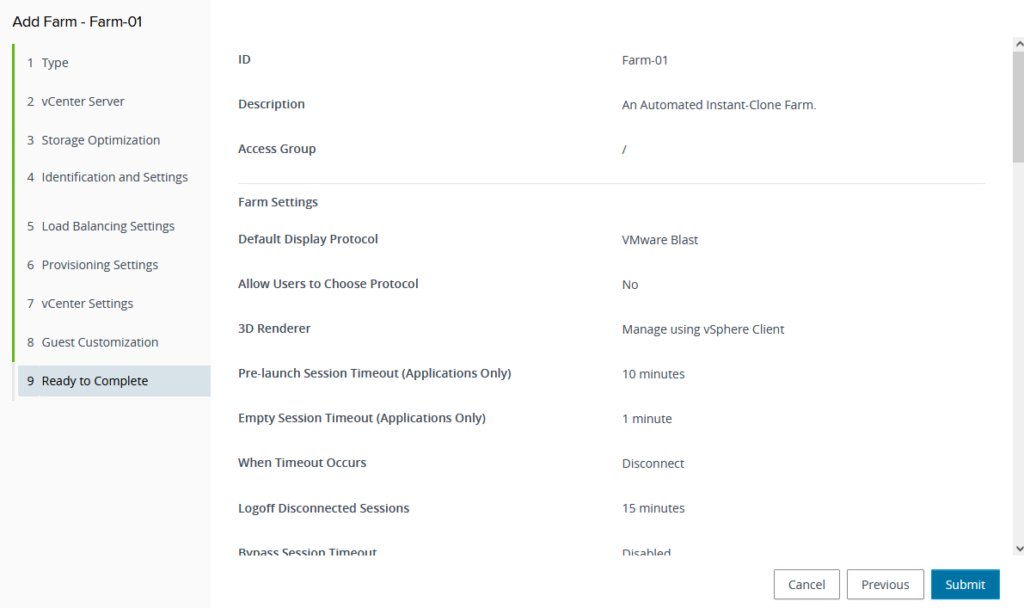
Review the Ready to Complete page and click Submit.
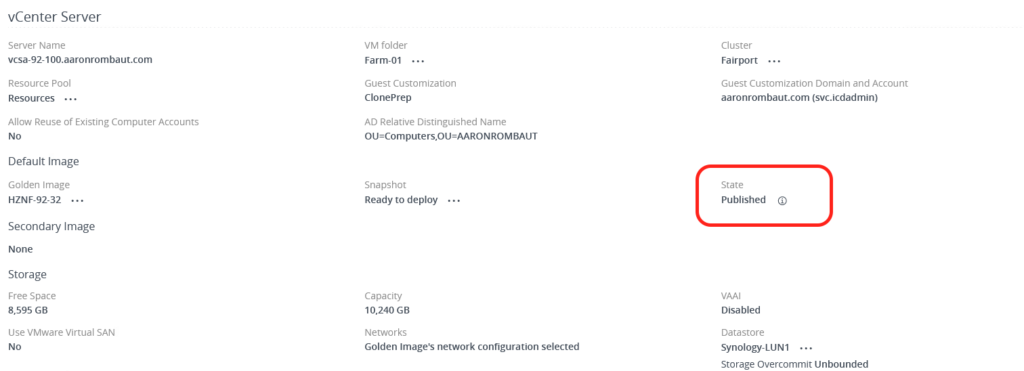
You can monitor the progress of the Instant Clone by clicking on the Farm ID.
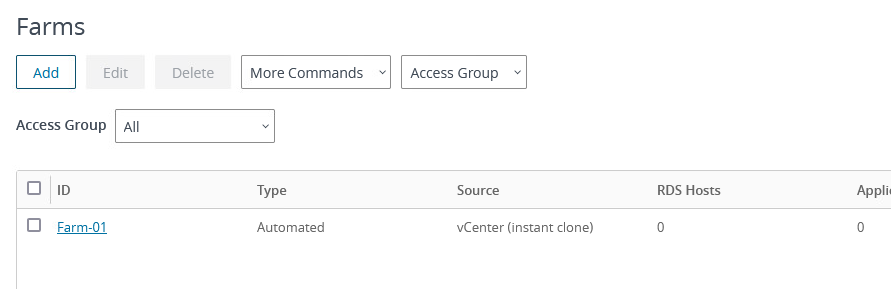
When the page opens, there will be a refresh button on the right side.

When you scroll down the page, you will see a progress bar. The page does not automatically refresh. Click the refresh icon I mentioned, above.
When the process completes, the page will show Published.
Add a VMware App Volumes Manager to Horizon Console
In Horizon Console, select Settings > Servers.
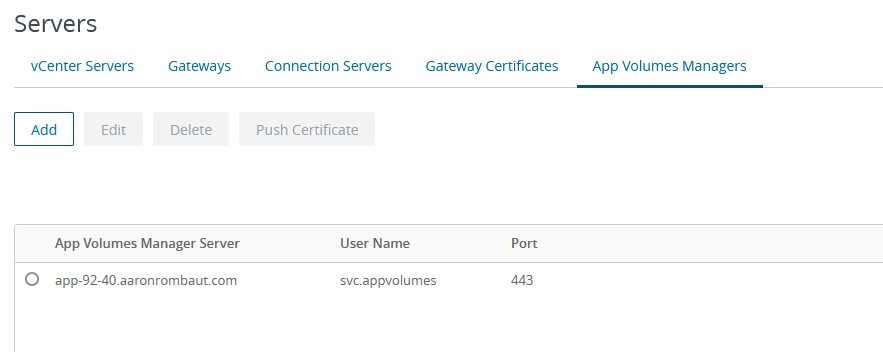
Click the App Volumes Managers tab.
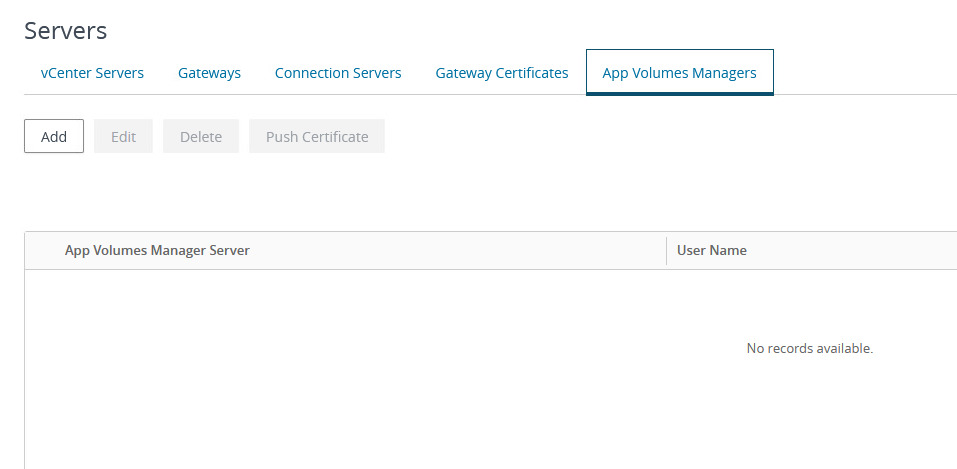
Click Add.
Add the App Volumes Manager FQDN or IP address, port, and user name and password. You can specify a load balancer IP address.
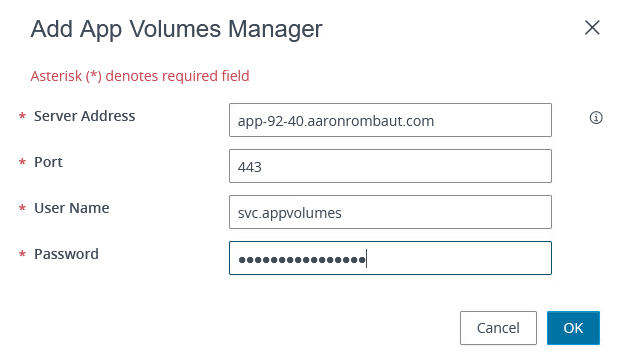
Click OK. The App Volumes Manager certificate validation occurs. I am using a trusted certificate from my Enterprise CA so I will not get a validation prompt.
Associate an App Volumes Manager to a Farm
Note: This step cannot be completed until a Farm is added and completed to 100% and an App Volumes Manager added! Please review the previous two sections if you need to add or configure either.
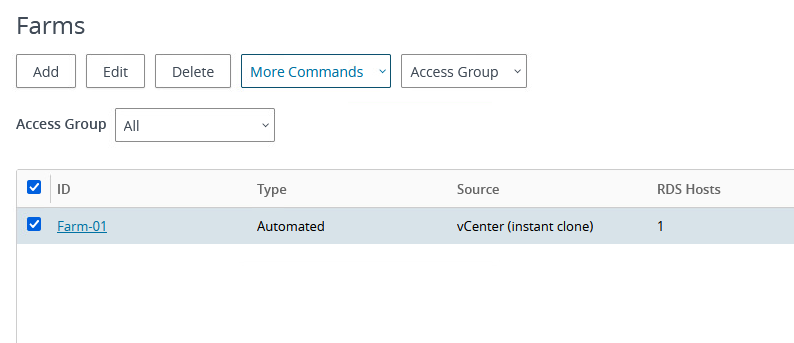
In the Horizon Console, navigate to Inventory > Farms. Select the Farm to associate.
Expand More Commands and select Associate App Volumes Manager.
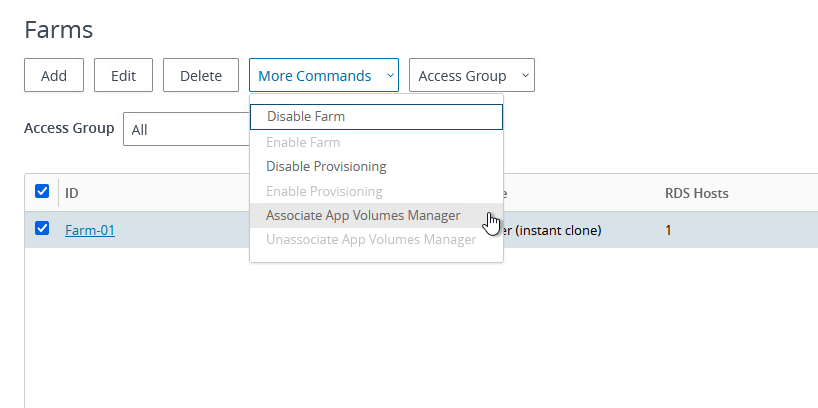
Select the App Volumes Manager to associate.

Leave a Reply