Overview
I stood up a nested VMware Cloud Foundation (VCF) lab and decided to delve into the world of VMware Cloud Director. I ran into a couple issues and wanted to make sure that I documented them here so that I do not run into them again in the future. I have a good feeling that this will be the first of many posts regarding this technology.
Deploy
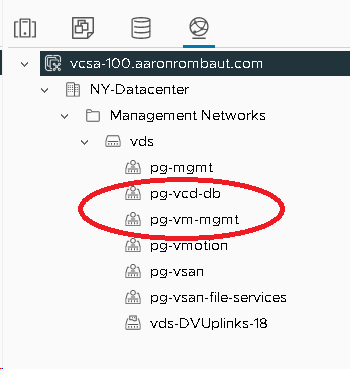
Deploying VMware Cloud Director is not too bad. It’s a simple OVA deployment. So make sure a Domain Name System (DNS) A record (forward) and pointer (PTR) (reverse) record exists as well as a plan for IP addresses. Each appliance will require two networks, one for Management and the other for a dedicated database network. These can be NSX segments or VLAN backed networks.
In production, it is recommended to deploy three cells (aka nodes) to make a cluster. The Primary cell is the first to be deployed and then two additional cells are deployed as Standby. All three cells share a common PostgreSQL database.
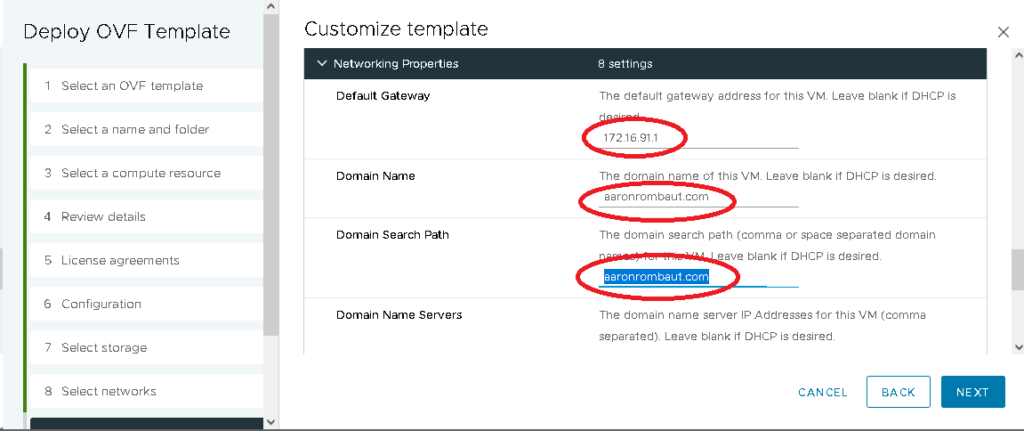
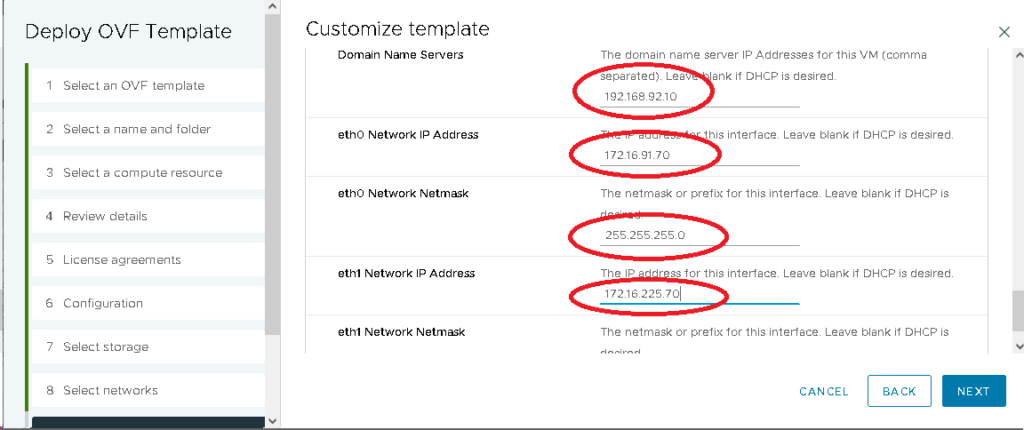
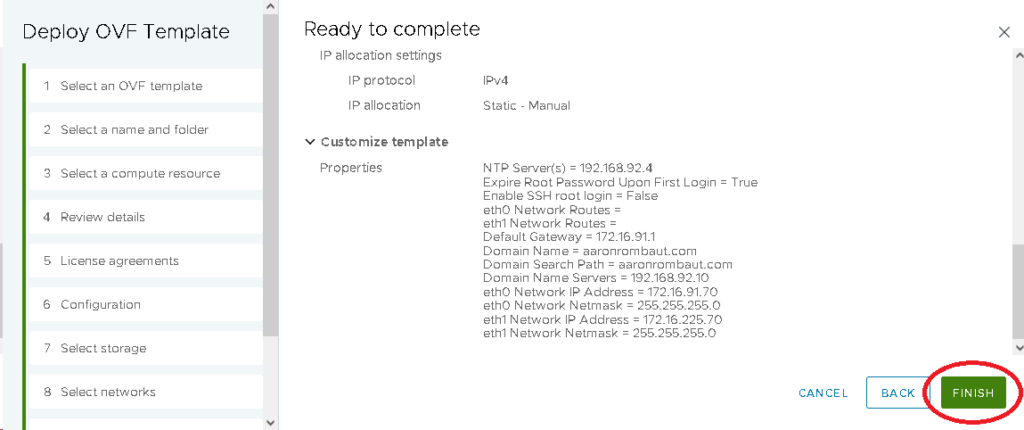
For this demonstration, I am going to deploy vcd-p1-70.aaronrombaut.com to 172.16.91.70/24 on the pg-vm-mgmt port group for Management and 172.16.225.70/24 on the pg-vcd-db port group for the database.
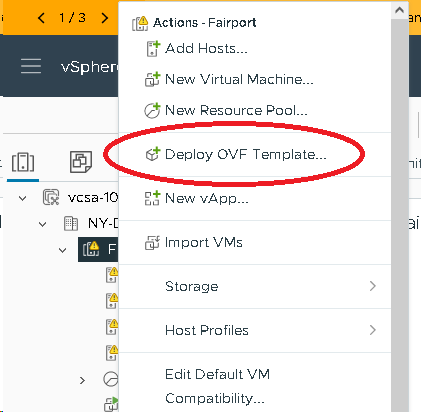
Start the deployment process by selecting Deploy OVF Template…
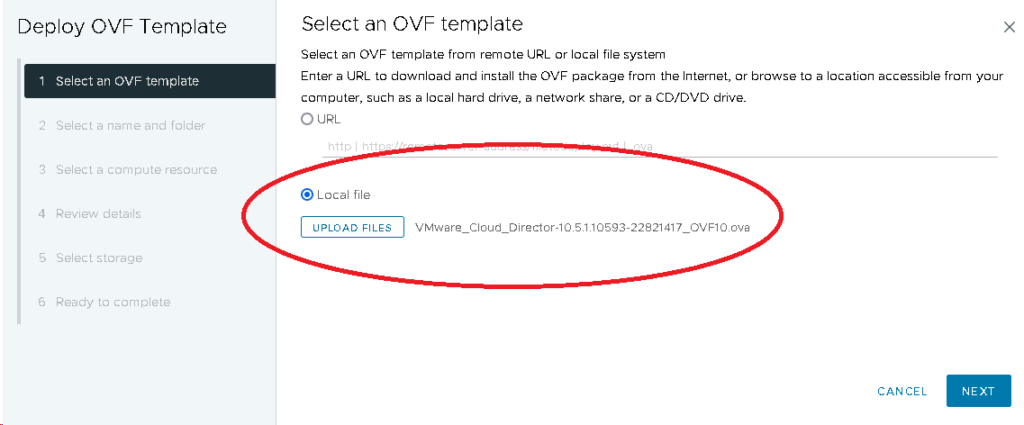
Select Local file and Upload Files. Select the VMware Cloud Director OVA.
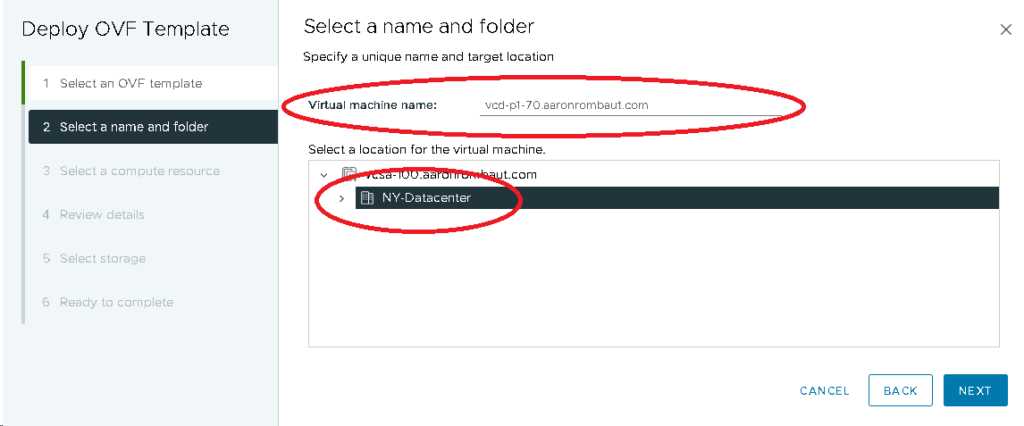
Provide a name and select a folder to deploy to.
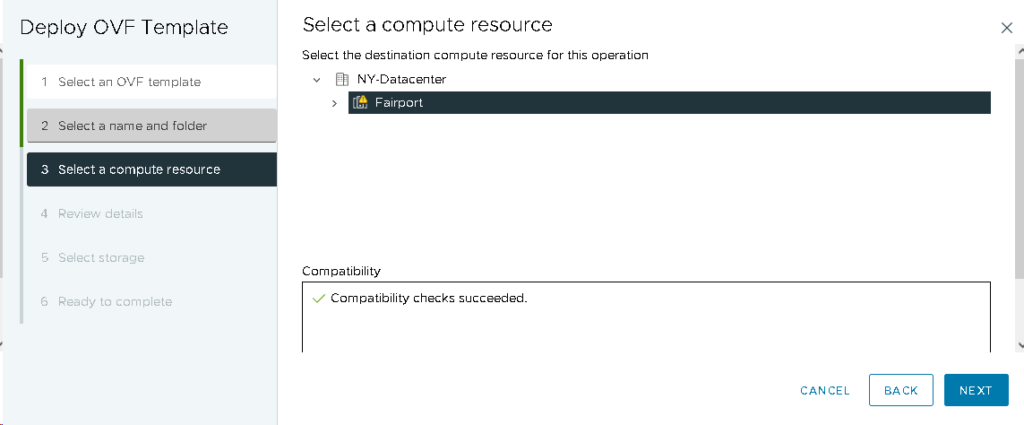
Select the cluster to deploy to (let Distributed Resource Scheduler (DRS) handle the placement of the virtual machine) and optionally, select Automatically power on deployed VM.
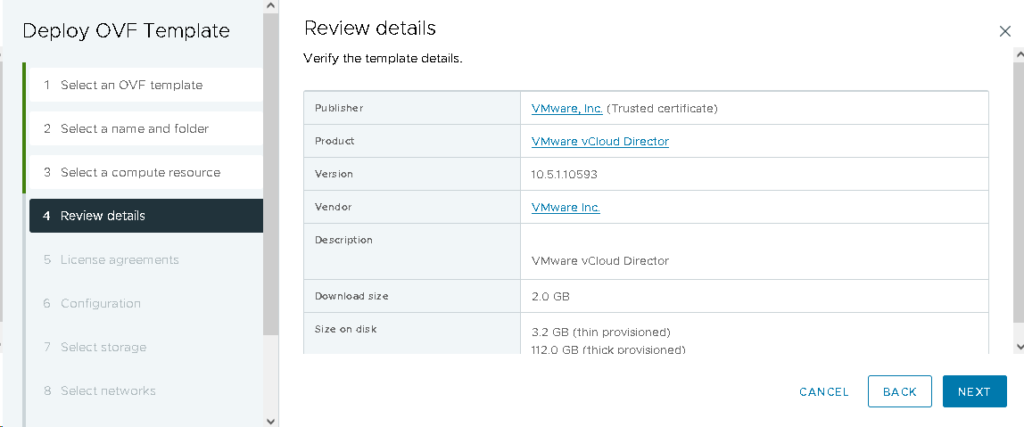
Review the details and select Next.
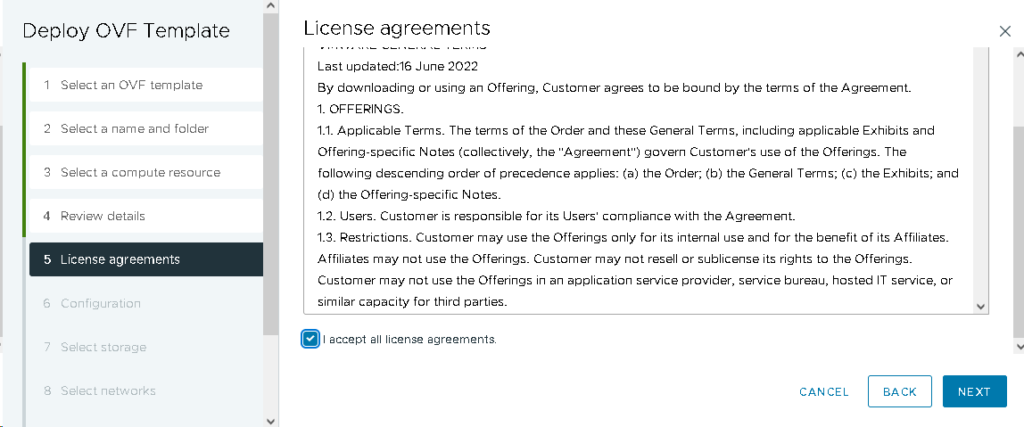
Review the License agreements and select I accept all license agreements.
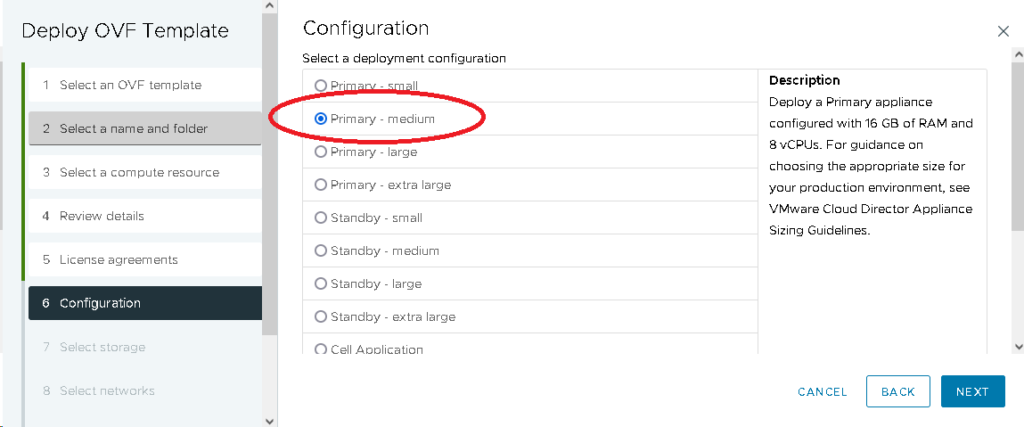
Select the deployment configuration. I am using a Primary – medium configuration for this example.
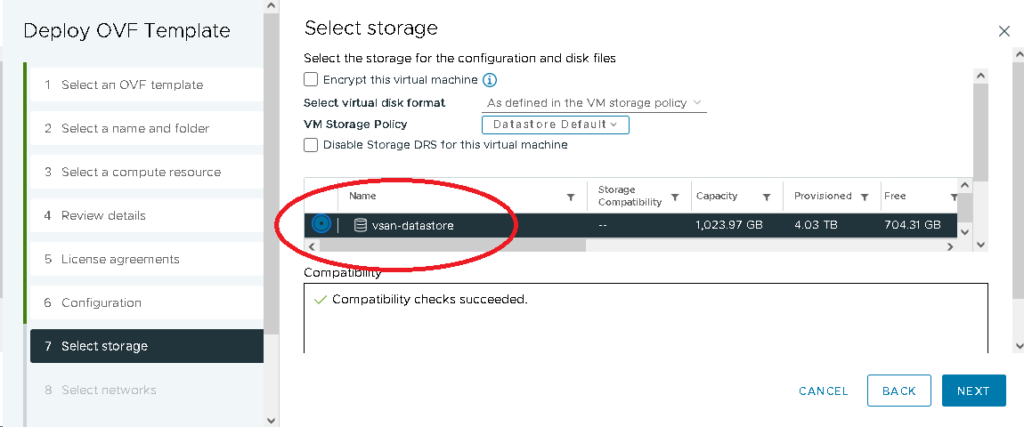
Select the storage to deploy to, most likely a vSAN datastore if you are deploying on top of a VMware Cloud Foundation (VCF).
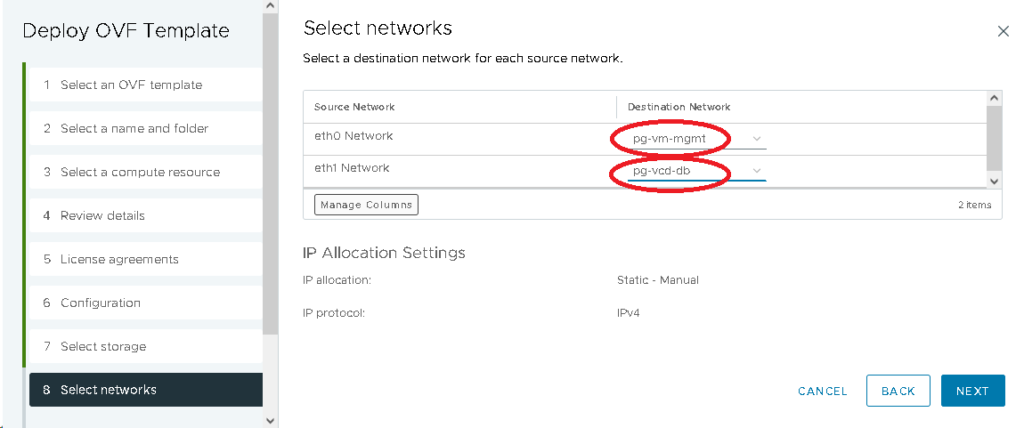
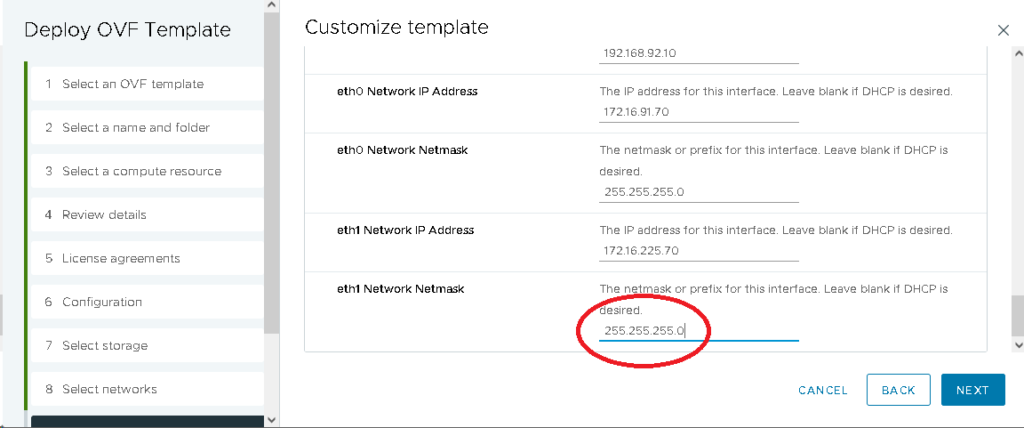
Select the networks, eth0 for Management of the virtual appliance and eth1 for the database.
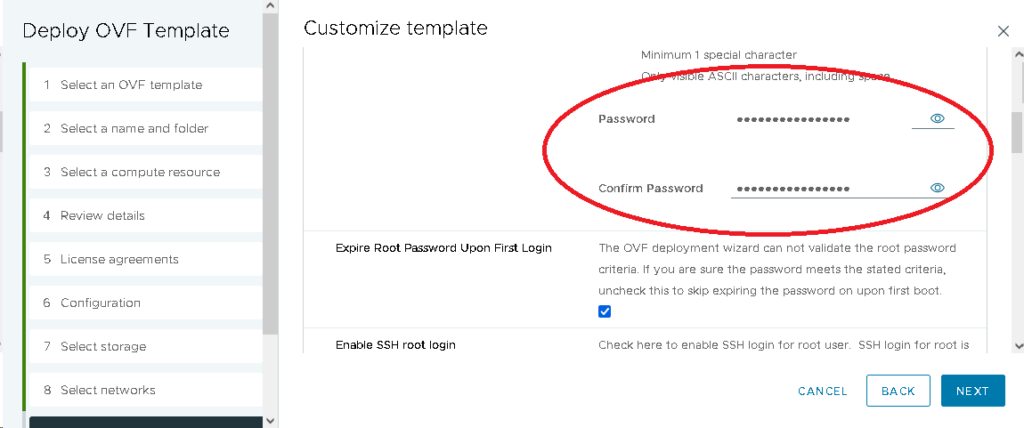
For the next screenshots, fill in the appropriate fields; they are self explanatory.
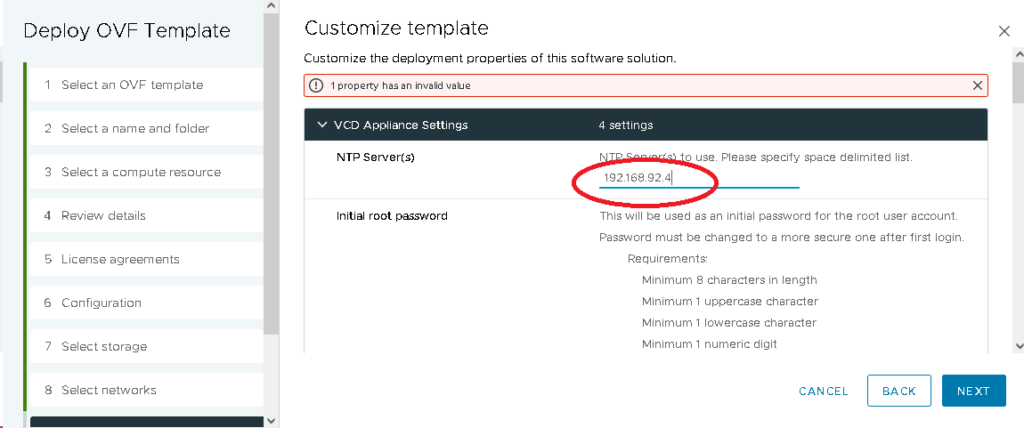
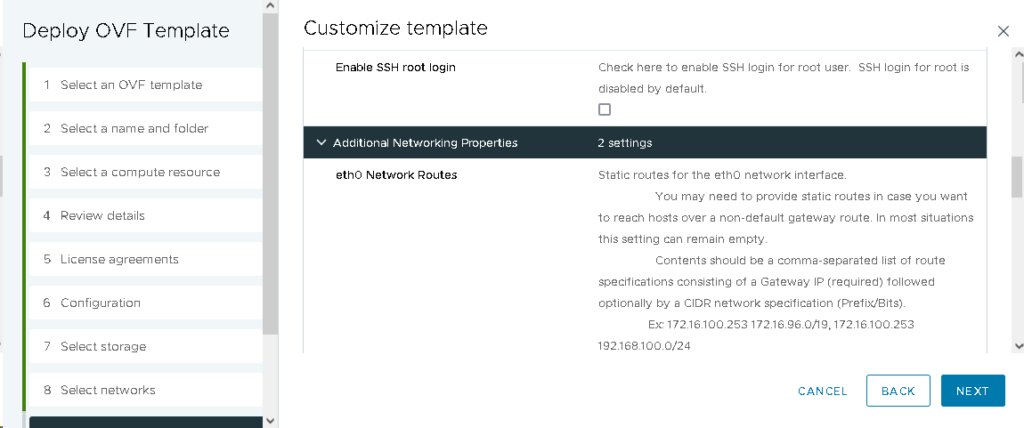
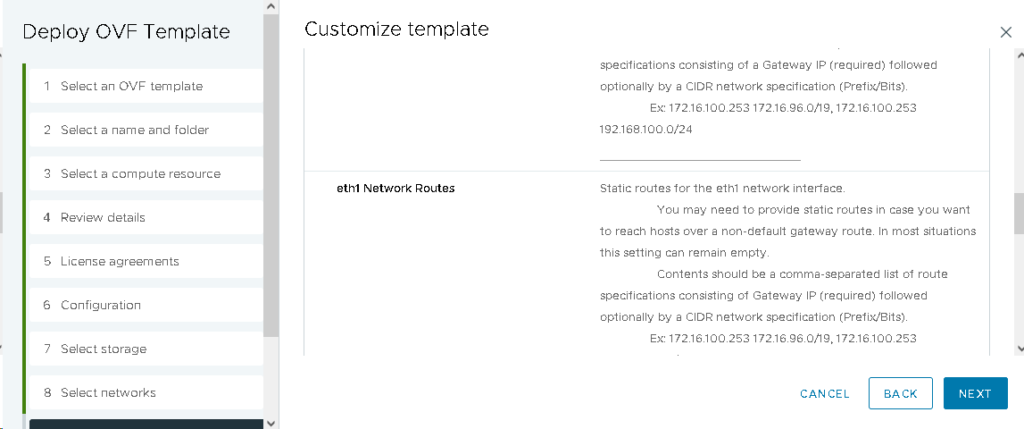
If there are routes that need to be added for connectivity of either network, the next two fields provide that opportunity.
After filling out the required fields, click Next and review the configured settings. When ready to deploy, select Finish.
Configure
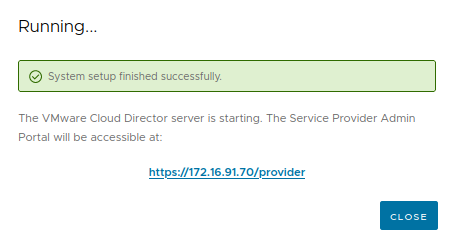
Power on the virtual machine if it’s not running. When the following screen is visible, navigate to the URL provided.

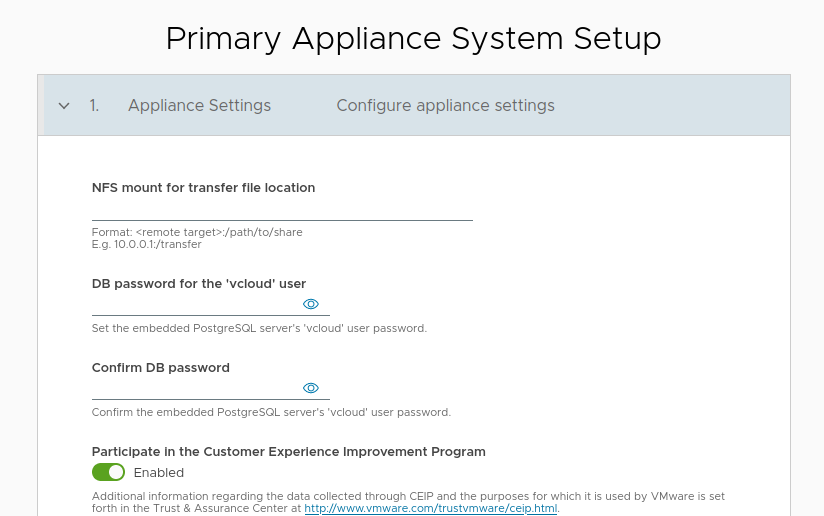
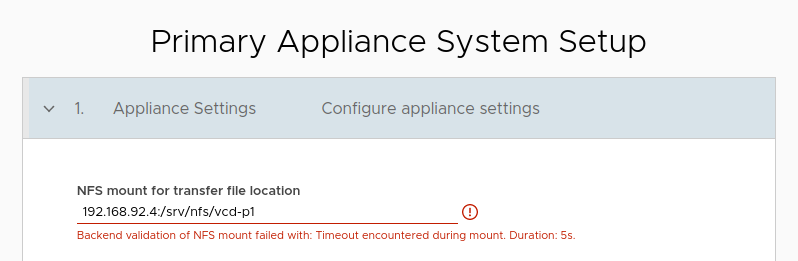
For the configuration, an NFS share must exist. I did not have an existing NFS server configured, so I created a new directory on my file server.
When I tried to connect to the NFS mount, I received the following message, “Backend validation of NFS mount failed with: Timeout encountered during mount. Duration: 5s.”
I started reviewing the VMware Documentation, but I still had trouble. In the documentation, the example of the /etc/exports file showed the following:
/nfs/vCDspace vCD_Cell1_IP_Address(rw,sync,no_subtree_check,no_root_squash)
/nfs/vCDspace vCD_Cell2_IP_Address(rw,sync,no_subtree_check,no_root_squash)
/nfs/vCDspace vCD_Cell3_IP_Address(rw,sync,no_subtree_check,no_root_squash)
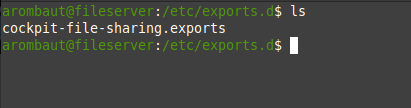
I use Fedora Server 39 for my file server and the new method for adding exports is to add files to the /etc/exports.d directory. By default, the app only creates the following options:
rw,sync,no_subtree_check
Since I added the storage and the NFS mount with the Cockpit File Sharing app (cockpit-file-sharing), a file was automatically created for me in the directory. I went back to the options for the mount and added the no_root_squash option and restarted the service.

When I tried the mount again, I received the exact same error; this also didn’t resolve the issue.
So I decided to start digging into the logs to see if there were more verbose clues as to what was happening behind the scenes. It turns out, the logs at /var/logs/messages did not show an issue.
authenticated mount request from 10.10.92.74:1002 for /srv/nfs/vcd-p1
So, to Google I went and investigated further. It turns out my Linux distribution, by default, has a setting configured for secure access. Meaning, if the request port is a privileged port, one under 1024, the request was getting denied.

Looking back at the log, I see the request came in from a port number lower than 1024. I went back to the File Sharing App and added the insecure option. The following is what the file looks like after adding the option.

On the very next attempt to connect, there were absolutely no errors connecting…phew.
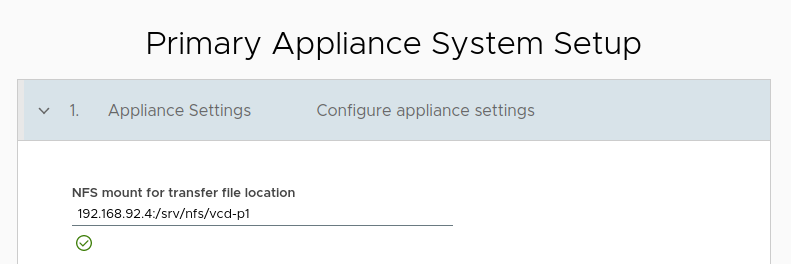
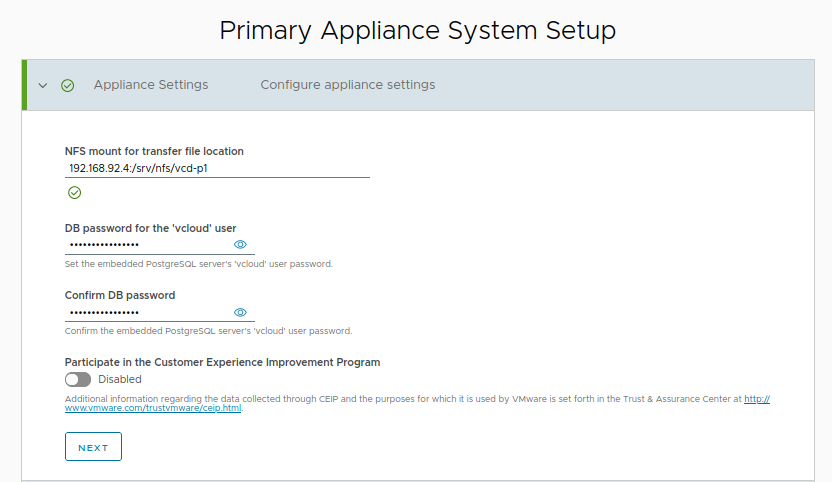
After adding the NFS mount, fill out the rest of the Appliance Settings.
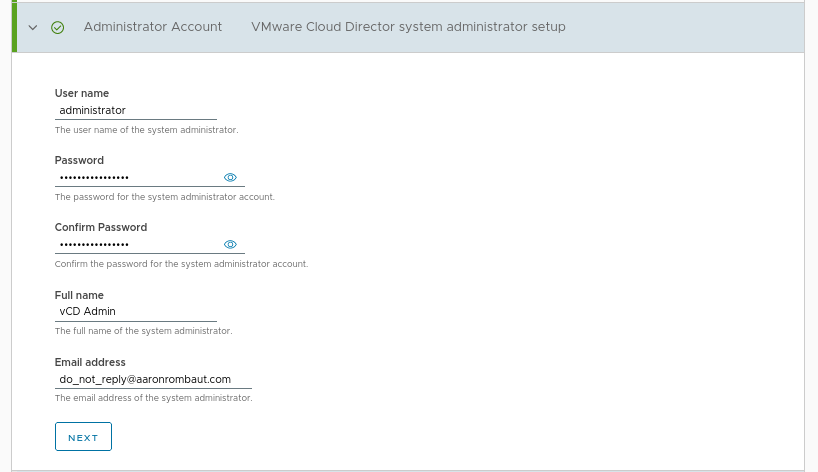
Fill out the Administrator Account section.
Fill out the VMware Cloud Director Settings section.
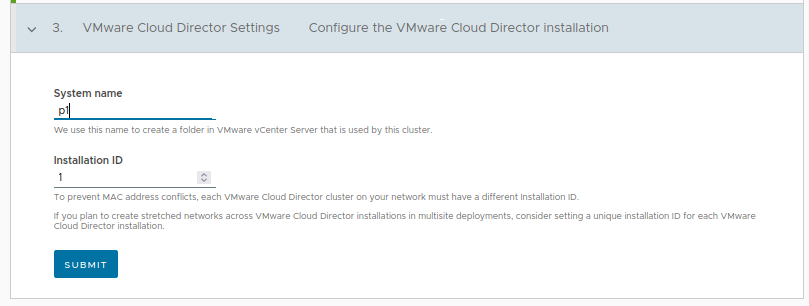
Allow about 15 minutes for the configuration to take place.
Accessing the Service Provider Admin Portal
After the primary cell was configured, it provided a link to connect to the Service Provider Admin Portal. I clicked on the link and received the following screen:
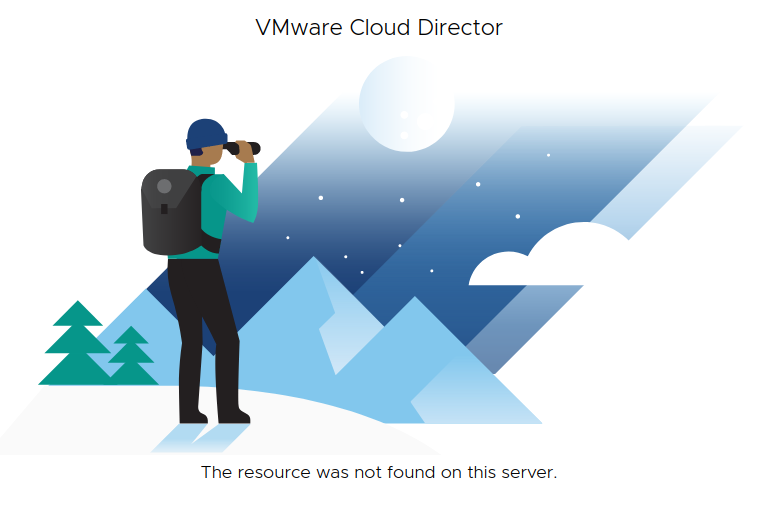
Wait a few minutes and refresh the browser window. It is likely the service has not fully started.
After a refresh, I was presented with the log in screen.
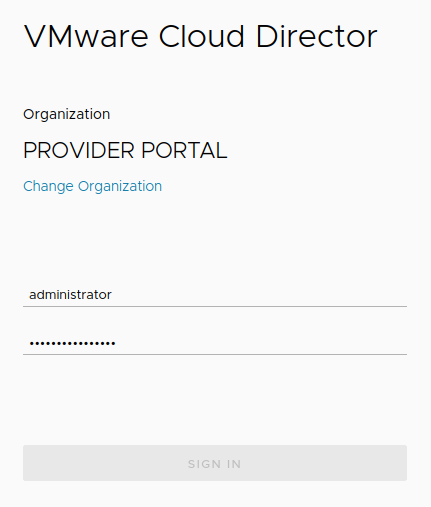
I then received this error:

This error occurs while trying to log in using the IP address. Switch to the fully qualified domain name and try again.
Leave a Reply