Certificate Requirements
If using a single server, the fully qualified domain name is only needed for the Common Name (CN) attribute. If using Always On High Availability, the fully qualified domain name of the individual SQL server needs to be in the CN attribute and the Availability Group Listener fully qualified domain name needs to be in the Subject Alternative Name (SAN) attribute. The Windows Server Failover Cluster (WSFC) fully qualified domain name does not need to be in the SAN.
When importing the certificate into the Certificates – Local Computer console (certlm.msc):
- Import to the Personal store
- Use a PFX/P12/PKCS#12 certificate so that the full chain and keys are available
- Mark the key as exportable
- Give the SQL Server service account Full Control on the private key
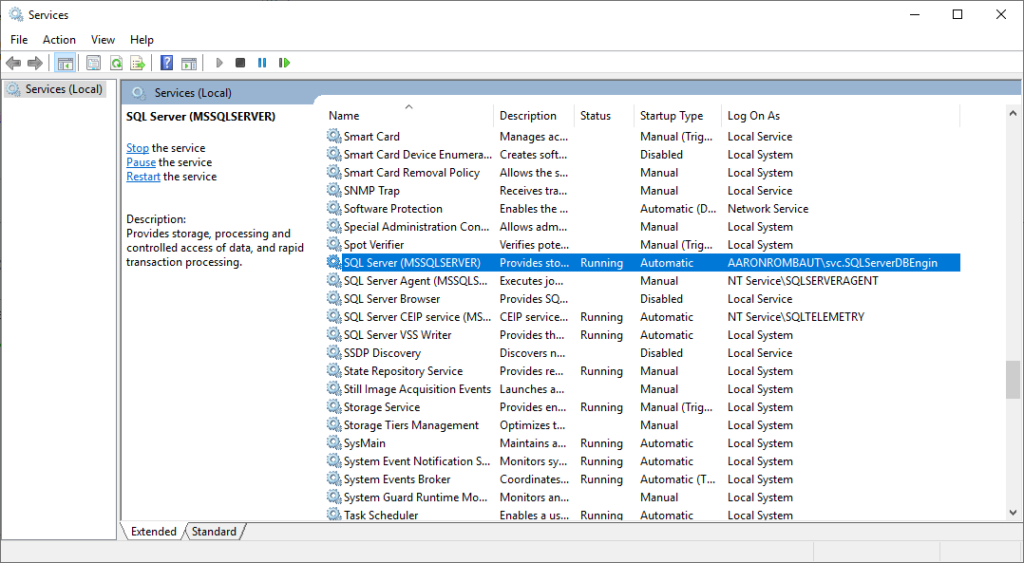
Service Account
The SQL servers are most likely using at least one service account. If you are unsure of the service account name, you can open the Services console (services.msc) and view the Log On As column.
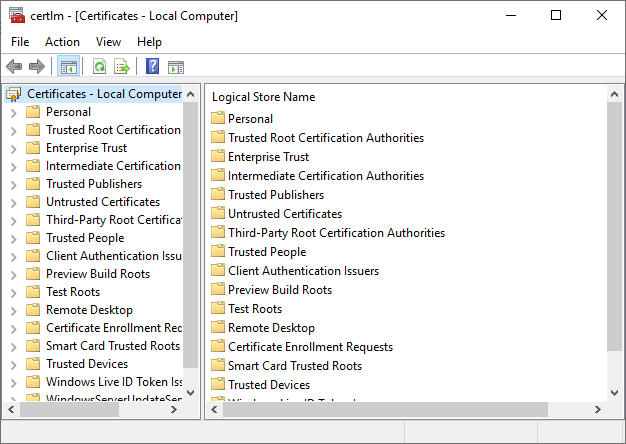
Installing TLS Certificate
Open the Certificates – Local Computer console (certlm.msc)
Respond to optional User Account Control pop-up
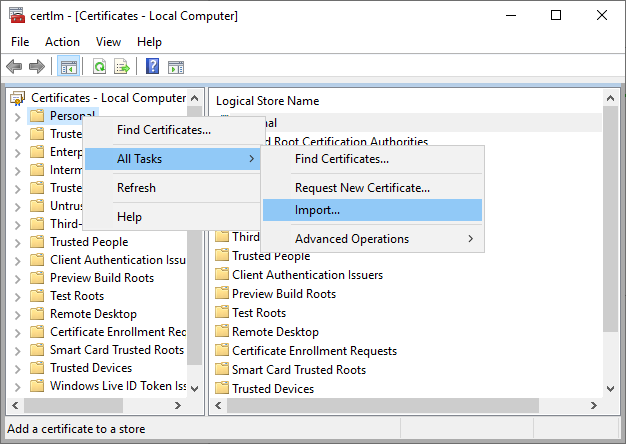
Right-click the Personal folder > expand All Tasks > choose Import…
The Certificate Import Wizard opens.
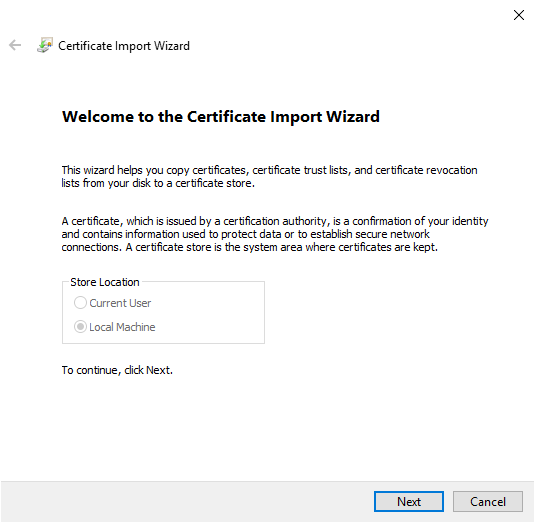
Click the Next button.
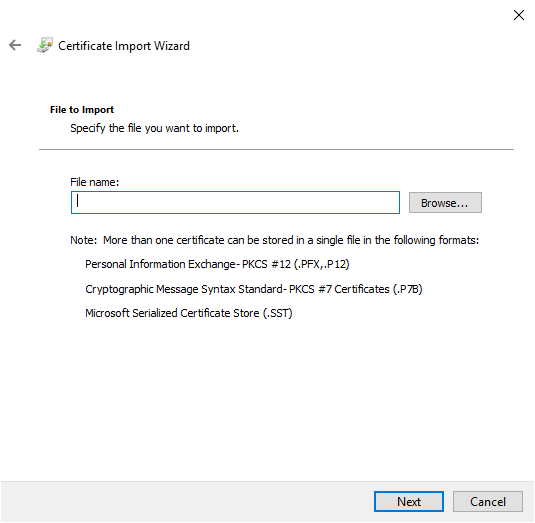
Click the Browse… button.
Change the file type drop-down to Personal Information Exchange (*.pfx,*.p12).
Choose the machine certificate that contains a private key (the icon contains a key).
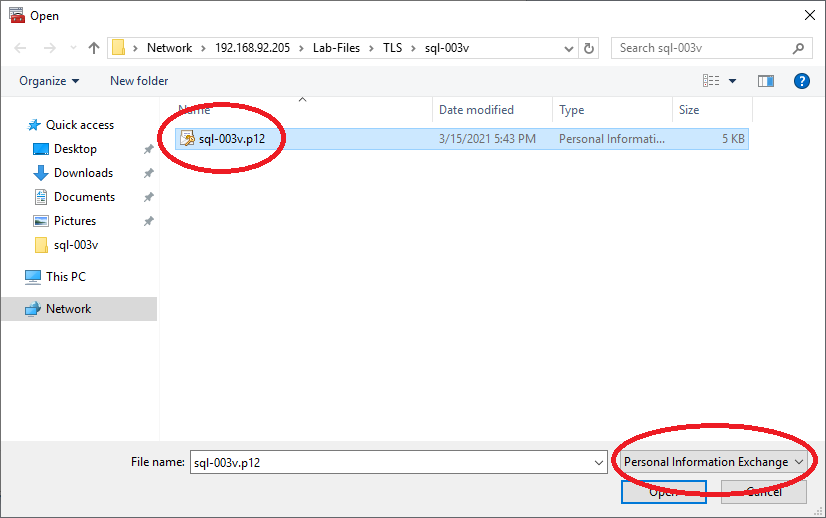
Click the Open button.
You are returned to the File to Import screen with the File name: path populated.
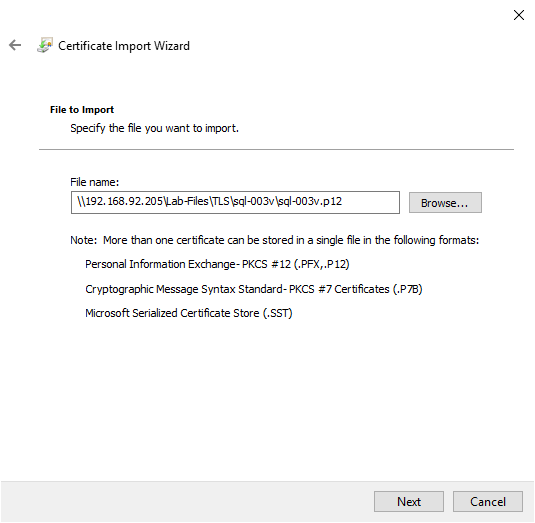
Click the Next button.
Type in a password, if the certificate has one.
Ensure the Mark this key as exportable. This will allow you to back up or transport your keys at a later time. checkbox is checked.
Verify the Include all extended properties. checkbox is checked.
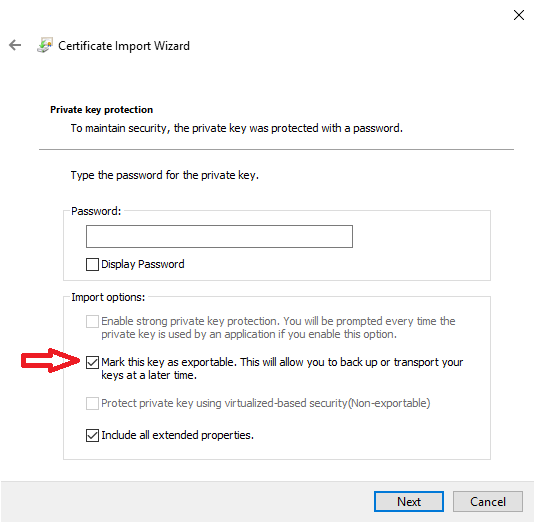
Click the Next button.
Verify the Certificate store: is set to Personal.
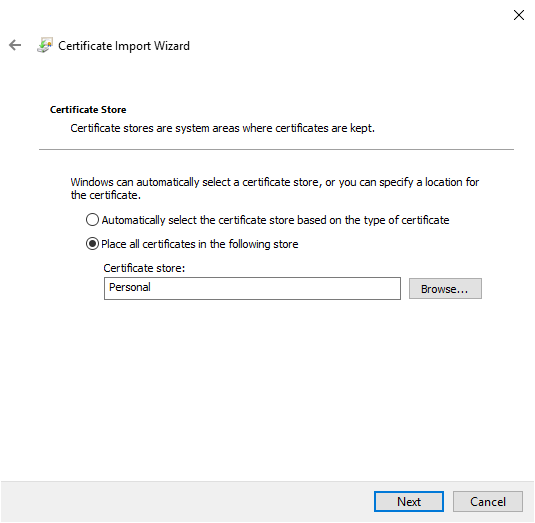
Click the Next button.
Review the details.
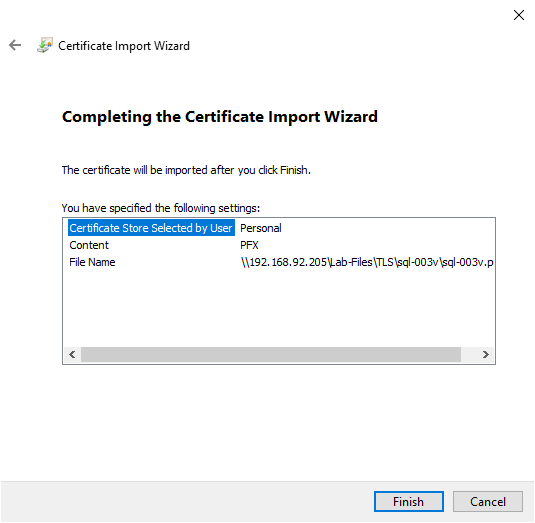
Click the Finish button.
You should receive a pop-up with the message, “The import was successful.”
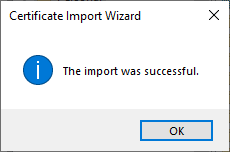
Click the OK button.
Verify the Certificates Installed
Verify the certificate installed in the Personal folder. Double-click the certificate to open.
On the General tab, verify the You have a private key that corresponds to this certificate. message is displayed
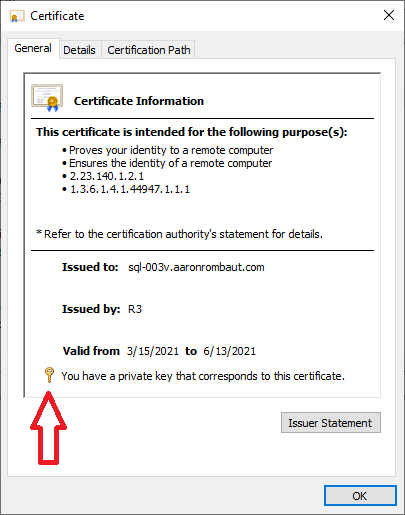
Click the OK button.
Open the Intermediate Certificate Authorities folders and verify the intermediate certificate installed.
Open the Trusted Root Certification folder and verify the root certificate Installed.
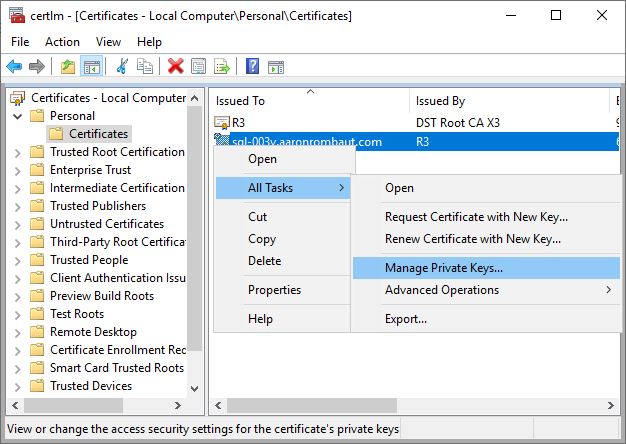
Manage Private Key Permission
Right-click the certificate > expand All Tasks > choose Manage Private Keys…
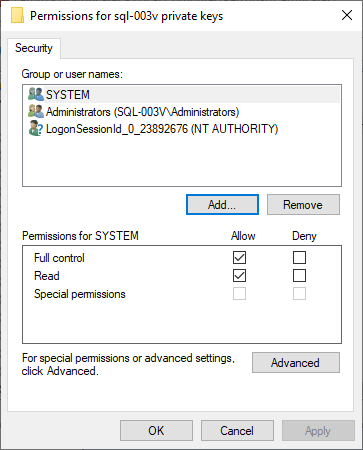
Add or modify the Group or usernames: permissions for the private keys.
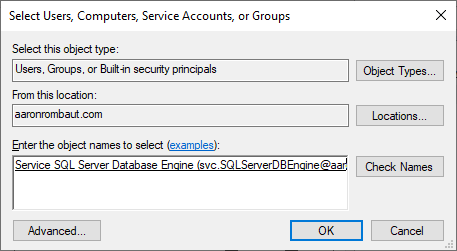
Click the Add… button to add the Service Account.
Type the name of the Service Account and click the Check Names button.
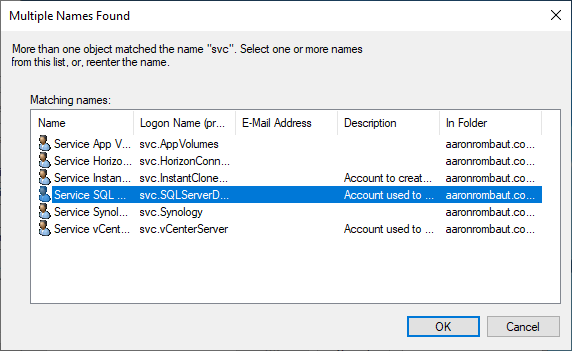
Choose the correct account if there are multiple names found.
Click the OK button.
Click the OK button.
Ensure the added account has Full Control.
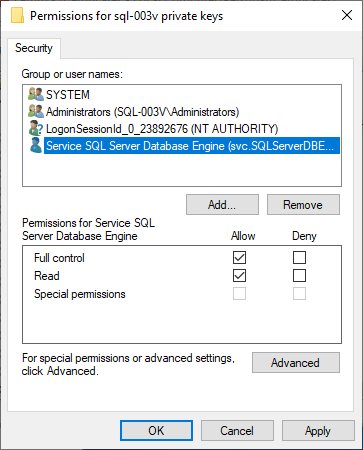
Click the OK button.
Close the Certificates – Local Computer console.
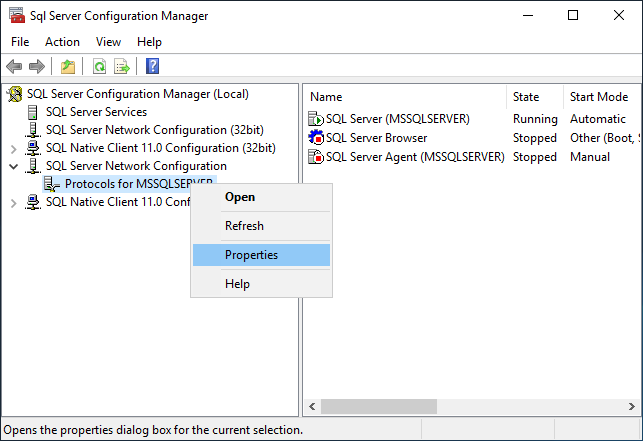
Configure SQL Server to Use the Certificate
Open SQL Server Configuration Manager.
Respond to optional User Account Control pop-up.

Expand SQL Server Network Configuration.
Right-click Protocols for <Instance_Name>.
Choose Properties.
Click the Certificates tab.
Use the drop-down to select the certificate.
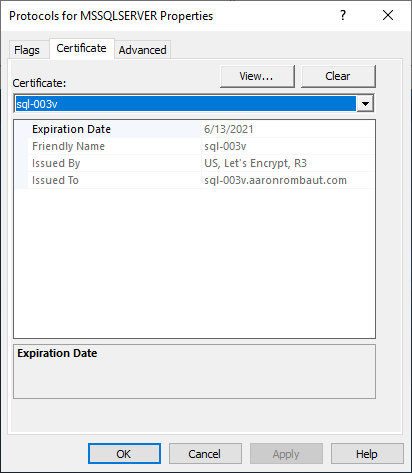
Click the OK button.
You should receive a warning pop-up.
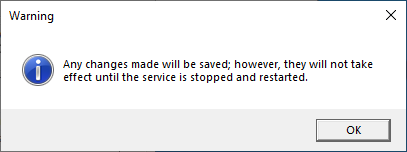
Click the OK button.
Click SQL Server Services in the SQL Server Configuration Manager.
Right-click the SQL Server (<Instance_Name>) service.
Click Restart on the service.
Note: If you receive an error, make sure the certificate has the private key marked as exportable and that the service account for the SQL Server service has Full Control.

References
Certificate Management (SQL Server Configuration Manager) https://docs.microsoft.com/en-us/sql/database-engine/configure-windows/manage-certificates?view=sql-server-2016