Overview
I am opting to install VMware App Volumes 2303.1 (current at the time of writing) on Window Server 2022.
I am choosing to install VMware App Volumes to separate applications from the desktop to keep the golden image as lean as possible.
Obtain the Installation Media and License Key
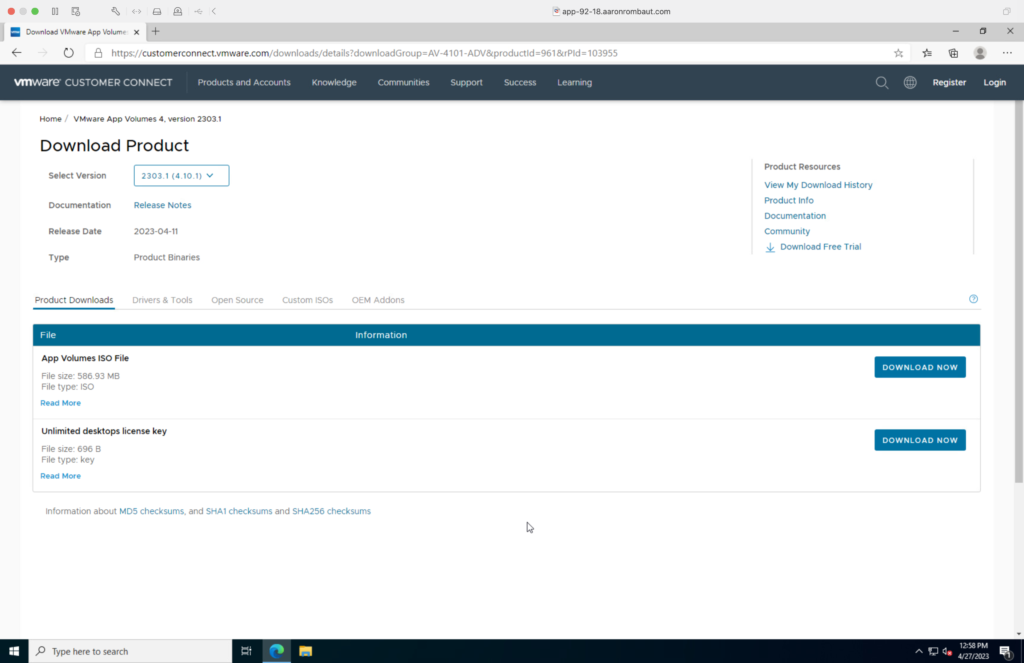
Log in to https://customerconnect.vmware.com and download the App Volumes ISO File and the Unlimited desktops license key. If the license key is not obtained, there will be limitations to the use of App Volumes when in use.
Install App Volumes
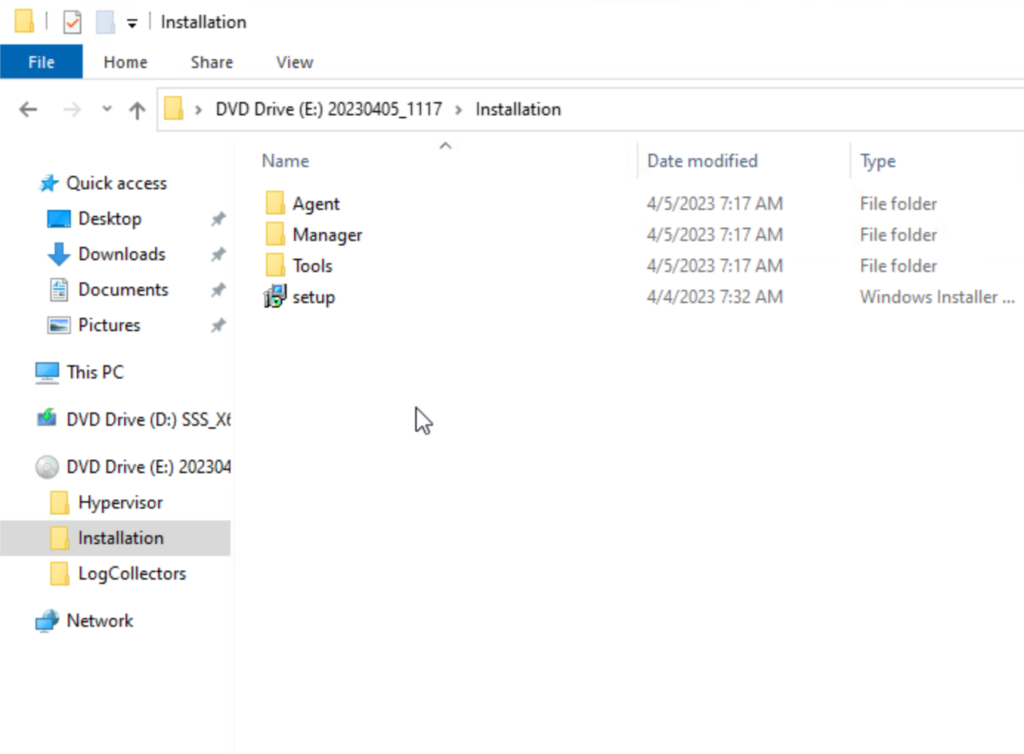
Mount the downloaded ISO or attach it to the virtual machine. Navigate to the setup file from the Installation folder and double-click it.
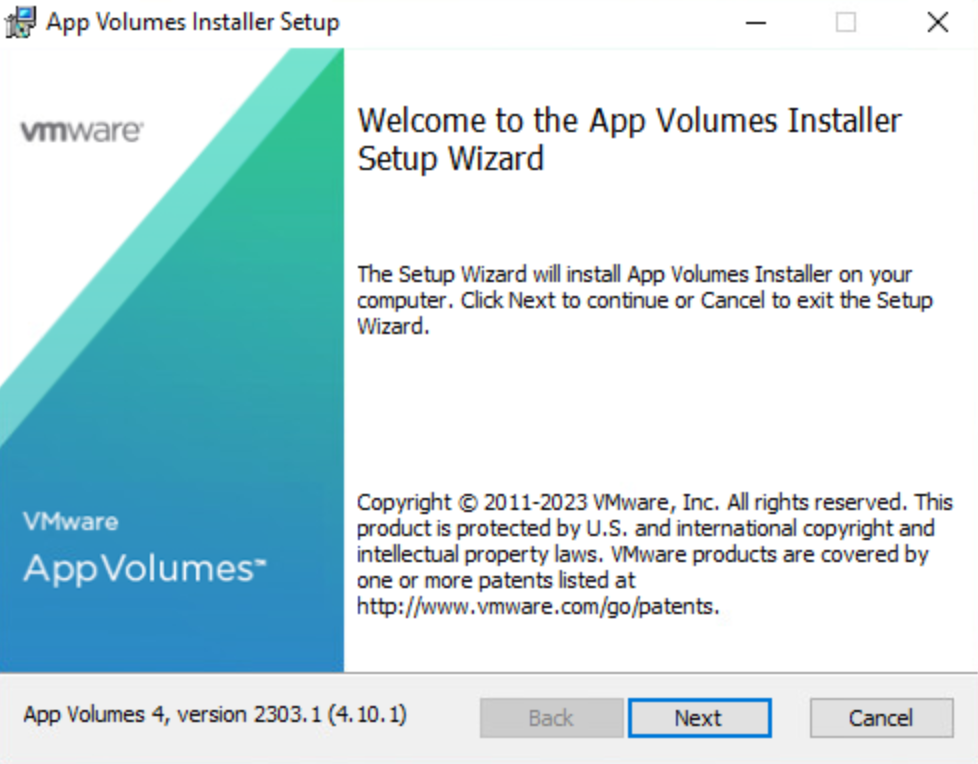
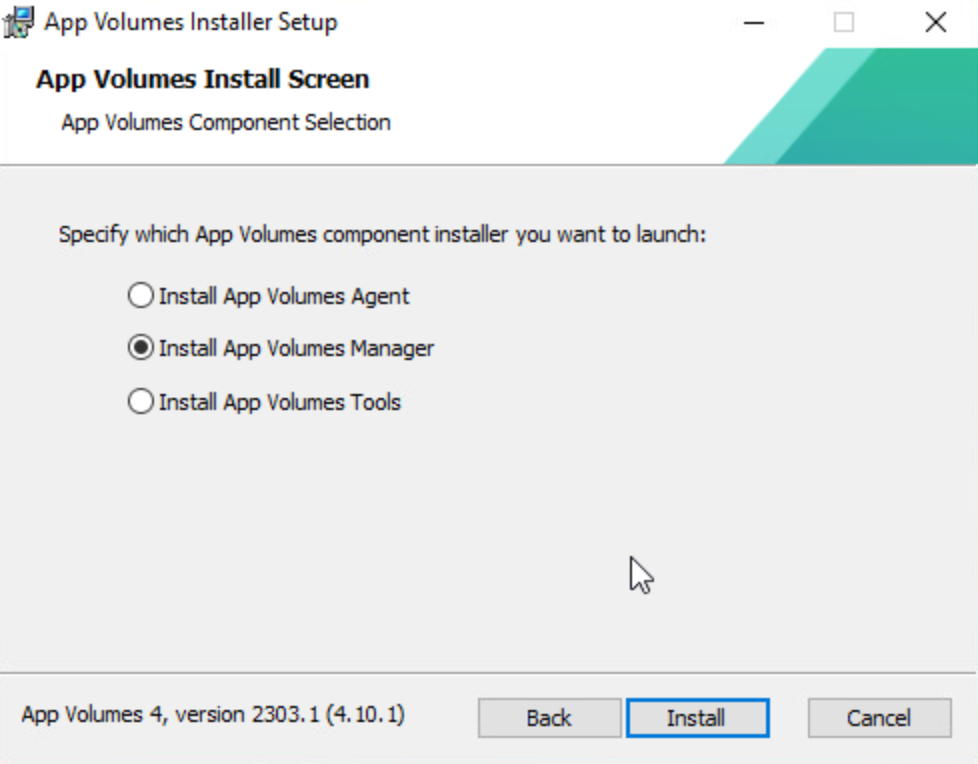
This will launch an additional installer.

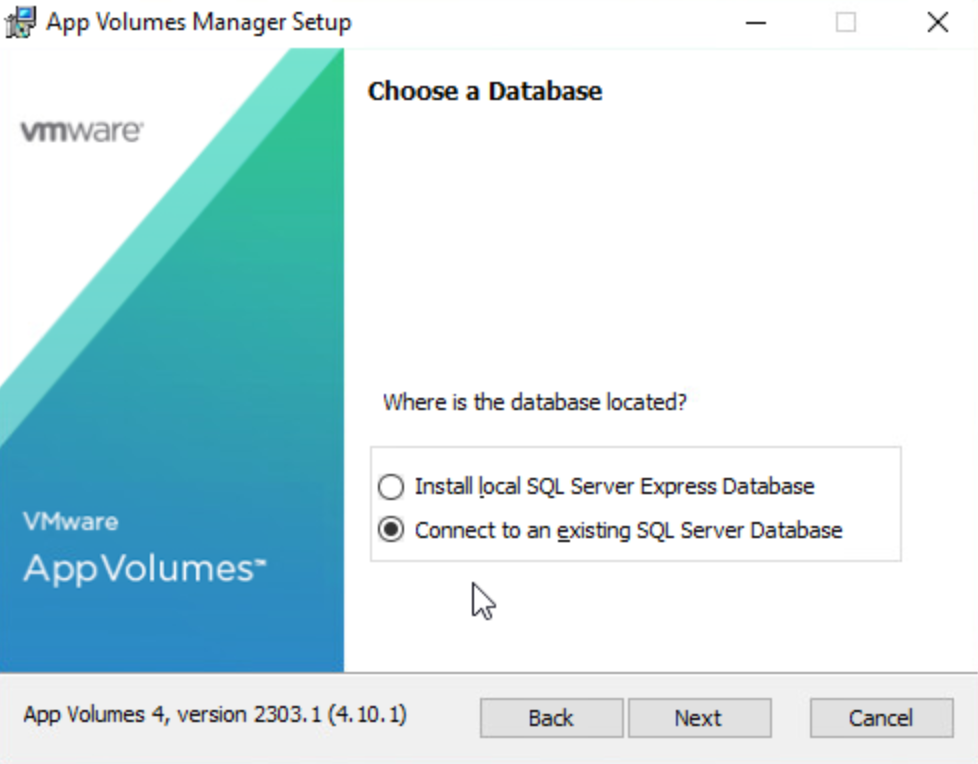
Since we are going to use a configured Microsoft SQL Server, choose Connect to an existing SQL Server Database.
If the Microsoft SQL server has not been secured or configured correctly, an error will likely pop-up. Be sure to configure the SQL Server certificate settings (on the Microsoft SQL Server) and then re-run this installer (on the server intended for VMware App Volumes). Check out my post, MyLab: The Database, for more information on how to configure Microsoft SQL Server and secure it so that you can install VMware App Volumes successfully.
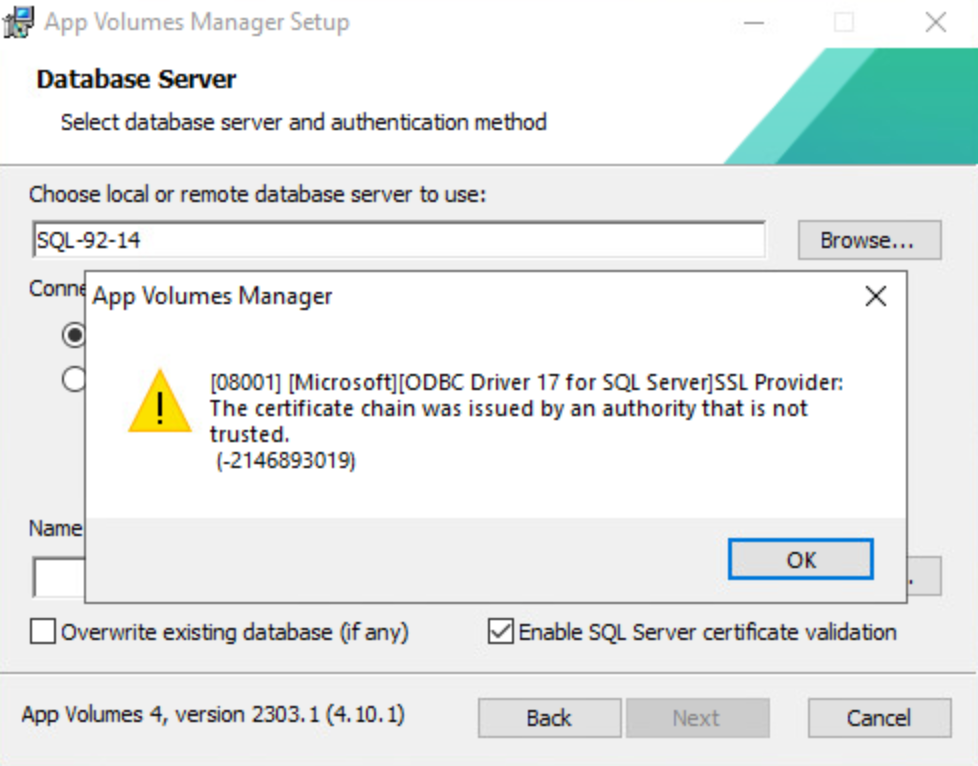
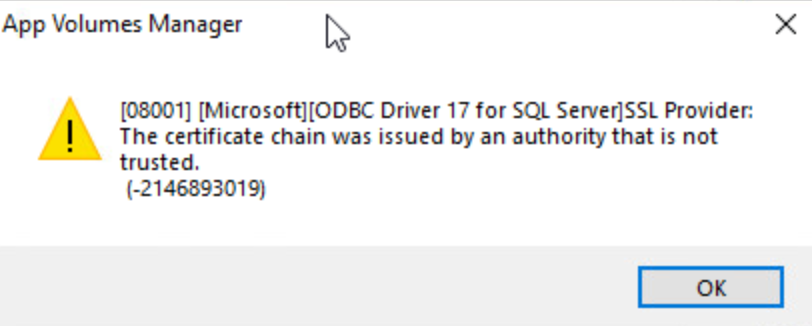
Another message that may be encountered is when the Microsoft SQL Server is properly configured and secured but the App Volumes Server does not have the certificate chain necessary to trust the Microsoft SQL Server. Obtain the certificate chain and add them to the App Volumes Local Computer Certificates stores.
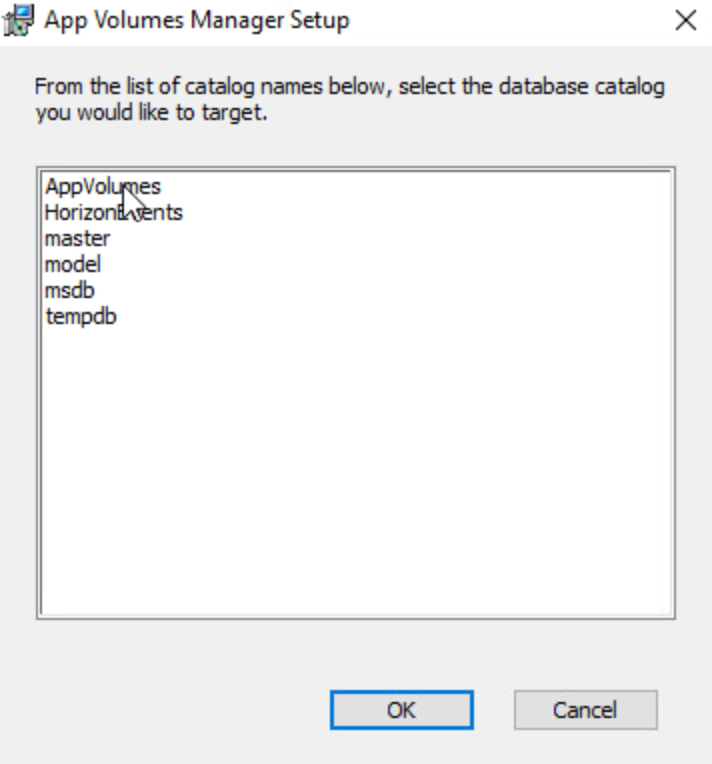
Assuming the Microsoft SQL Server was configured correctly and is properly secured and this server intended for VMware App Volumes has also been configured with the certificate trust chain, then the AppVolumes database should show up in the list of available databases.
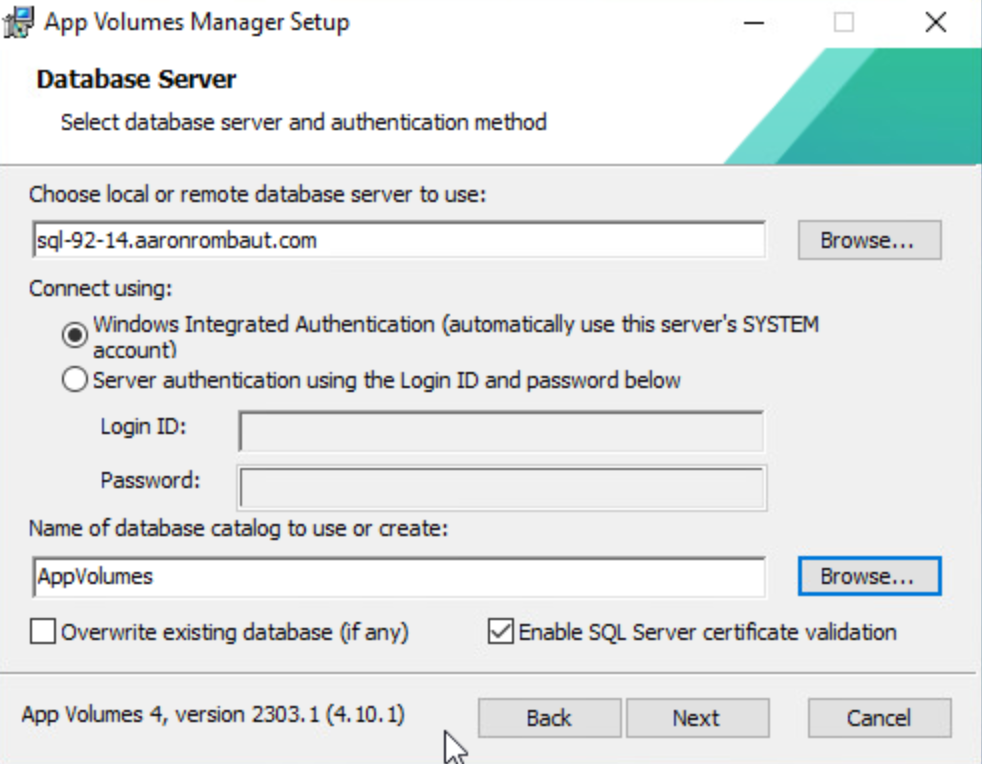
This is how the completed database settings will look. In my lab, I used the fully qualified domain name (FQDN) for the database server, but I have installed at some customers and only the short name worked. I prefer the FQDN for everything, especially with IPv6 in the mix as it is in my lab.
This configuration uses the Windows Integrated Authentication which eliminates a Service Account in Active Directory where the password is susceptible to hacks and expiration. With a computer account, Active Directory handles the password rotation.
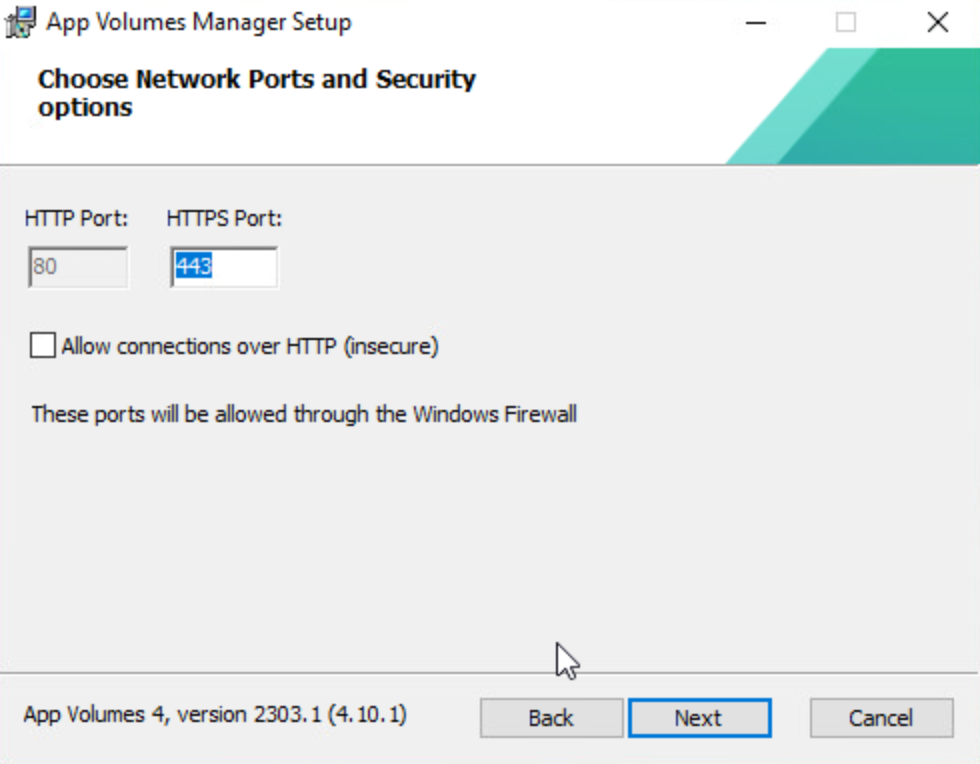
I leave these settings at default.
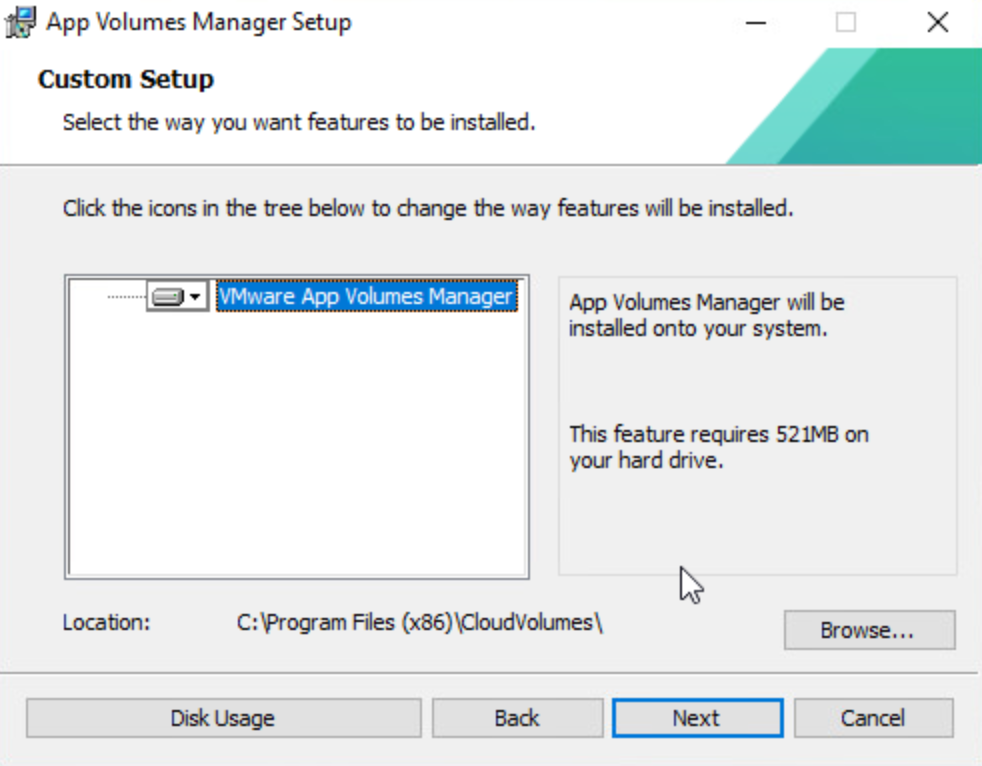
Nothing to select, here, click Next.
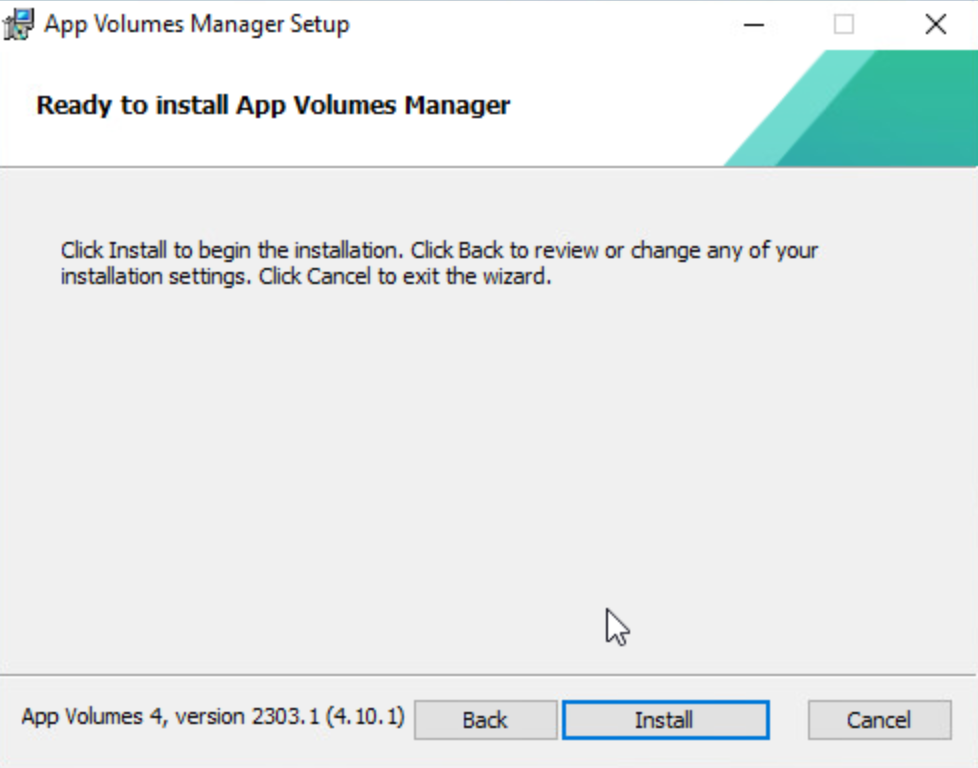
Finally ready to install! Click Install.
When App Volumes has successfully completed, a Completed the App Volumes Manager Setup Wizard message will display. Click Finish.

Configuring VMware App Volumes
Certificates
Certificates for App Volumes Managers are in Privacy Enhanced Mail (PEM) format. The following table is a quick reference to the required files with more in-depth details to follow.
| Use Case | File Name | File System Location |
|---|---|---|
| Web Interface Certificate | <user-defined>.crt | C:\Program Files (x86)\CloudVolumes\Manager\nginx\conf |
| Web Interface Key | <user-defined>.key | C:\Program Files (x86)\CloudVolumes\Manager\nginx\conf |
| Active Directory (LDAPS) | adCA.pem | C:\Program Files (x86)\Cloud Volumes\Manager\config |
| vCenter Certificate | cacert.pem | C:\Program Files (x86)\Cloud Volumes\Manager\config |
Replacing the Self-Signed Certificate with a CA-Signed Certificate
The web interface uses a self-signed certificate installed when the App Volumes Manager is installed initially. This should be replaced with a PEM certificate and key. If planning to use a load balancer, ensure the load balanced fully qualified domain name is set for the Common Name (CN) attribute and add each additional App Volumes Manager’s fully qualified domain name to the Subject Alternative Name (SAN) attribute of the certificate.
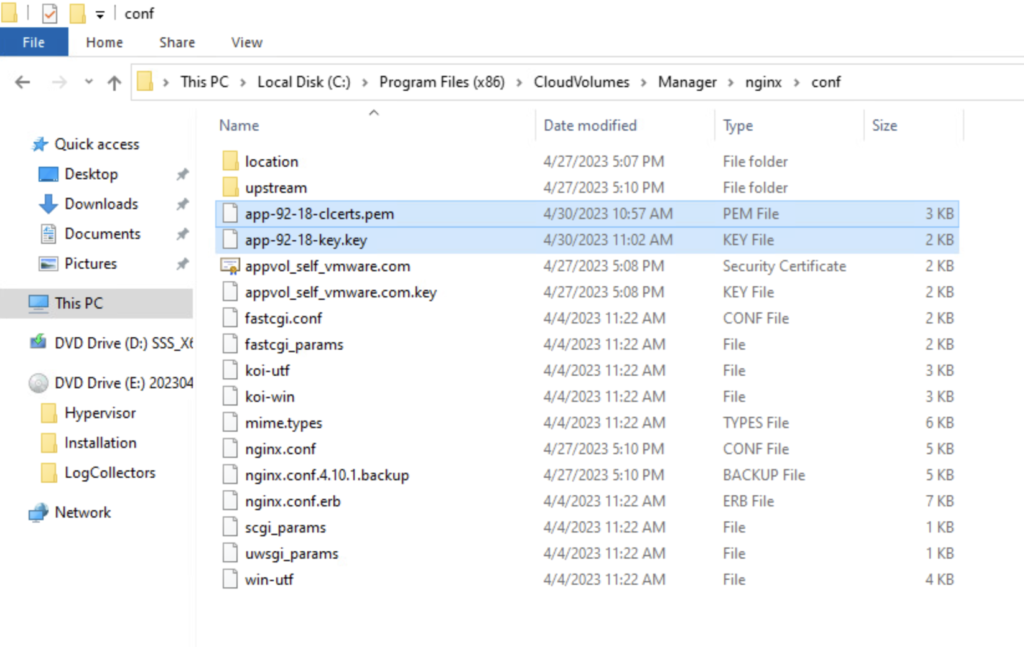
Add the certificate and key file to the C:\Program Files (x86)\CloudVolumes\Manager\nginx\conf directory on all App Volumes Managers.
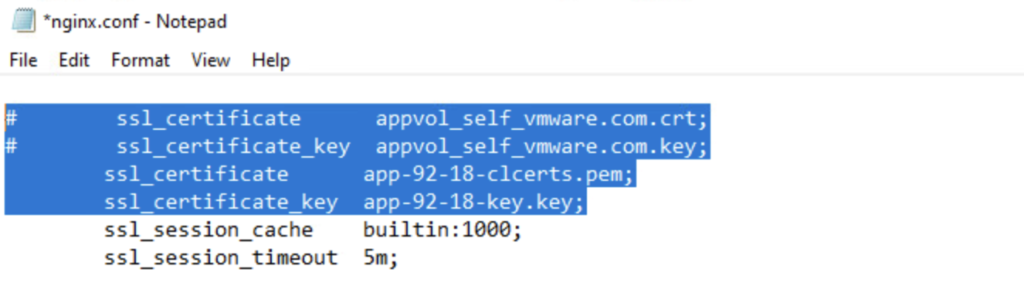
Open the nginx.conf file as an administrative user.
Edit lines 57 (ssl_certificate) and 58 (ssl_certificate_key) to reflect the names of the uploaded certificate and key. These can be replaced fully or the originals can be commented and new entries added. Be sure to not forget the semicolon at the end of each line, though!
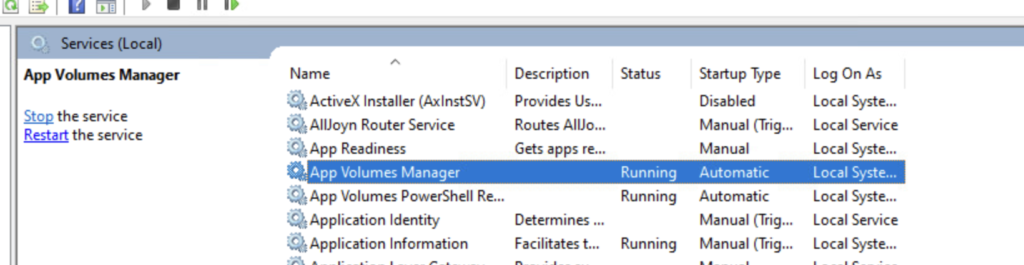
Restart the App Volumes Manager service.
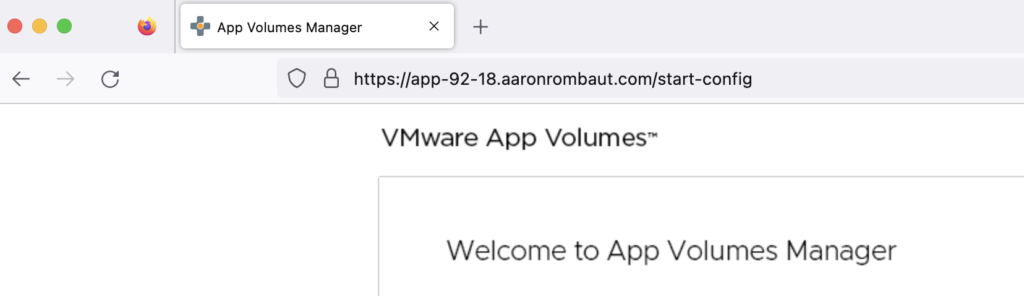
Navigate to the web interface to ensure the certificate is being trusted.
Active Directory (LDAPS) Certificate
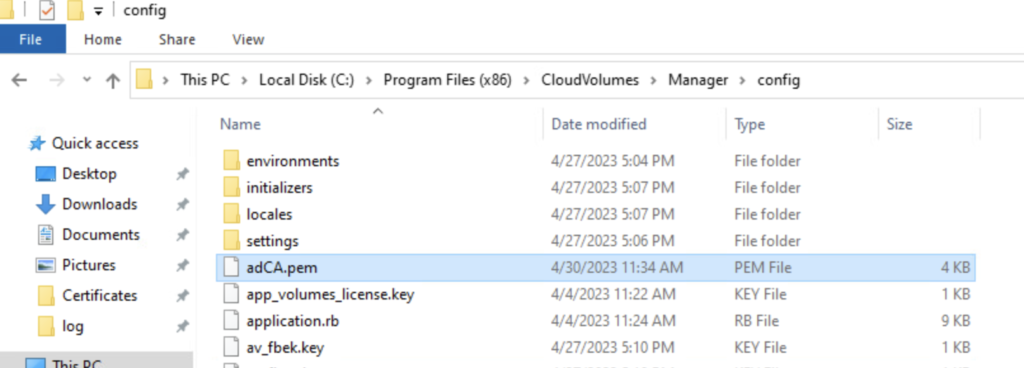
The intermediate and root certificates that signed the Active Directory Domain Controller certificate are necessary to use Secure LDAP (LDAPS). The order of the certificate chain I found that works is root + intermediate. The machine cert is not needed, here. The certificate chain is named adCA.pem and located at C:\Program Files (x86)\CloudVolumes\Manager\config.
Open each file individually, starting with the root certificate, select all (ctrl + a) the contents, copy all (ctrl + c) the contents, including the —–BEGIN CERTIFICATE—– and —–END CERTIFICATE—–, and paste (ctrl + v) into a new file. Continue pasting intermediate certificates after the root certificate, without adding extra spaces, if there is more than one intermediate certificate. See below for example of a certificate chain.
-----BEGIN CERTIFICATE-----
root certificate details removed for brevity
-----END CERTIFICATE-----
-----BEGIN CERTIFICATE-----
intermediate certificate details removed for brevity
-----END CERTIFICATE-----
Save this file as adCA.pem into the C:\Program Files (x86)\CloudVolumes\Manager\config directory.
vCenter Certificate
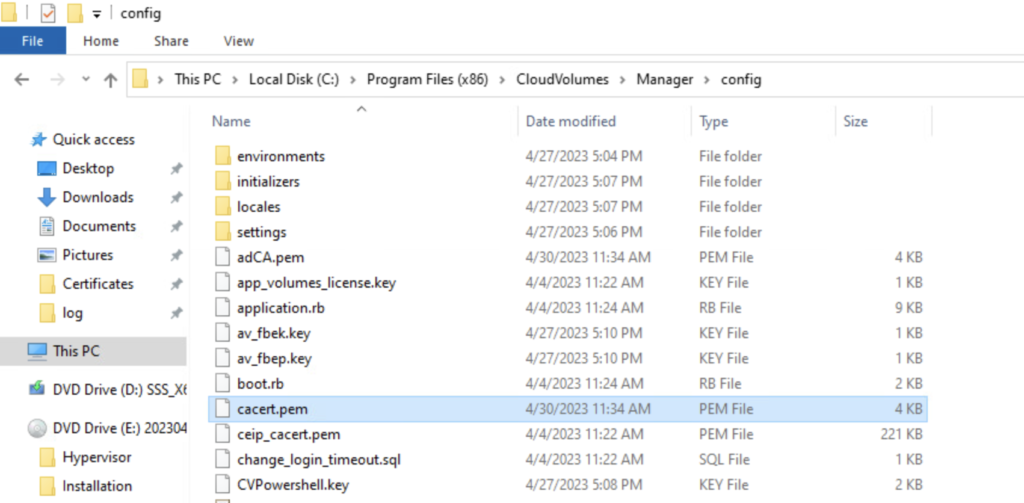
The vCenter certificate is needed in order to trust the vCenter Server when setting up a Machine Manager. The order of the certificate chain I found that works is root + intermediate + machine. The contents of the adCA.pem file can be copied and then only the machine certificate needs to be added. This file is saved as cacert.pem into the C:\Program Files (x86)\CloudVolumes\Manager\config directory.
Open each file individually, starting with the root certificate, select all (ctrl + a) the contents, copy all (ctrl + c) the contents, including the —–BEGIN CERTIFICATE—– and —–END CERTIFICATE—–, and paste (ctrl + v) into a new file. Continue pasting intermediate certificates after the root certificate, without adding extra spaces, if there is more than one intermediate certificate. Continue pasting the machine certificate after the intermediate certificates, without adding extra spaces. See below for example of a certificate chain.
-----BEGIN CERTIFICATE-----
root certificate details removed for brevity
-----END CERTIFICATE-----
-----BEGIN CERTIFICATE-----
intermediate certificate details removed for brevity
-----END CERTIFICATE-----
-----BEGIN CERTIFICATE-----
machine certificate details removed for brevity
-----END CERTIFICATE-----
Save this file as cacert.pem into the C:\Program Files (x86)\CloudVolumes\Manager\config directory.
Service Accounts
Security Groups
Troubleshooting
Web Interface Not Trusted: See Replacing the Self-Signed Certificate with a CA-Signed Certificate

Active Directory Domain Not Trusted: See Active Directory (LDAPS) Certificate

vCenter Server Certificate Not Trusted: See vCenter Certificate

. . .
Leave a Reply