Overview
The Domain Name System, or DNS, service is probably one of the most critical services to run in a network. Setting it up in the best available configuration is just as important to ensure there is no downtime.
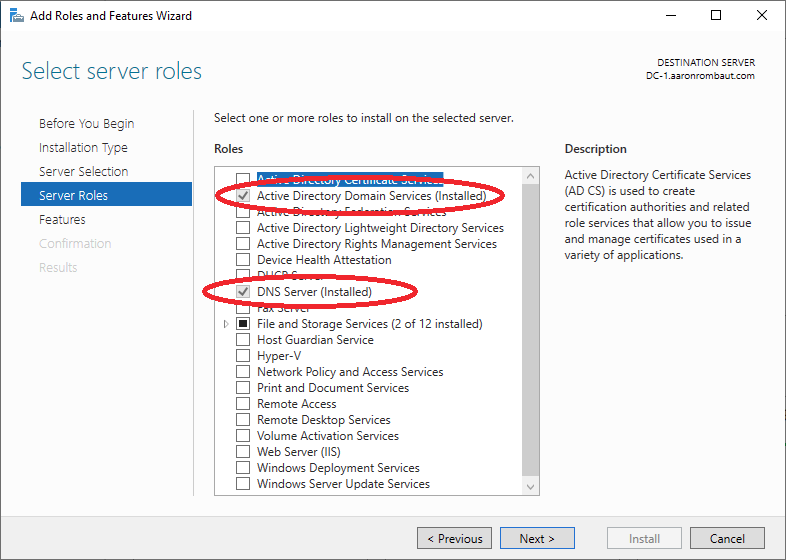
In my lab, I am running two Microsoft Windows Server 2022 guests with the Microsoft Active Directory Domain Services role installed. This also installs the DNS Server role.
Installing the Active Directory Domain Services Role
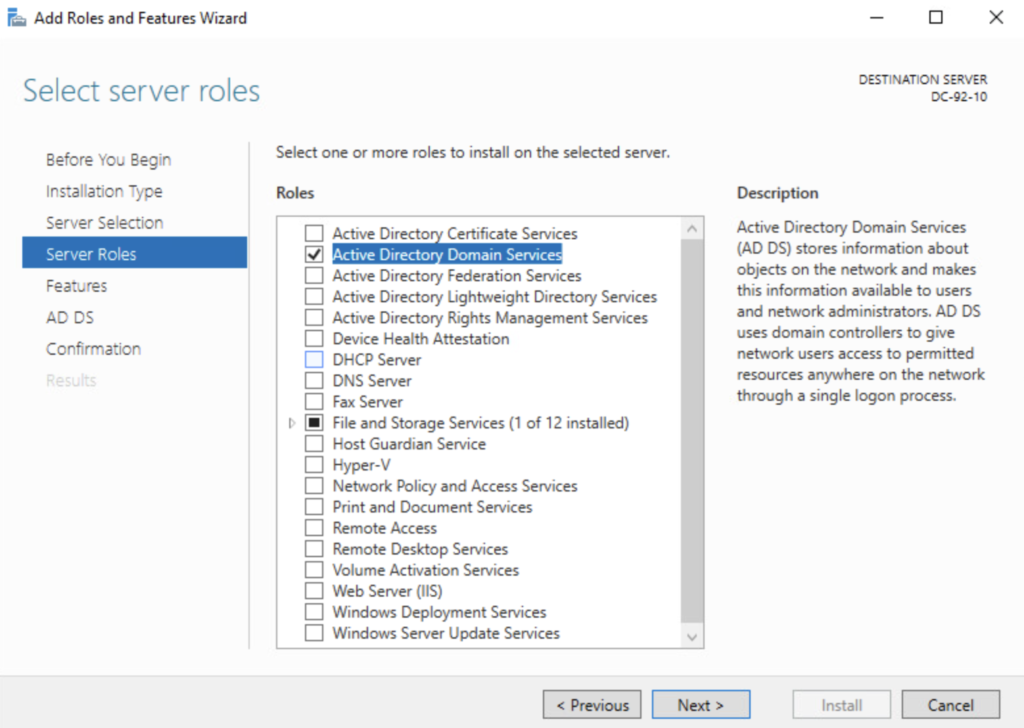
Start Server Manager and Add roles and features.
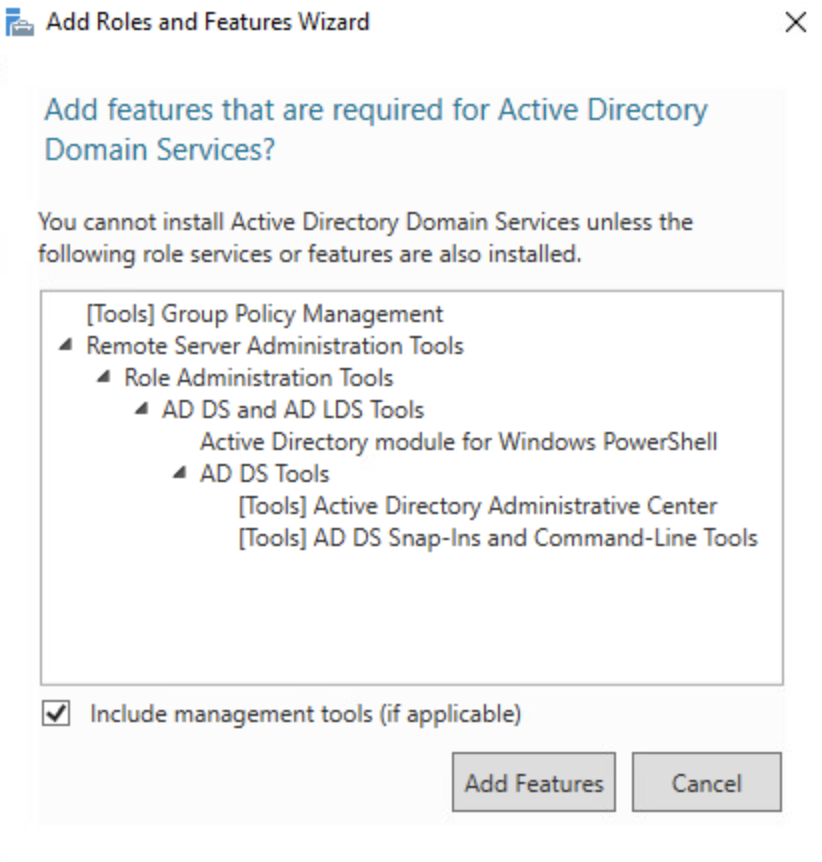
Click next until you are able to select the Active Directory Domain Services role. You may be prompted to install the administrative features, go ahead and allow that as well as it is required.
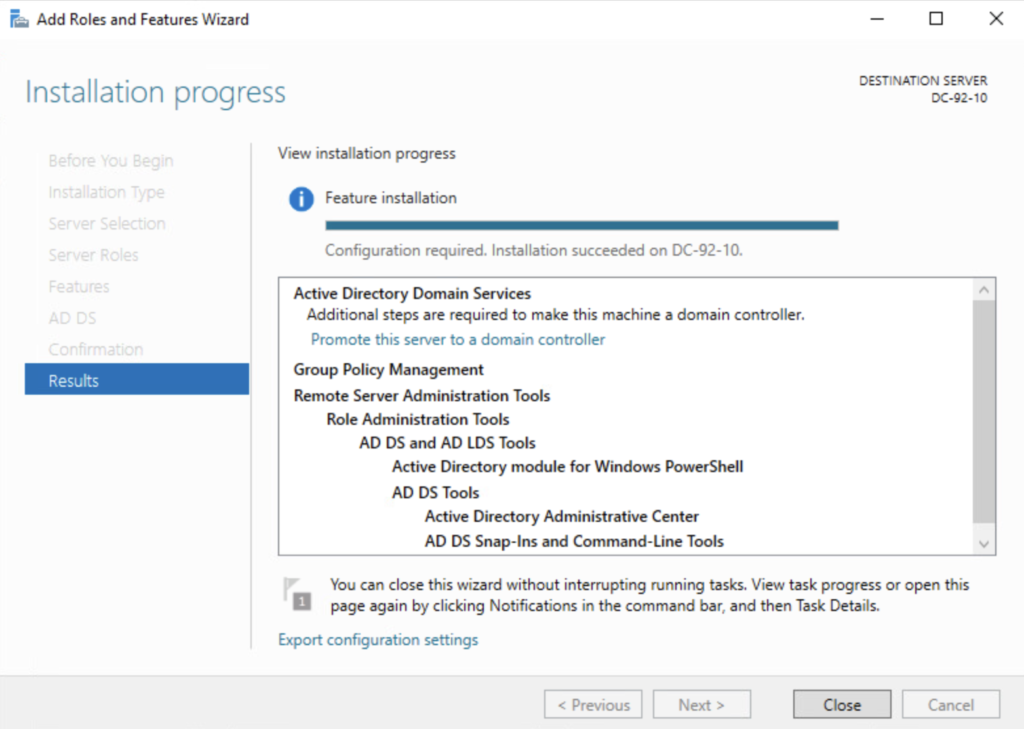
Click on through until you are able to click Install. Wait for the installation to finish.
Promote a Server to a Domain Controller
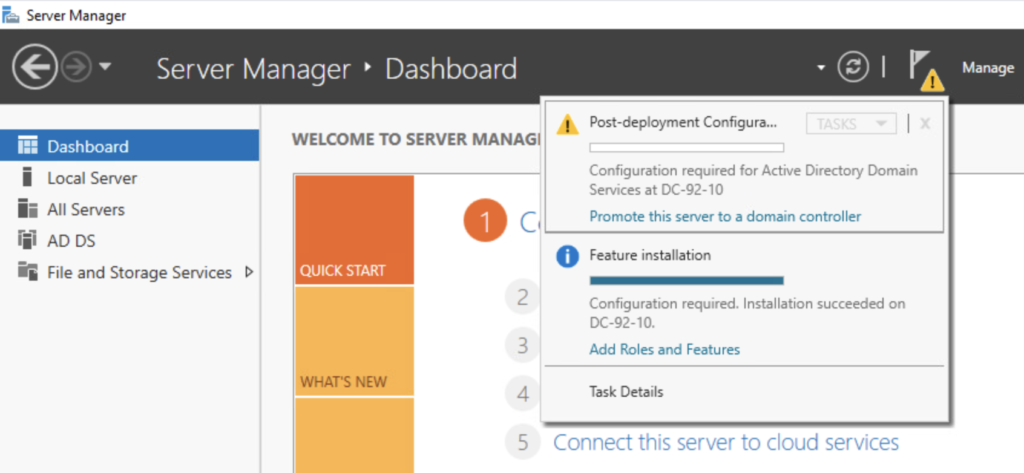
Once the installation of the role is complete, the server has to be promoted to a Domain Controller. If you are still on the installation window, click the link to Promote this server to a domain controller.
If you are returning and the installation window is not visible, you can find the promotion link in the Server Manager window where the alerts are located.
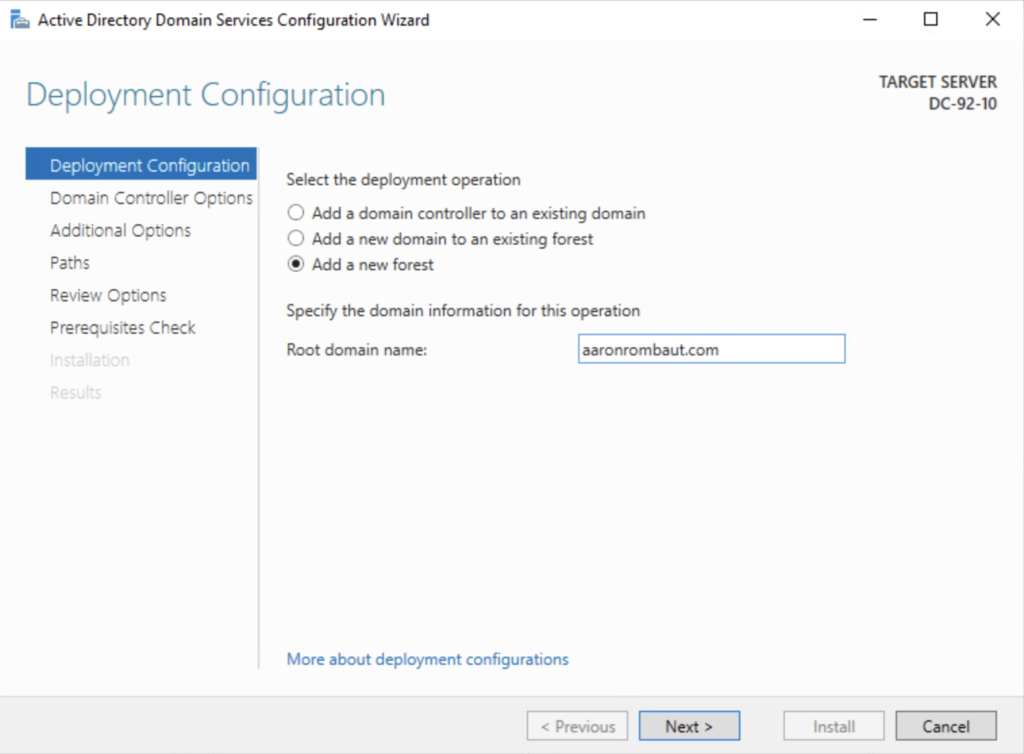
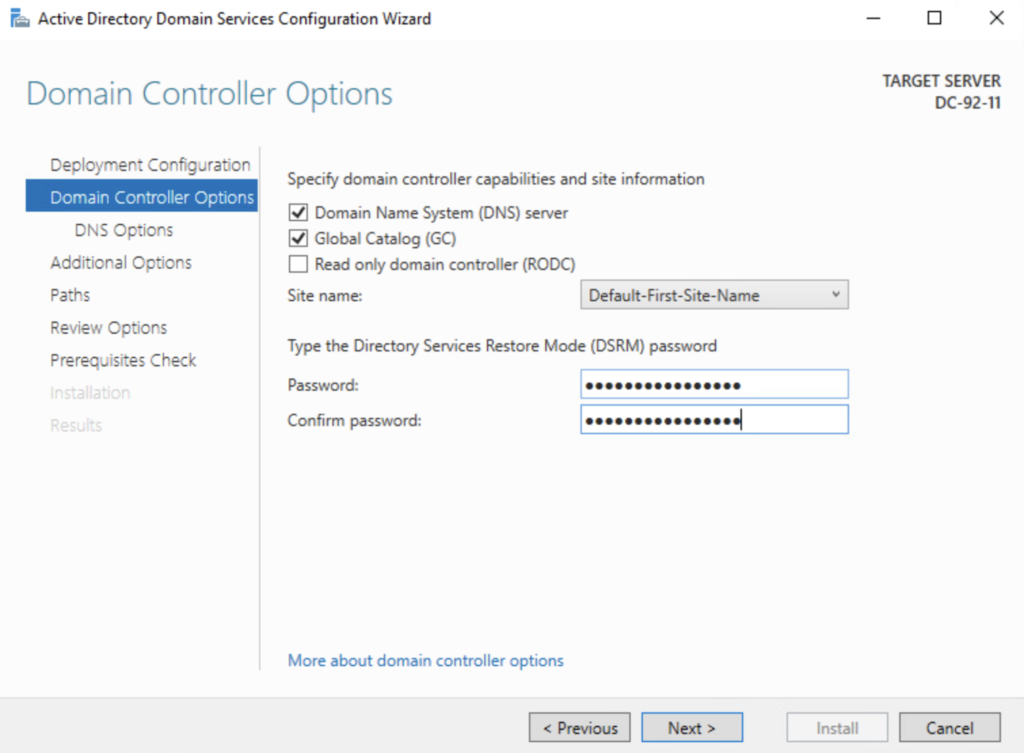
If this is the first domain controller, the option to Add a new forest should be selected and configured.
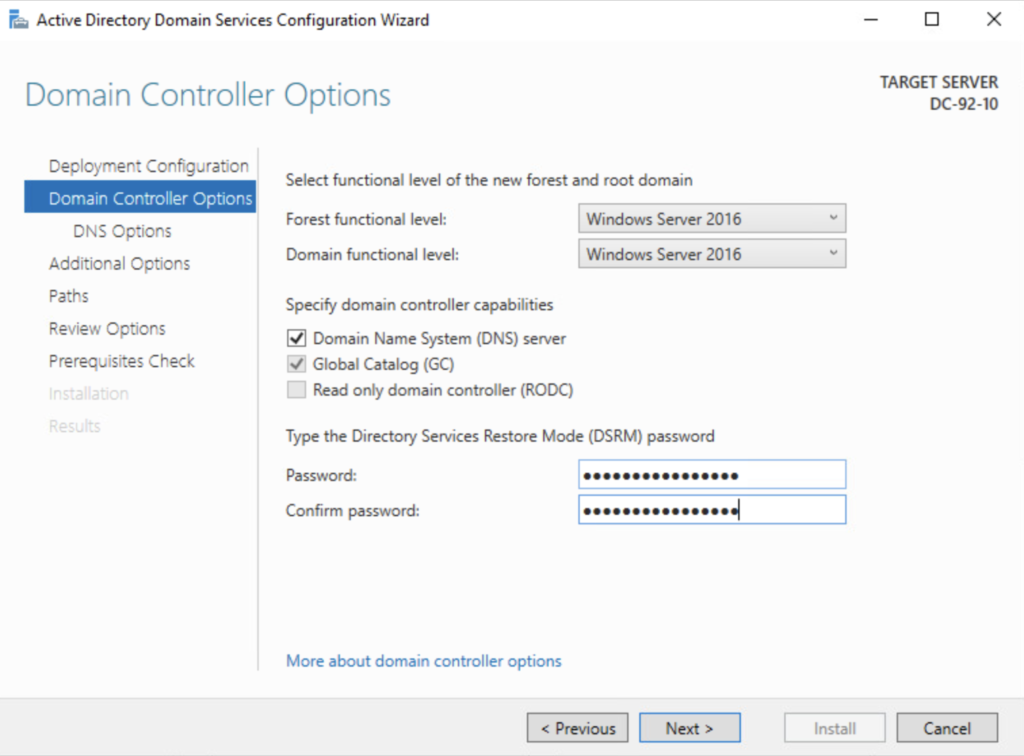
Complete the Directory Services Restore Mode (DSRM) password prompts.
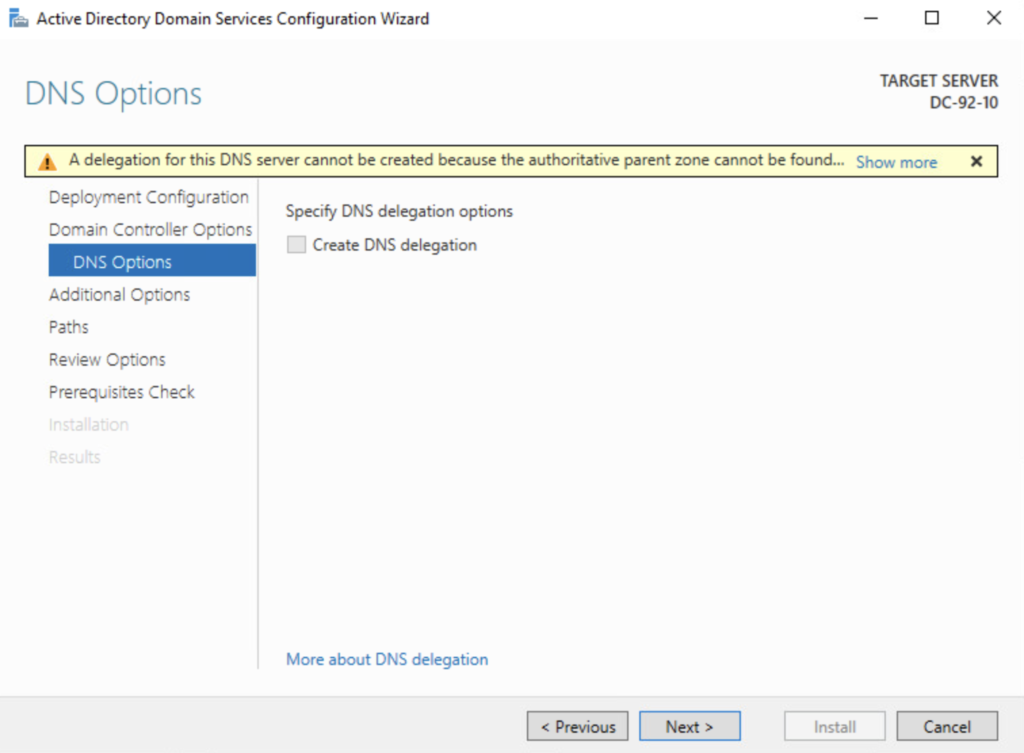
Skip the DNS Options window.
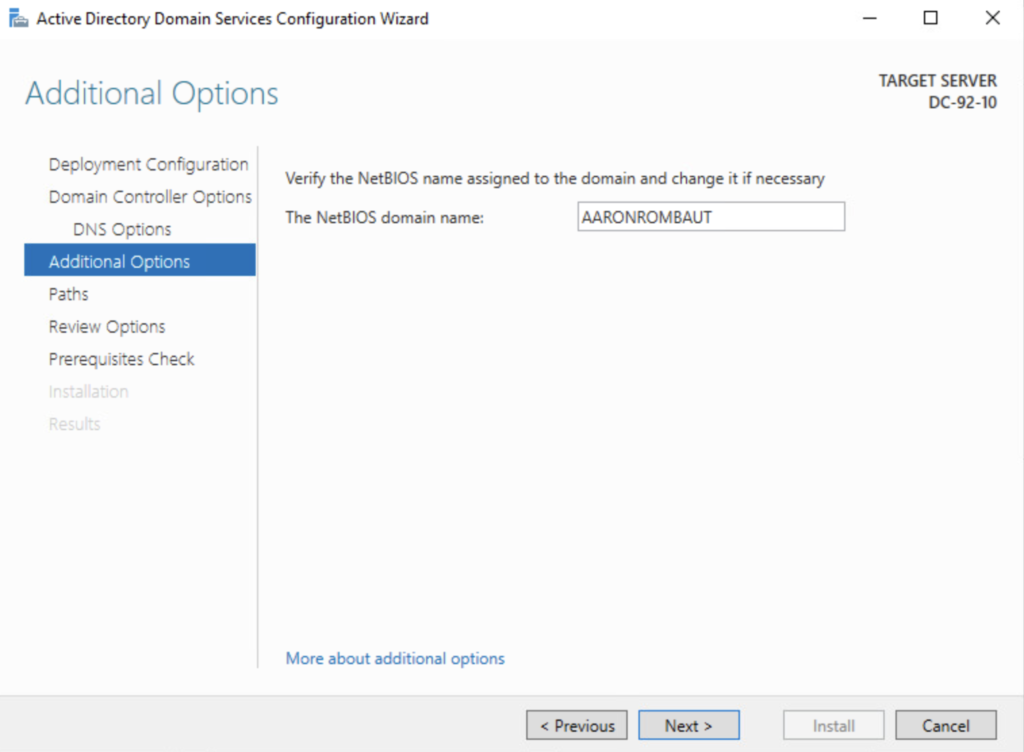
Check the default NetBIOS domain name and alter if needed.
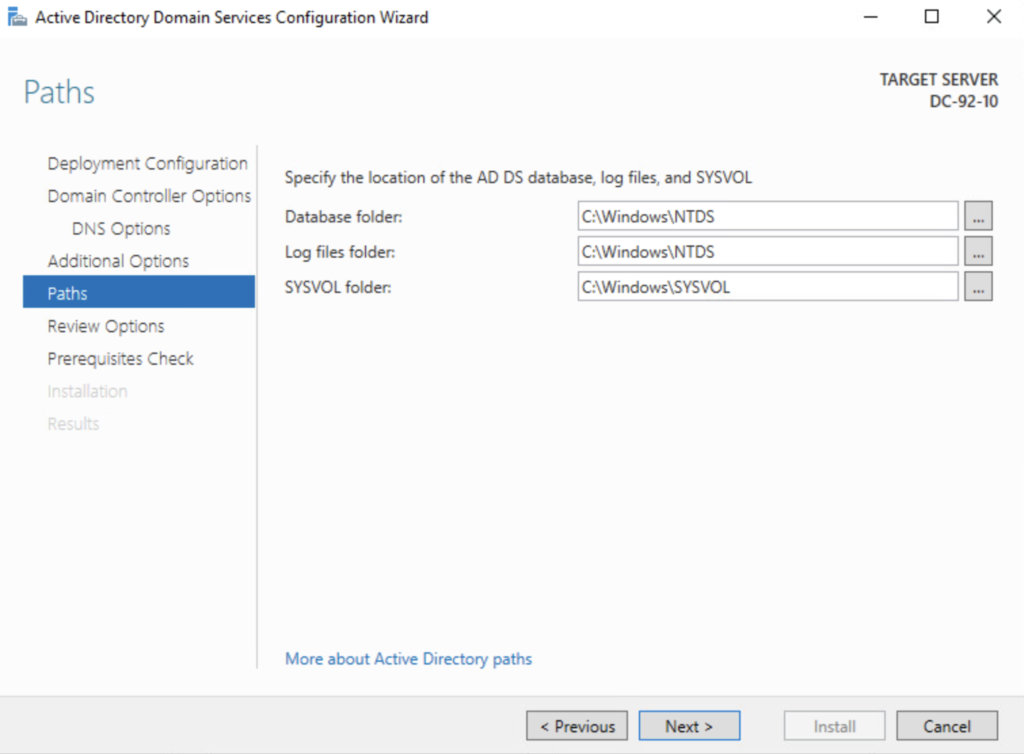
This is a lab, so I leave the default Paths alone.
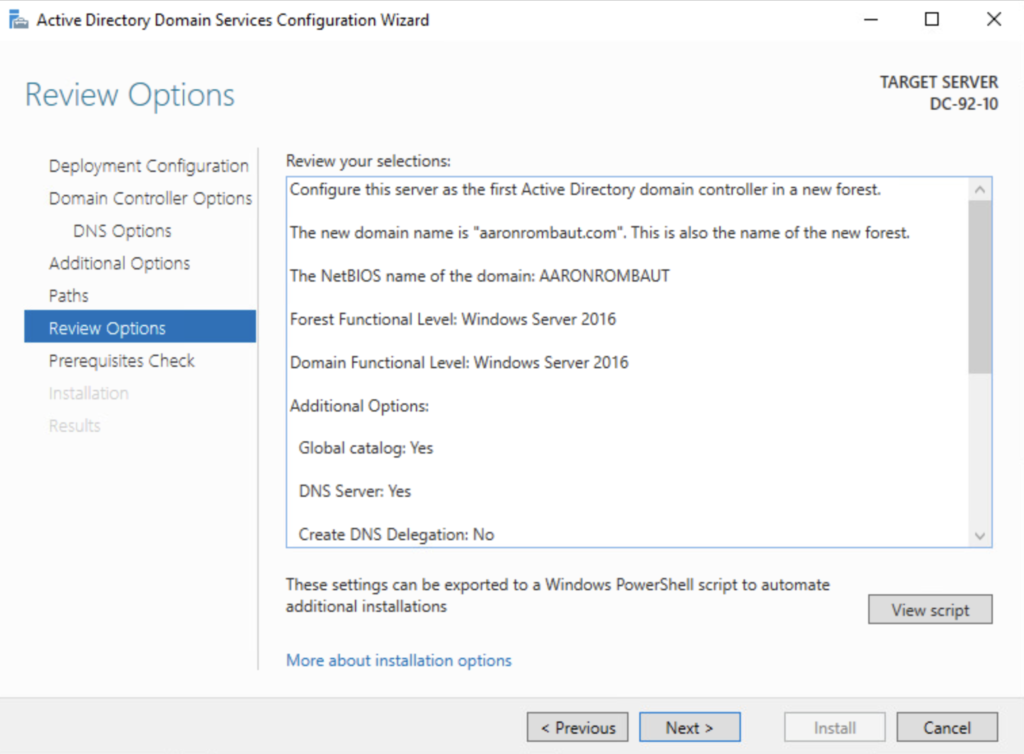
Review the options.
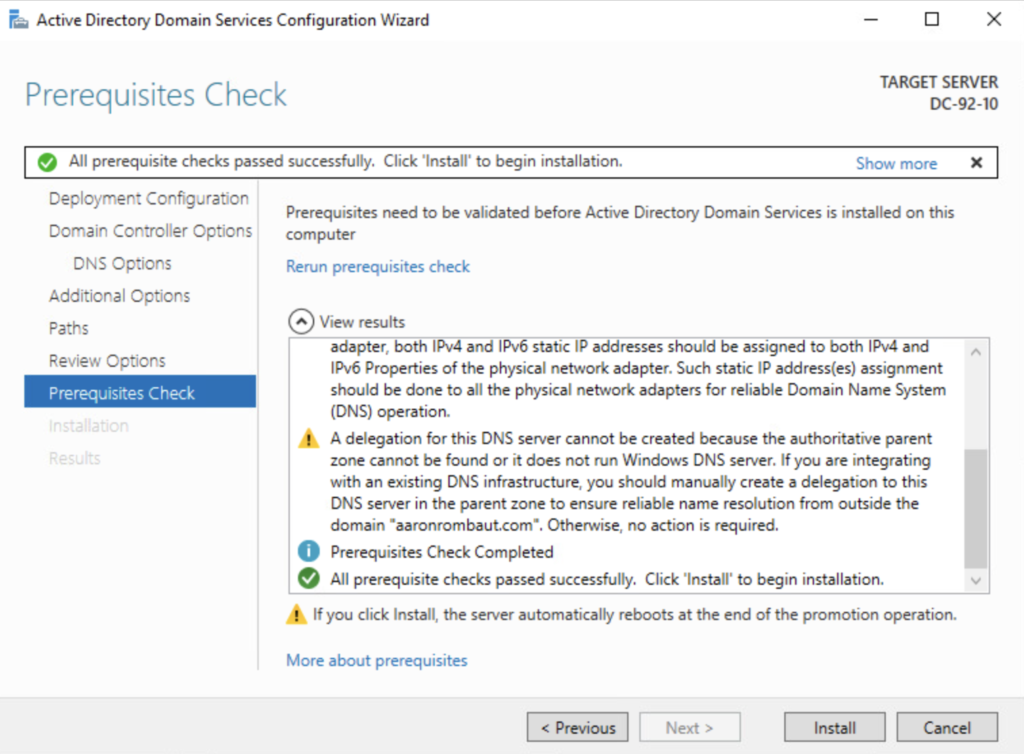
If you followed the prerequisites above, the Prerequisite Check should come back clean and allow installation to proceed. If you are using IPv6, you will likely get a message that a static address is not configured, don’t worry about that. In IPv6, the address is auto-configured and will not change. If the prerequisite check failed, just go ahead and correct before re-running.
Once the installation completes the guest will reboot. The log on will change to the domain user (designated by <domain name>\Administrator) and carry forward the password for the Administrator user that was set locally. On Domain Controllers, the local users go away. The DSRM password that was set earlier allows a local log on to recover or configure the server locally. This can be confusing if the same password is used for the local account (before the domain is established), the Directory Services Restore Mode (DSRM), and the domain Administrator user (after the domain is established).

Configuring Additional Domain Controllers
Set the basics up on the second domain controller:
- VMware Tools
- Host name
- IPv4 Address (be sure to use the primary Domain Controller’s IP for DNS, for now)
- IPv6 Address
- Time zone
- Correct the time, if needed
After the reboot, open the Add Roles and Features Wizard and install the Active Directory Domain Services role, just like the first domain controller.
When the installation is complete, click the link to Promote this server to a domain controller. This time, leave the option to Add a domain controller to an existing domain.
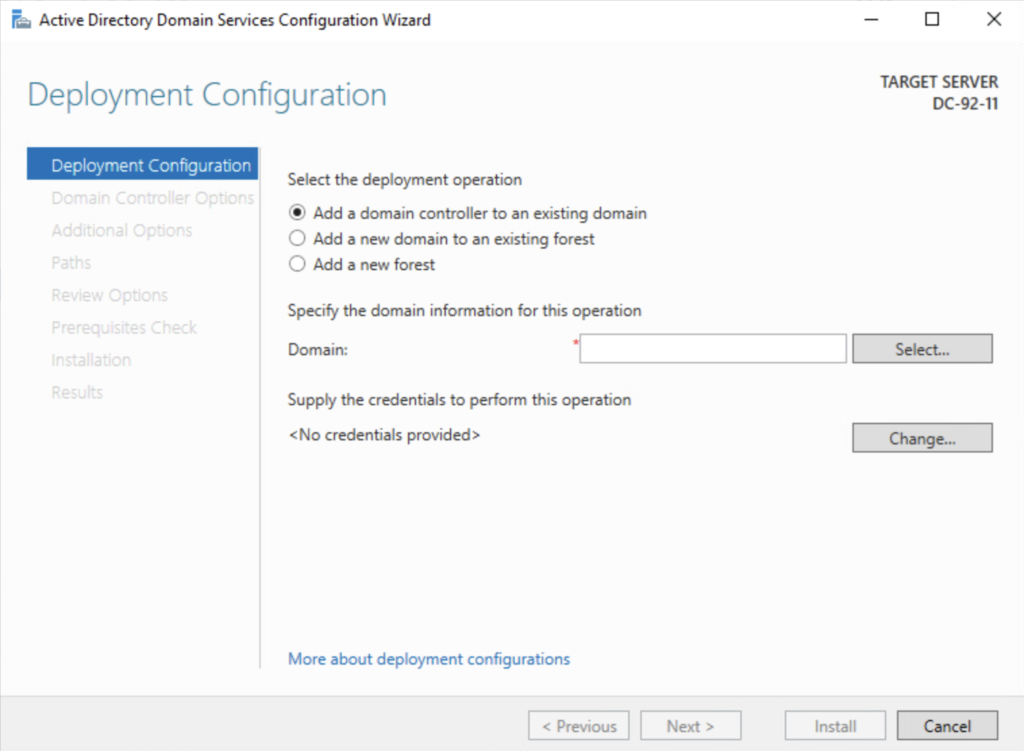
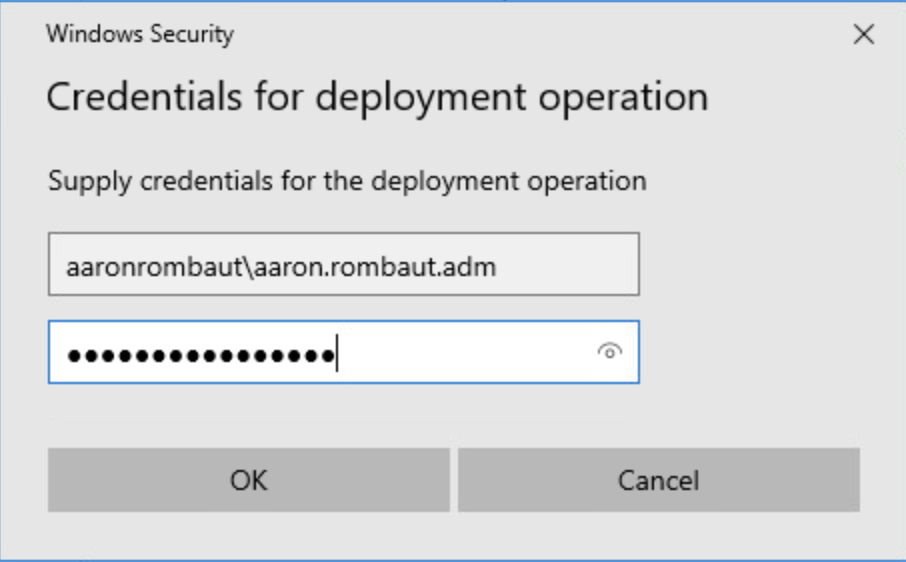
In the section to Supply the credentials to perform this operation, click Change… and supply the username and password for a Domain Administrator. It should be supplied like the image with the name of the domain proceeding the username.
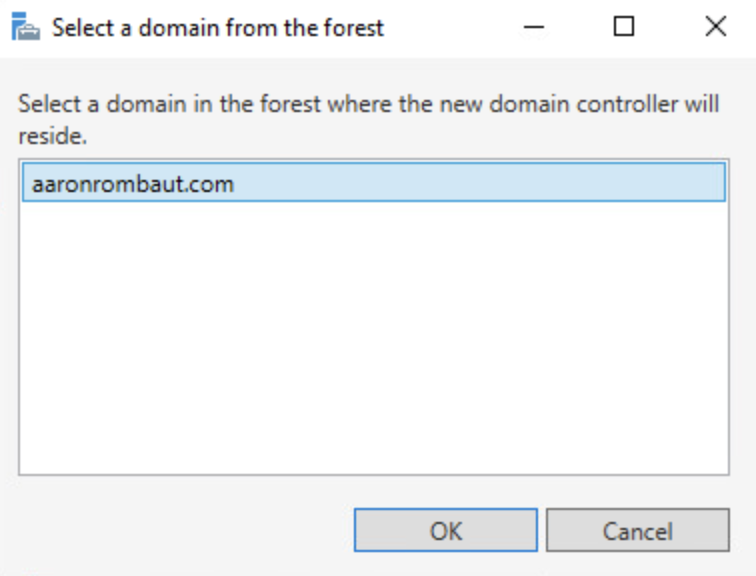
Once the credentials are populated, click Select… in the section under Specify the domain information for this operation. Assuming the credentials are entered correctly, the domains in the forest should be populated, now. Choose the domain in the forest this domain controller will be added to.
This is how the window will look when the username, password, and domain are all correctly configured.

Complete the rest of the configuration like the first domain controller.
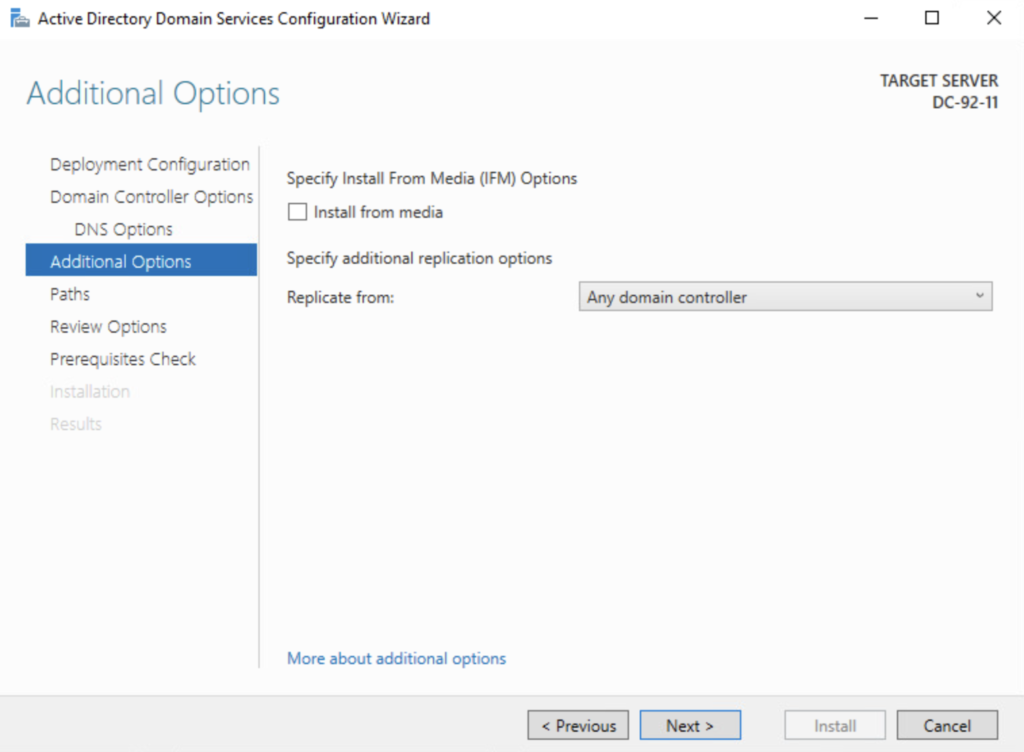
An additional configuration screen will be available that was not present in the first domain controller configuration. This is going to replicate the objects from the domain to this domain controller. I leave the default Any domain controller setting.
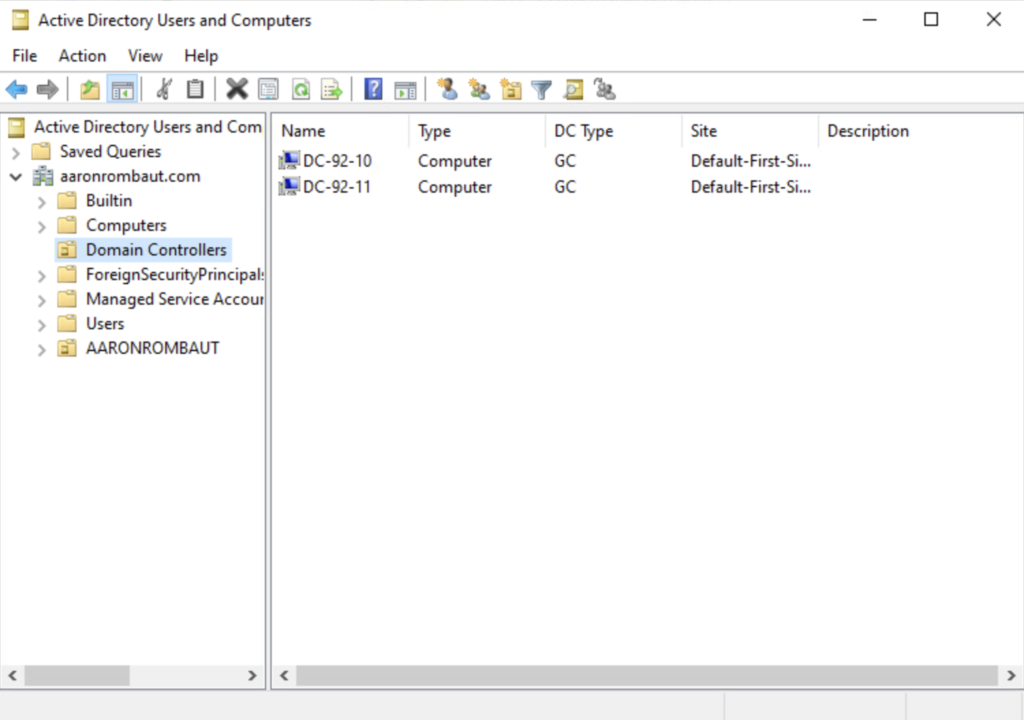
After this server is finished configuring, it will reboot and be ready to log in with administrator credentials. Since this is a domain controller, it will be added to the Domain Controllers Organizational Unit in Active Directory. I never change this as Domain Controllers have a special role for the domain.
Configure Domain Name System (DNS) – Networking
According to Microsoft, it is a best practice to include the loopback adapter in the list of configured DNS servers, just not as a preferred DNS entry. It should be secondary or tertiary. The image below illustrates this concept in a simple two DNS server configuration.

Configure Domain Name System (DNS) – Forwarders
By default, Windows DNS is configured to query the global DNS root servers (https://www.iana.org/domains/root/servers) for external lookups.
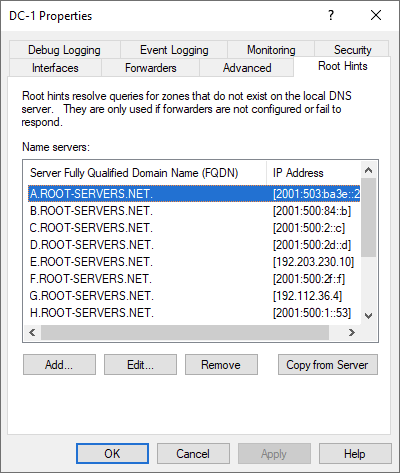
The DNS that we are setting up here will only know about servers and resources that belong to aaronrombaut.com. Using the root servers are an acceptable configuration and provide both IPv4 and IPv6 entries.
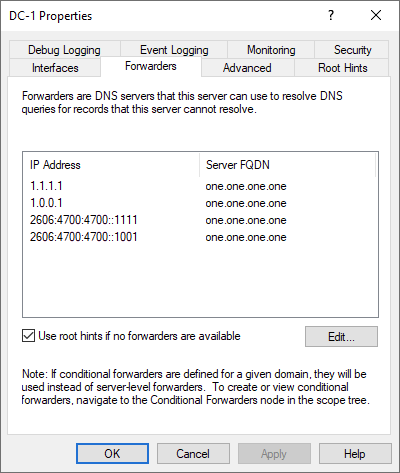
I do prefer to add in Forwarders in my lab configuration. So the way DNS resolution will work in this case is the local hosts file, DNS cache, then the preferred DNS, alternate DNS, Forwarders, and finally, the root hints.
I use Cloudflare 1.1.1.1 (https://developers.cloudflare.com/1.1.1.1/) as my Forwarding service.
IPv4 addresses are 1.1.1.1 and 1.0.0.1.
IPv6 addresses are 2606:4700:4700::1111 and 2606:4700:4700::1001.
When configuring DNS Forwarders, each domain controller will need to be configured. Unfortunately, this configuration settings does not replicate with the rest of the DNS replication.
Test Network Configuration
After all that hard work, it is best to test that the configuration will actually work as intended. Google offers a website, Ready for the future of the Internet? (google.com), to quickly check IPv6 readiness. Other sites, such as IPv6 test – IPv6/4 connectivity and speed test (ipv6-test.com), offer a more comprehensive test of Internet connectivity.

Cloudflare also has a test if you use the same configuration I have used above. The site is https://one.one.one.one/help.
Configure Domain Name System (DNS) – Reverse Lookup Zone
I always try to remember to configure the DNS Reverse Lookup Zone. This enables DNS Pointer Records or PTR. This is the reverse of a DNS forward lookup where the name is supplied and an IP address is returned. A reverse lookup returns a host name when the IP address is already known.
Reverse Lookup Zones have to be configured per subnet in the Forward Lookup Zone. This only has to be configured on one DNS Server in the domain as the information will replicate, if configured accordingly (see details below).
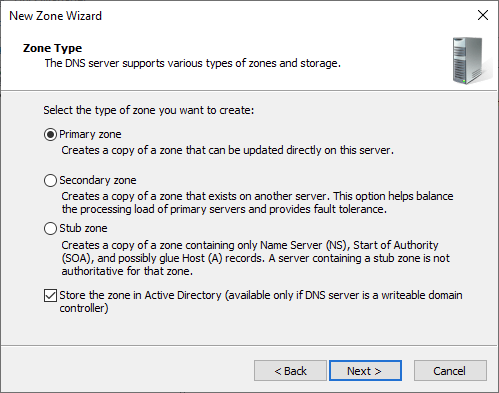
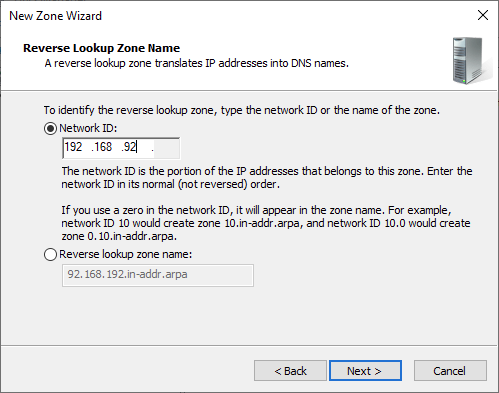
As an example, my lab’s subnet is 192.168.92.0/24, so I configure a Reverse Lookup Zone for this Network ID. To get started, open the DNS Manager (dnsmgmt.msc) and right-click Reverse Lookup Zones and choose New Zone…. The New Zone Wizard opens.

Leave the default Primary zone selected.
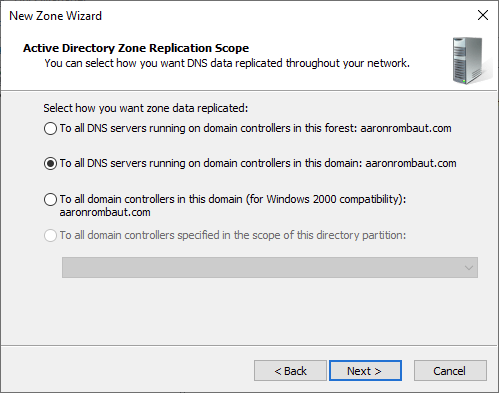
Leave the default To all DNS servers running on domain controllers in this domain: <domain name> selected.
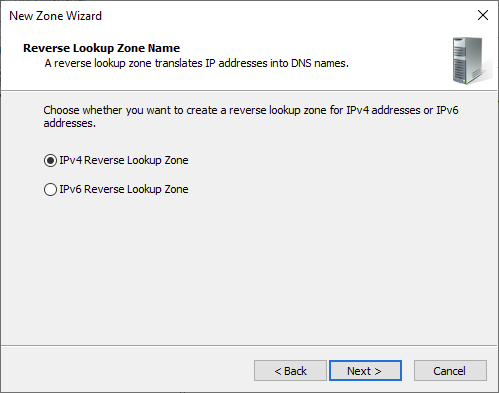
I am going to create an IPv4 Reverse Lookup Zone, so I leave that option selected.
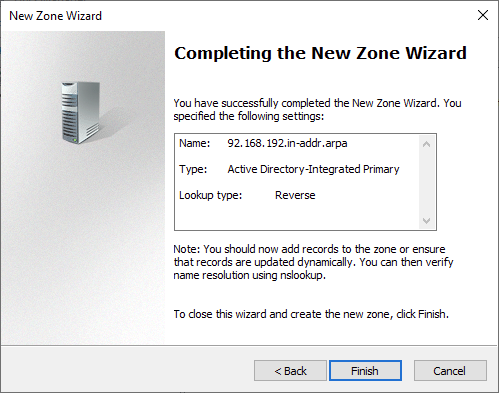
I type in the Network ID that corresponds to my subnet in normal (not reversed) order as the description instructs.
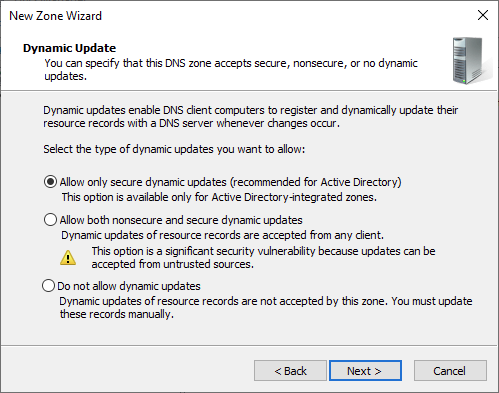
Leave the default Allow only secure dynamic updates (recommended for Active Directory) option selected.
Review the configured settings.
Configure Domain Name System (DNS) – Aging and Scavenging
In my lab, I rarely have records go stale as I do not keep the lab online long enough and usually use static records. However, for completeness, I wanted to include here as I do need to ensure this is set up in production environments. Aging sets a timestamp on every record that gets created dynamically (this is an important detail) and scavenging occurs when the record’s timestamp exceeds the configured time. This does need to be configured on every DNS server.
Before configuring this, ensure that all infrastructure services are set statically, otherwise, the timestamps may exceed the configured age and be scavenged! Setting up Aging and Scavenging before configuring other domain resources will likely ensure that critical infrastructure services remain accessible.
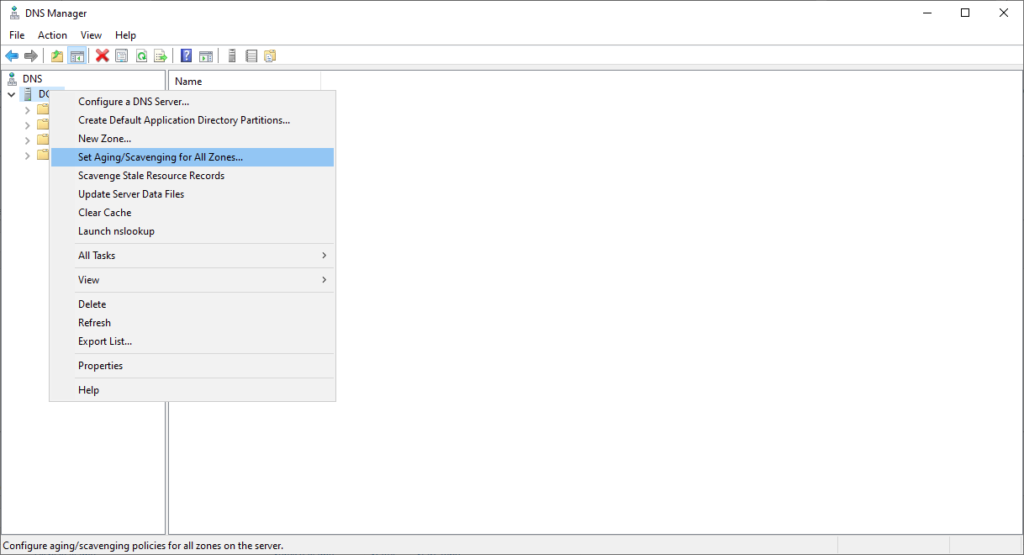
Open DNS Manager (dnsmgmt.msc), right-click the DNS server icon, and click Set Aging/Scavenging for All Zones….
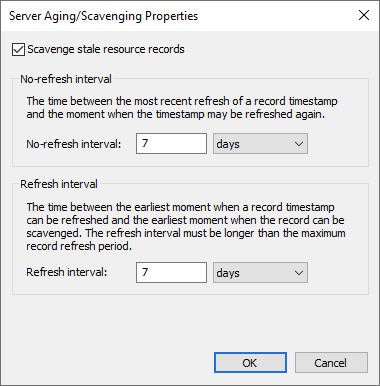
Check the box to Scavenge stale resource records. I leave the defaults set for the number of days.
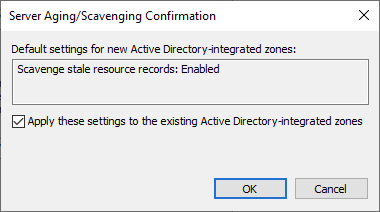
Check the box to Apply these settings to the existing Active Directory-integrated zones.
Leave a Reply