This section should really be called Configuring VMware App Volumes 4 Manager, but since it is part of a multi-part series, I kept it for uniformity. If you followed along in part 2 (Installing VMware App Volumes 4 Manager – Part 2), then most of the hard work will already be accomplished and this will just be a matter of configuring each page.
Start out by navigating to your App Volumes 4 Manager in the browser. The URL is the fully qualified domain name. In my case, I will go to https://app-001v.aaronrombaut.com.

If you receive an error like this, follow the Replace the Self-Signed Certificate with CA-signed Certificate article.

Click the Get Started button.

If you have a license to upload, edit that here. Since I do not have a license, I am skipping this. Click the Next button.

If you fill in the details on the AD Domains page and receive the Request Error, follow the Connecting Securely to Active Directory article.
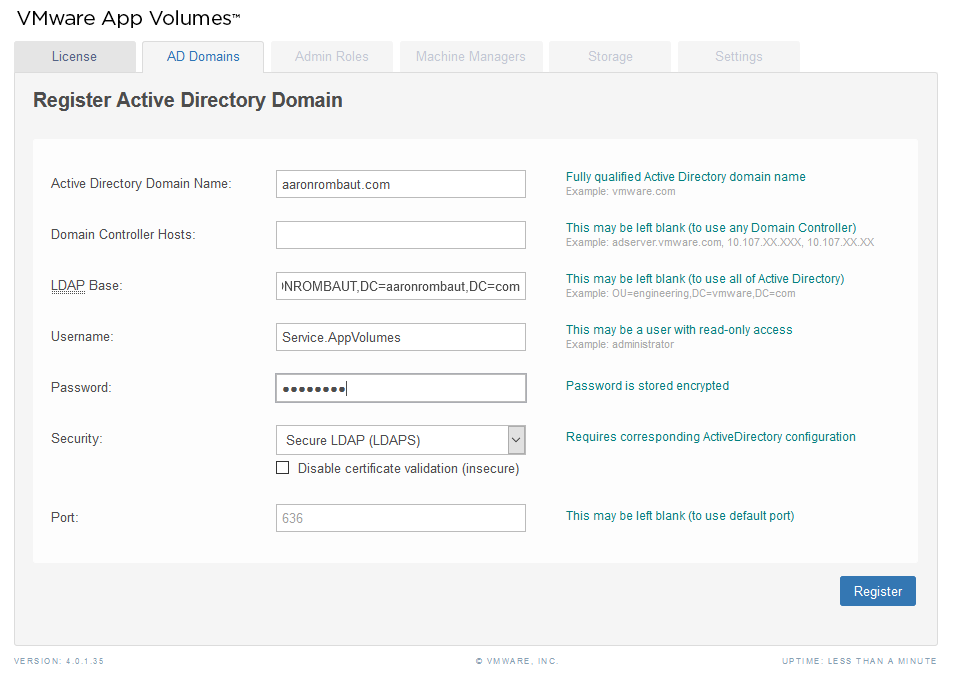
Fill in the details and click the Register button. You should not get a Request Error like above.

Verify that the details are correct and click the Next button.

Type the group you want to use for administering App Volumes 4 applications in the Search Groups: box and click the Search button. Once you find the group, click the Assign button.

Click the Next button.

Fill in the Hostname:, Username:, and Password: fields and click the Save button.

If you receive the Request Error, like seen above, follow the vCenter Certificate becomes unverified article.

Review the page and when ready, click on the Next button.

Choose the datastores for Packages and Writable Volumes using the appropriate Default Storage Location: selectors. Click the Next button.
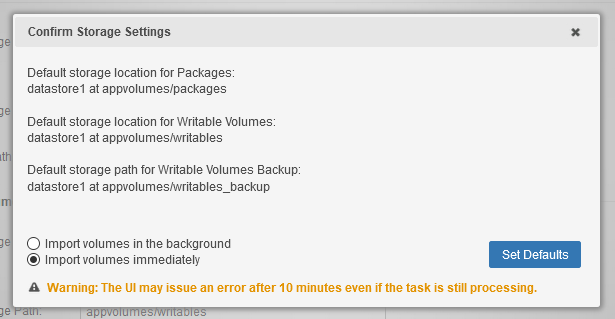
Choose the Import volumes immediately radio button and click the Set Defaults button.

Check the top checkbox to select all the templates to upload. Click the Upload button.
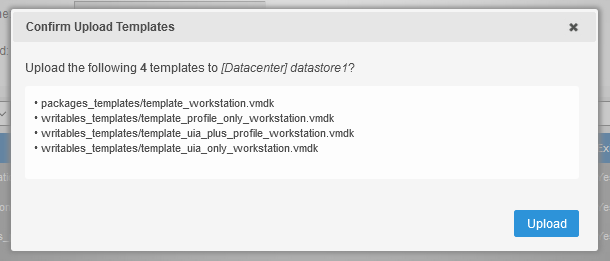
Review the settings and click the Upload button.

On the Settings page, I choose to Allow Non-Domain Entities: under Active Directory. This is my personal choice in my lab and may not be necessary for your environment.
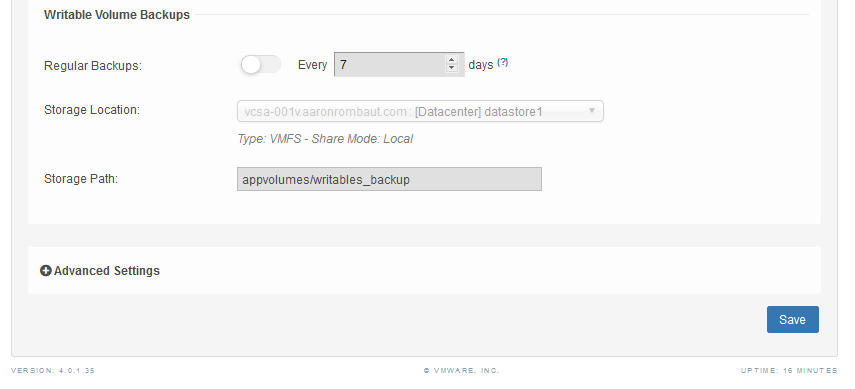
Review the settings on the page and click the Save button.
This concludes the installation of App Volumes 4 Manager. At this point, you are ready to start creating Applications and provisioning them to user groups. Your infrastructure should be secure as well if you have followed all of the steps provided. Feel free to make comments or provide feedback if something doesn’t work for you or I “glazed” over a detail somewhere. This is software, so it’s likely to change rapidly.
Leave a Reply